
A month of working my way through existing projects…
Dye |
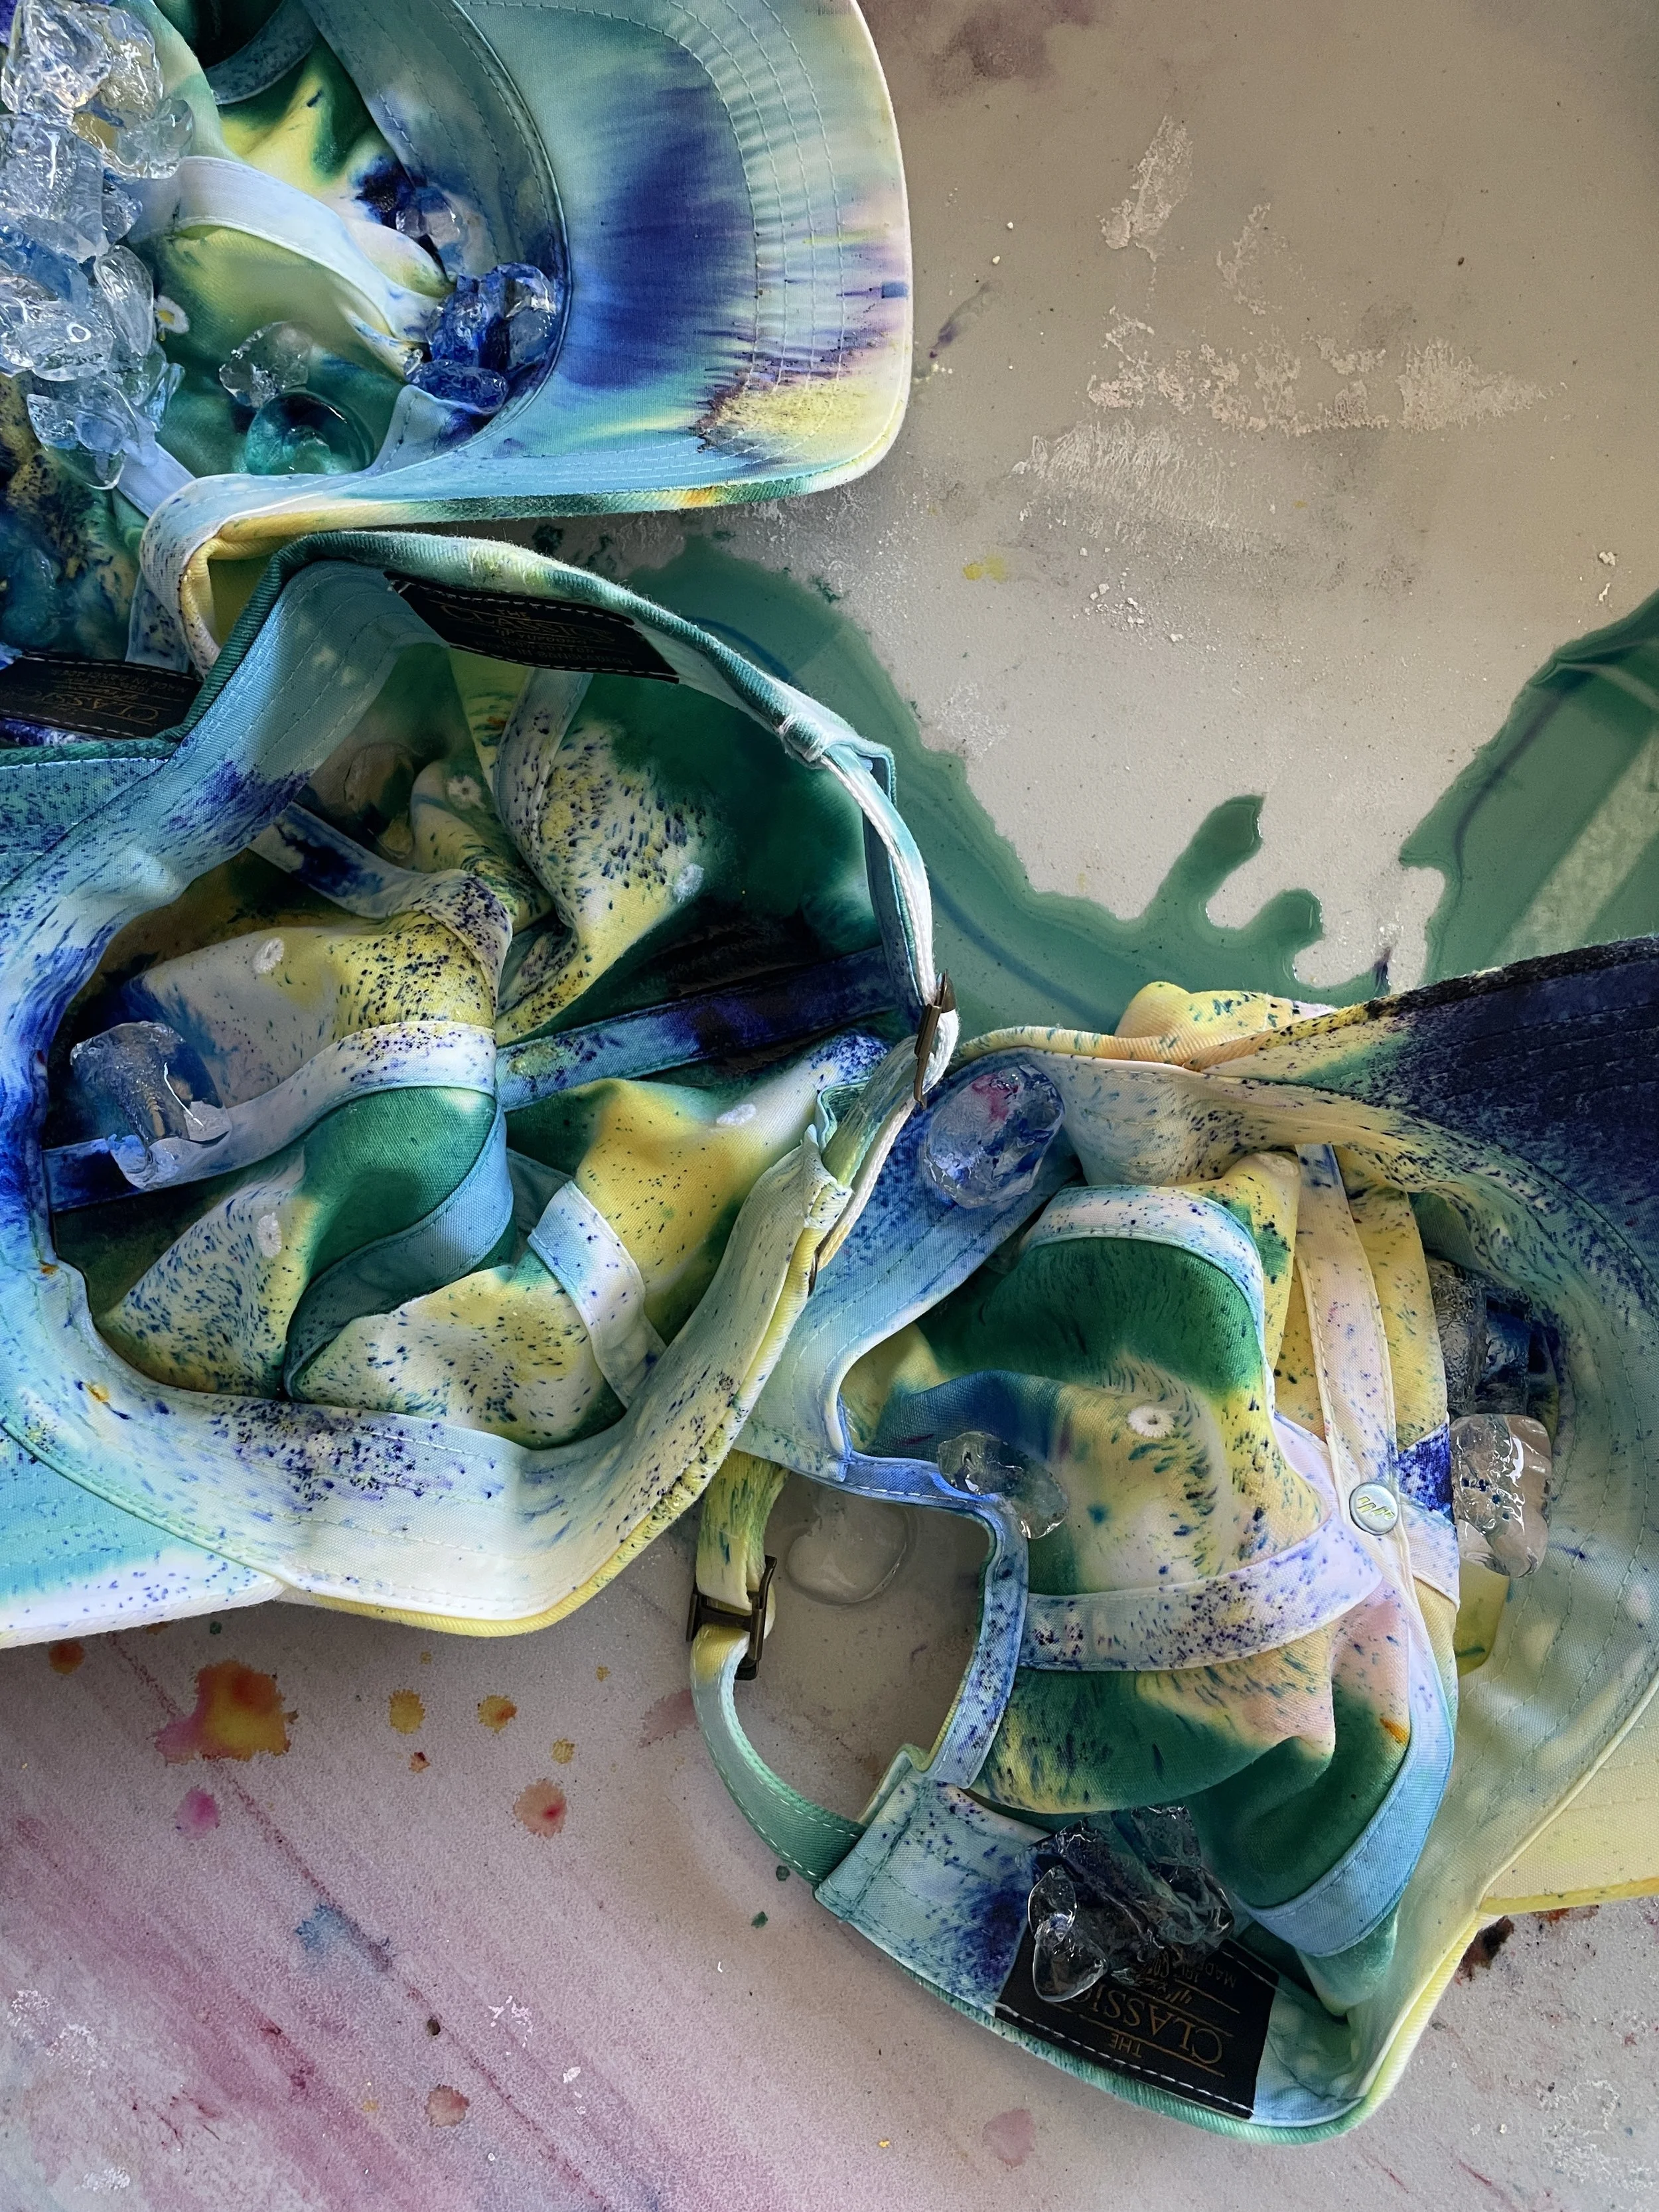
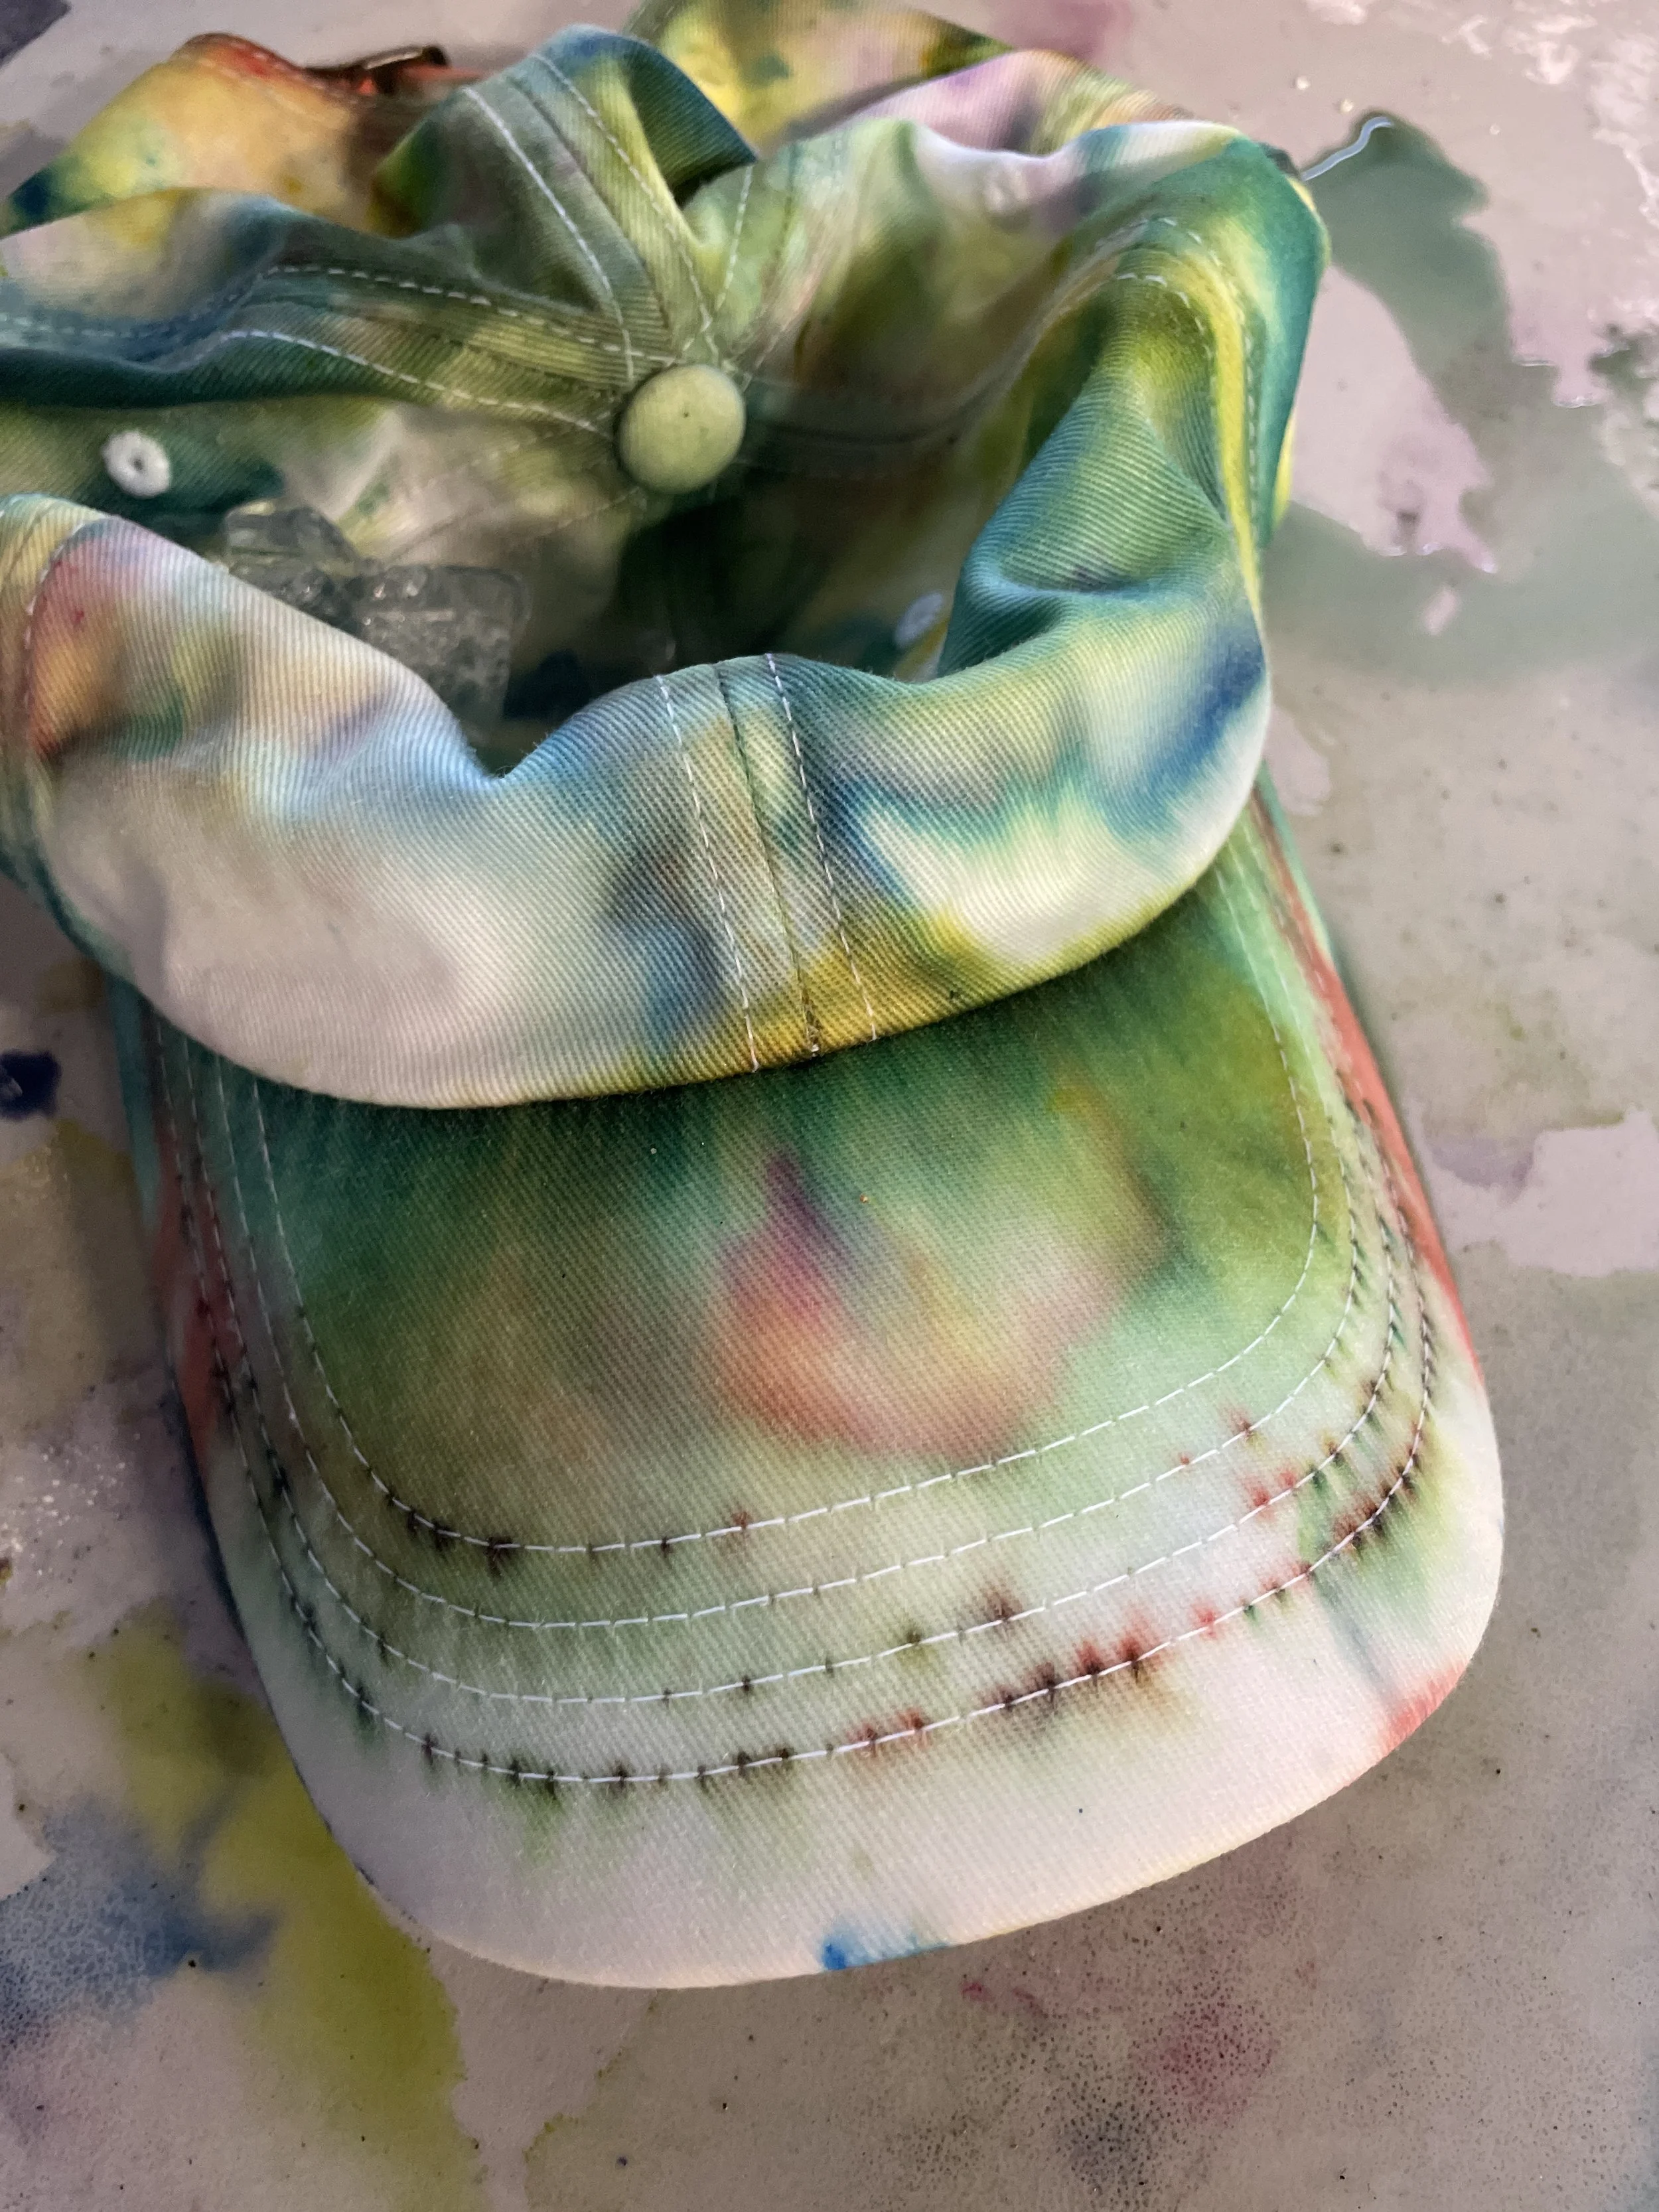
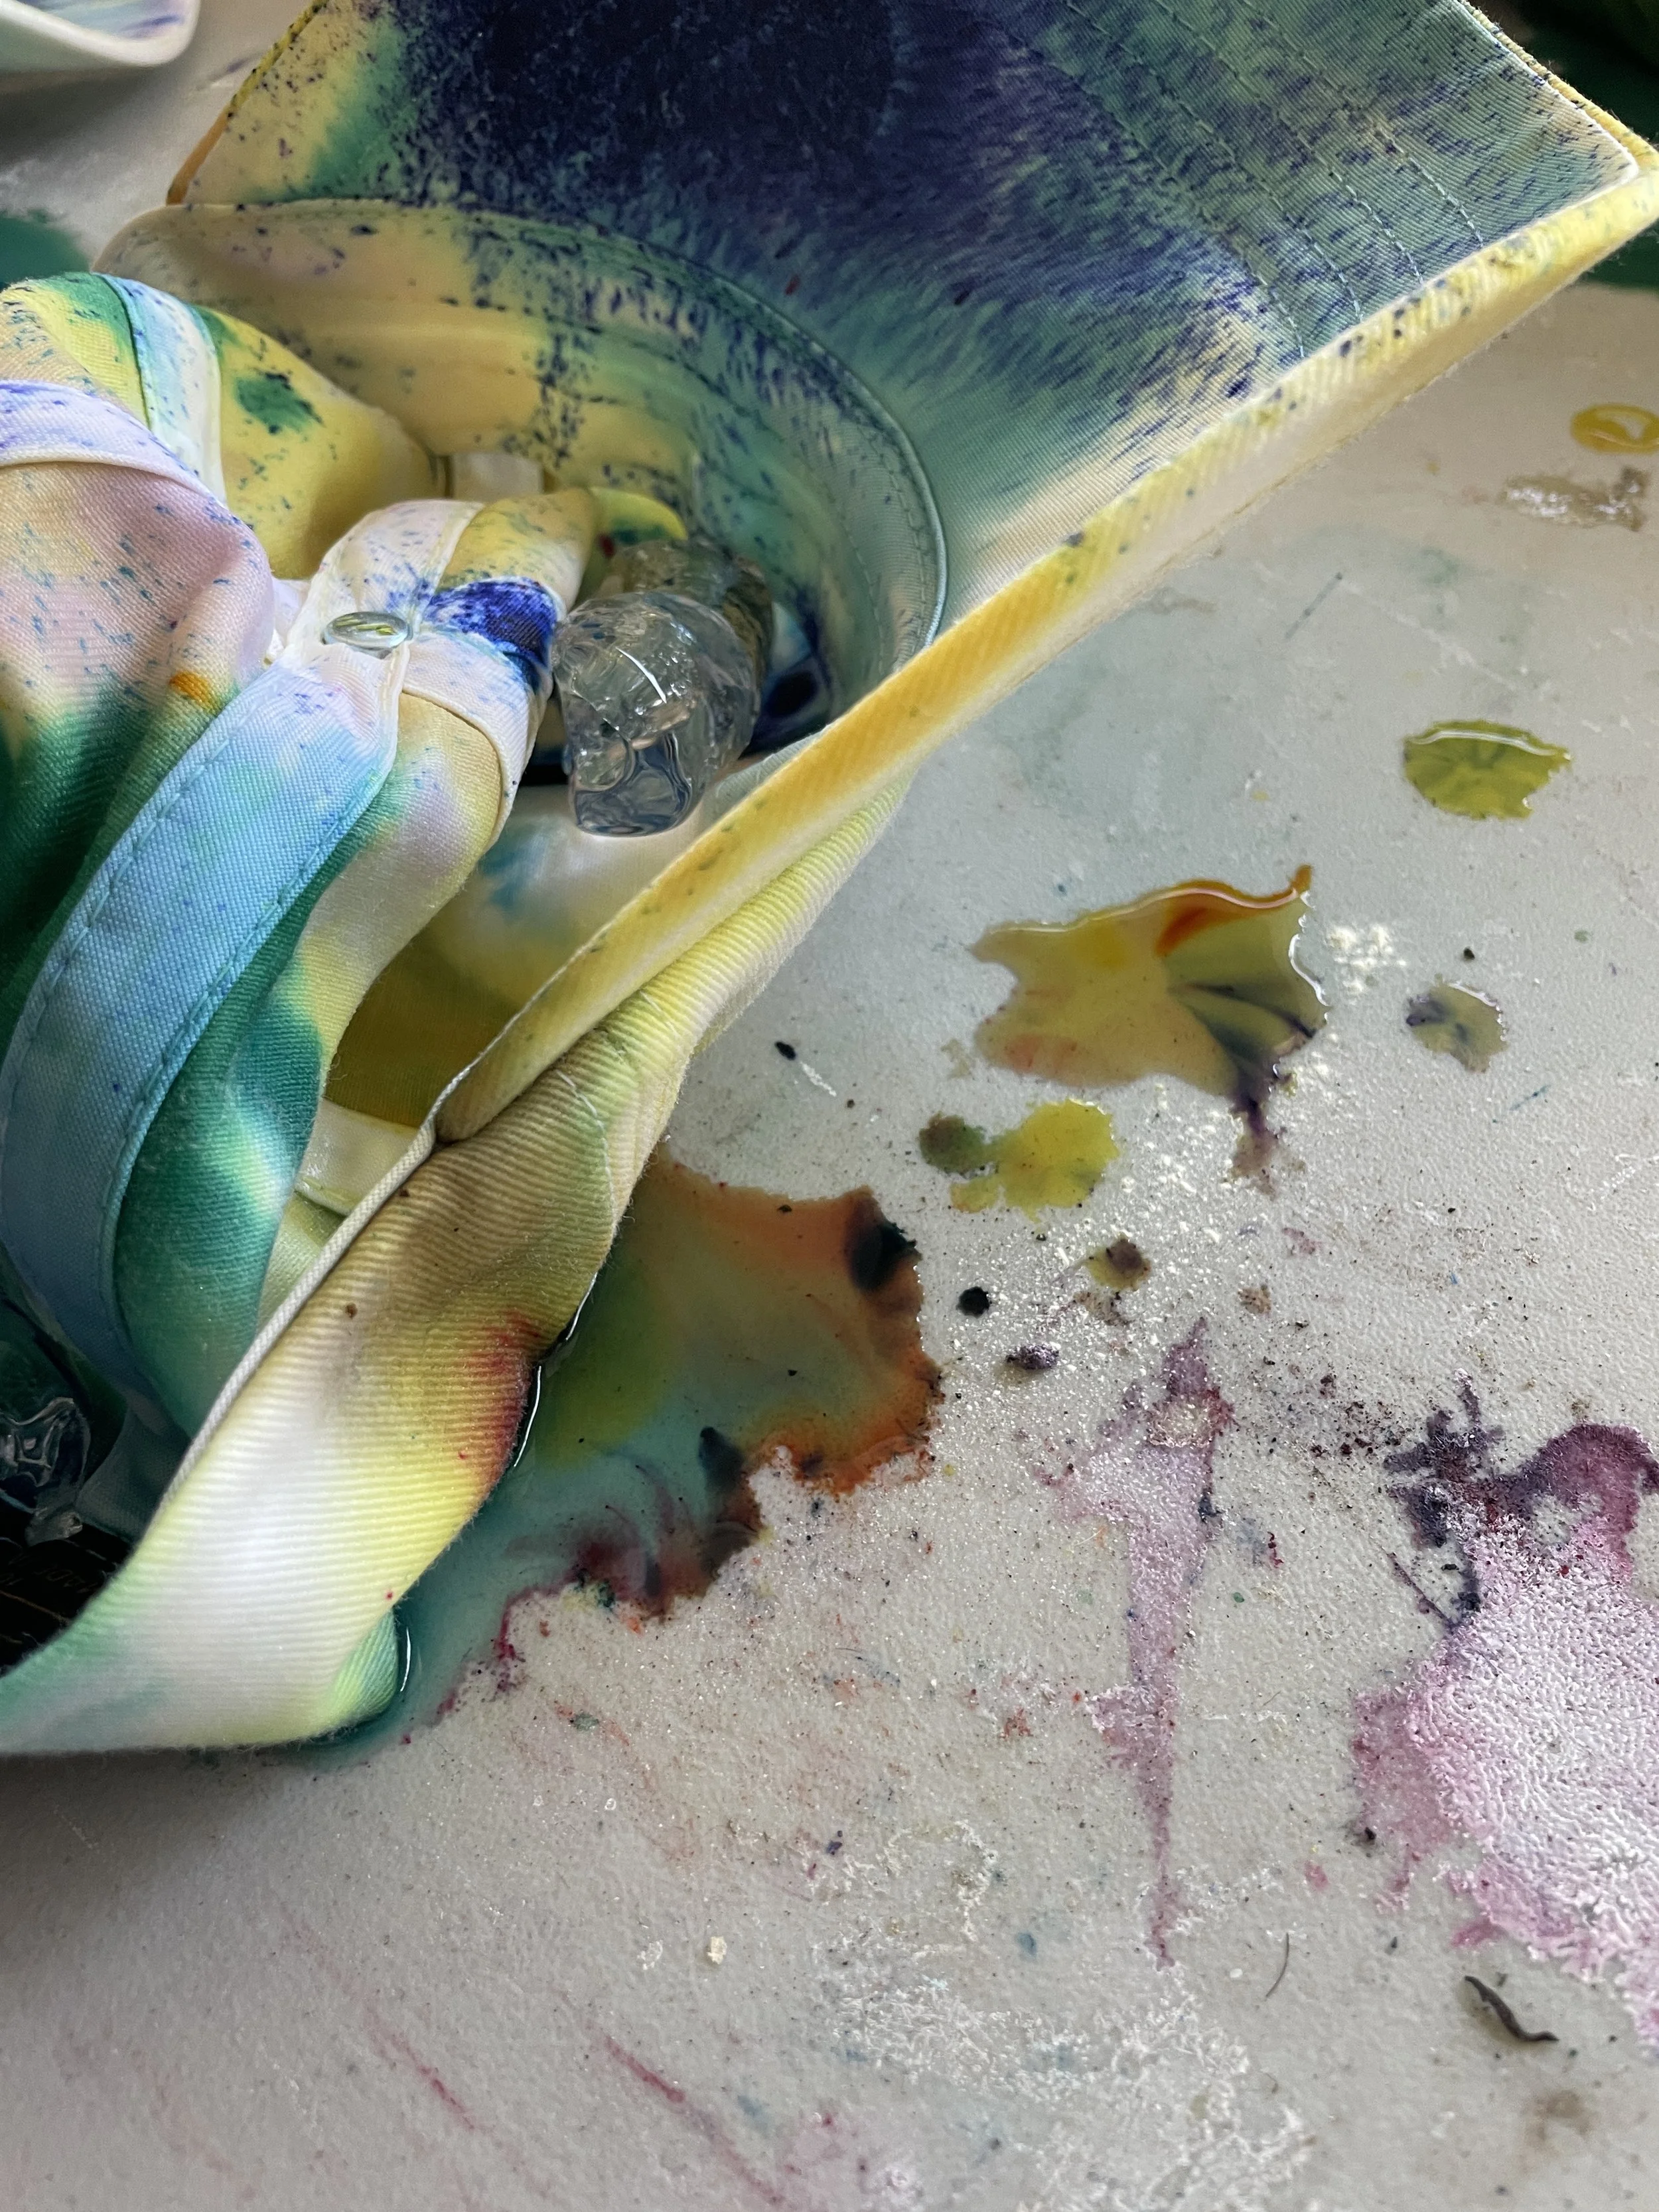
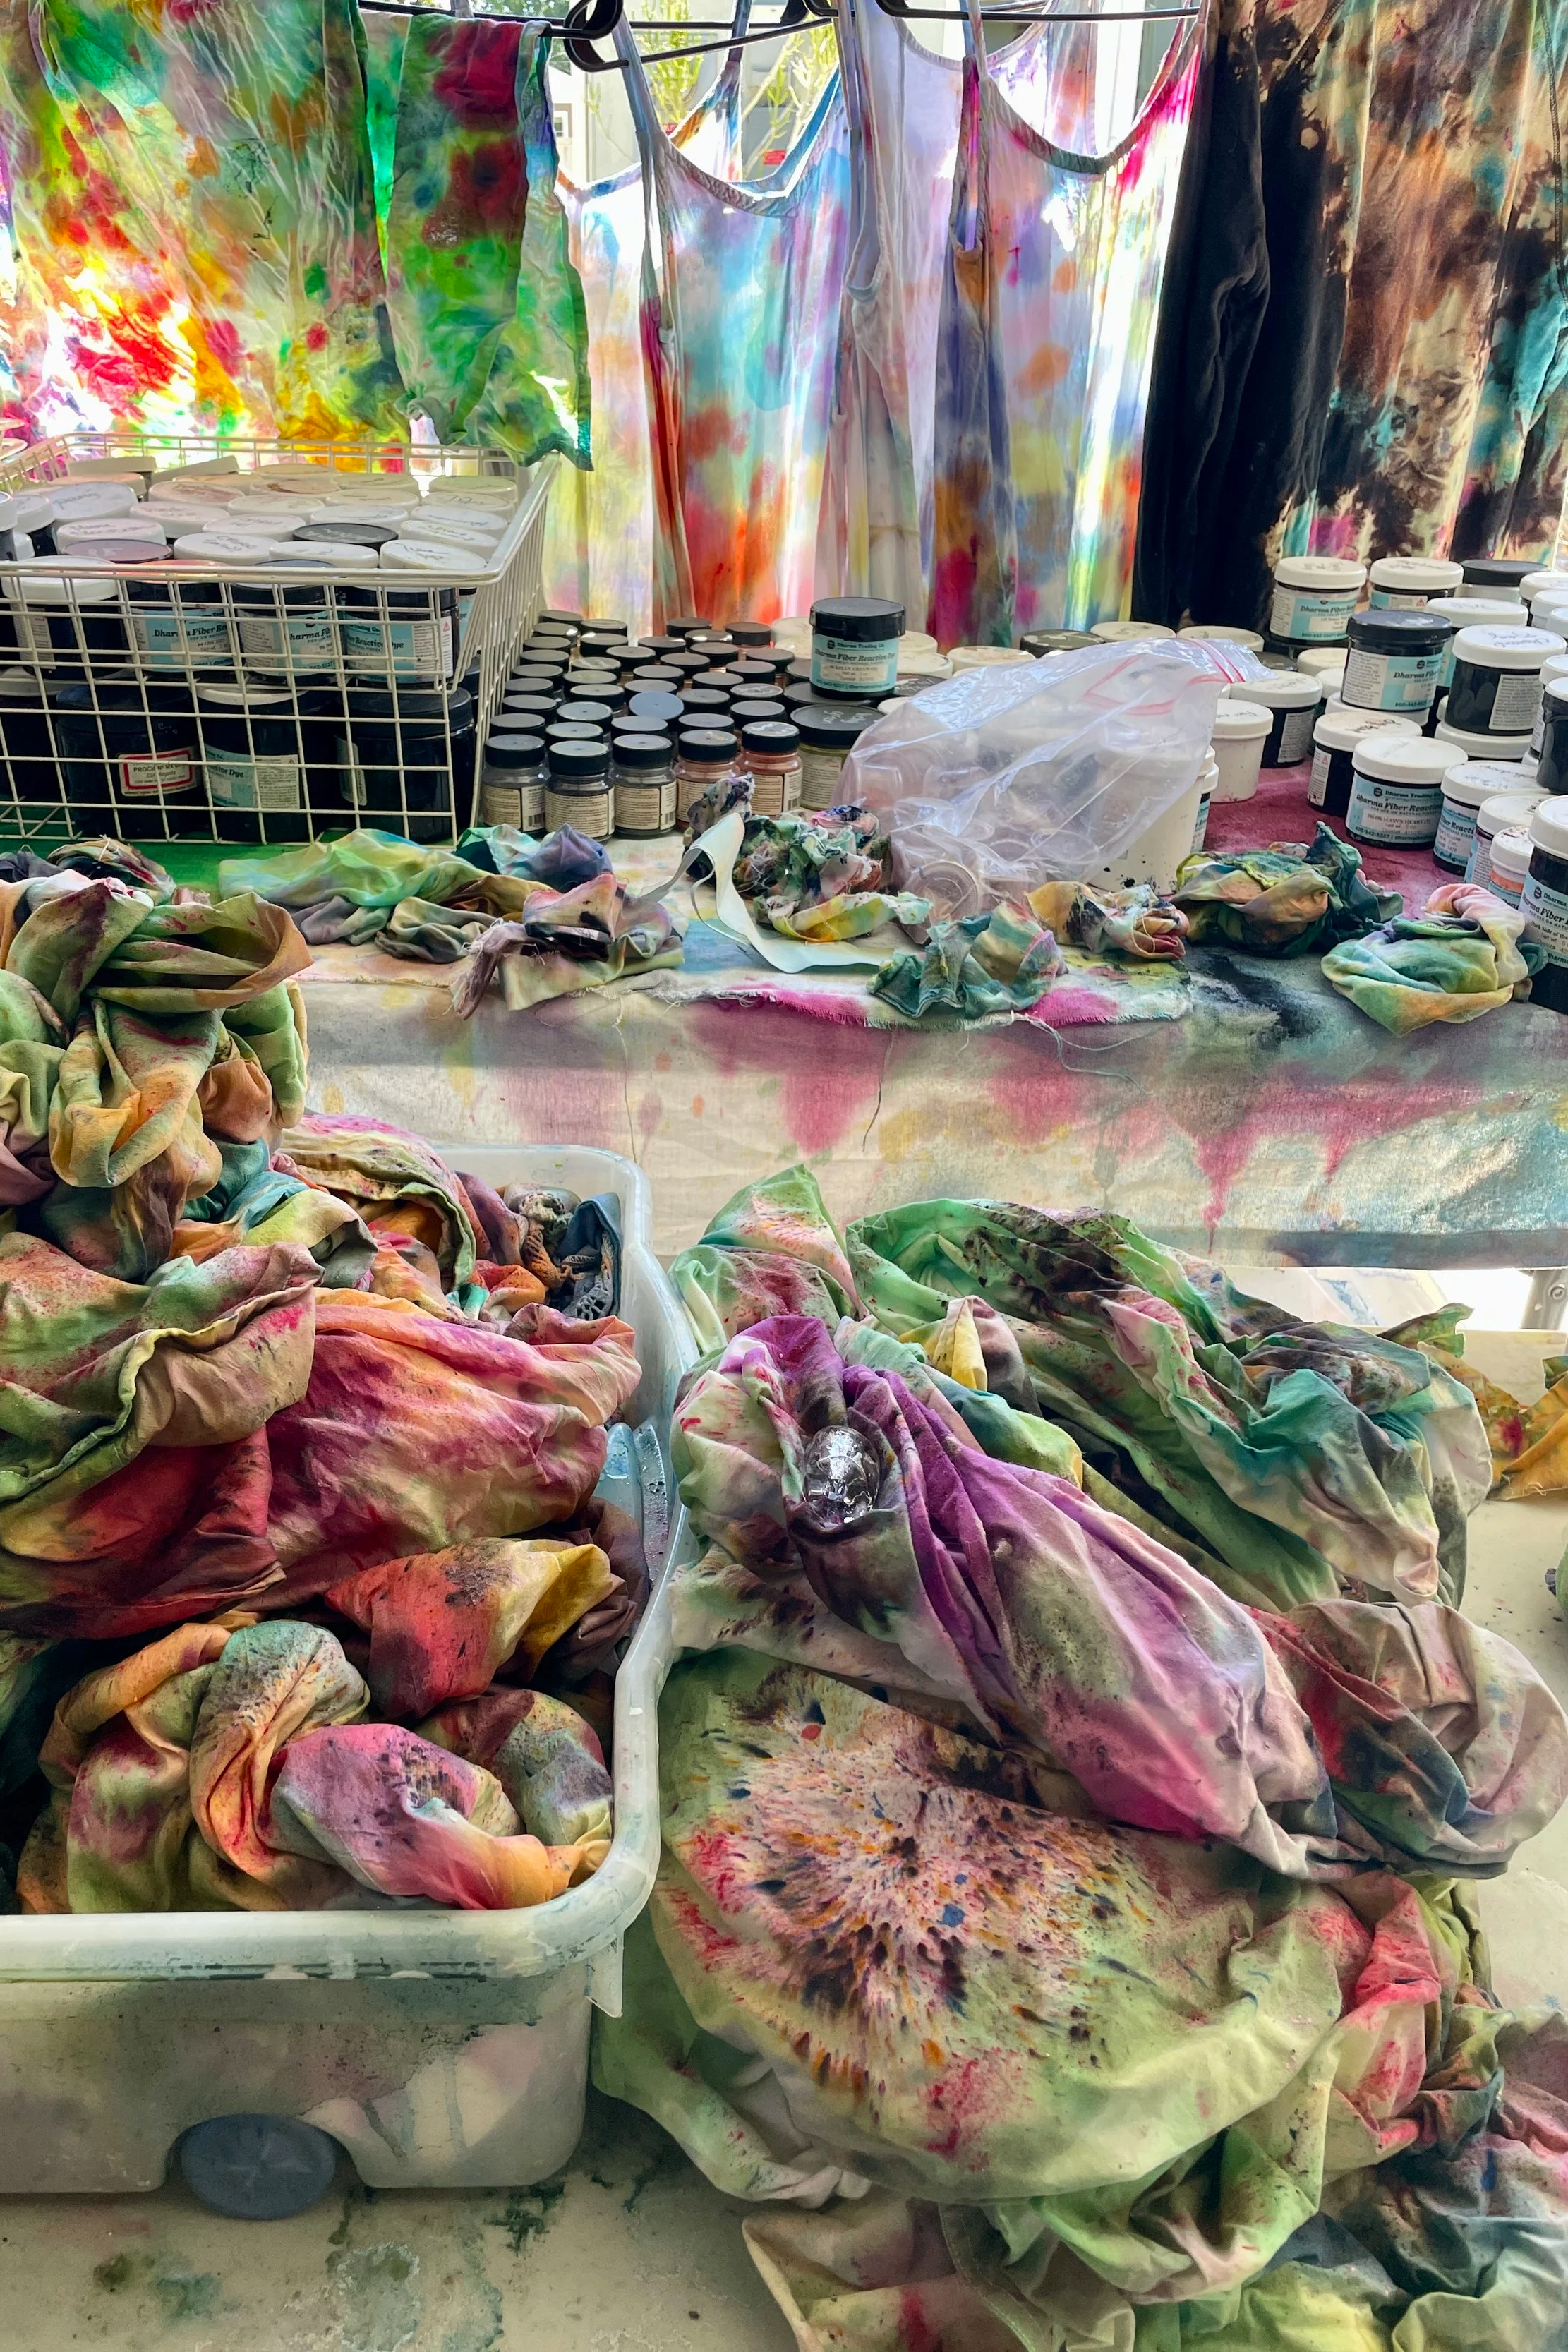
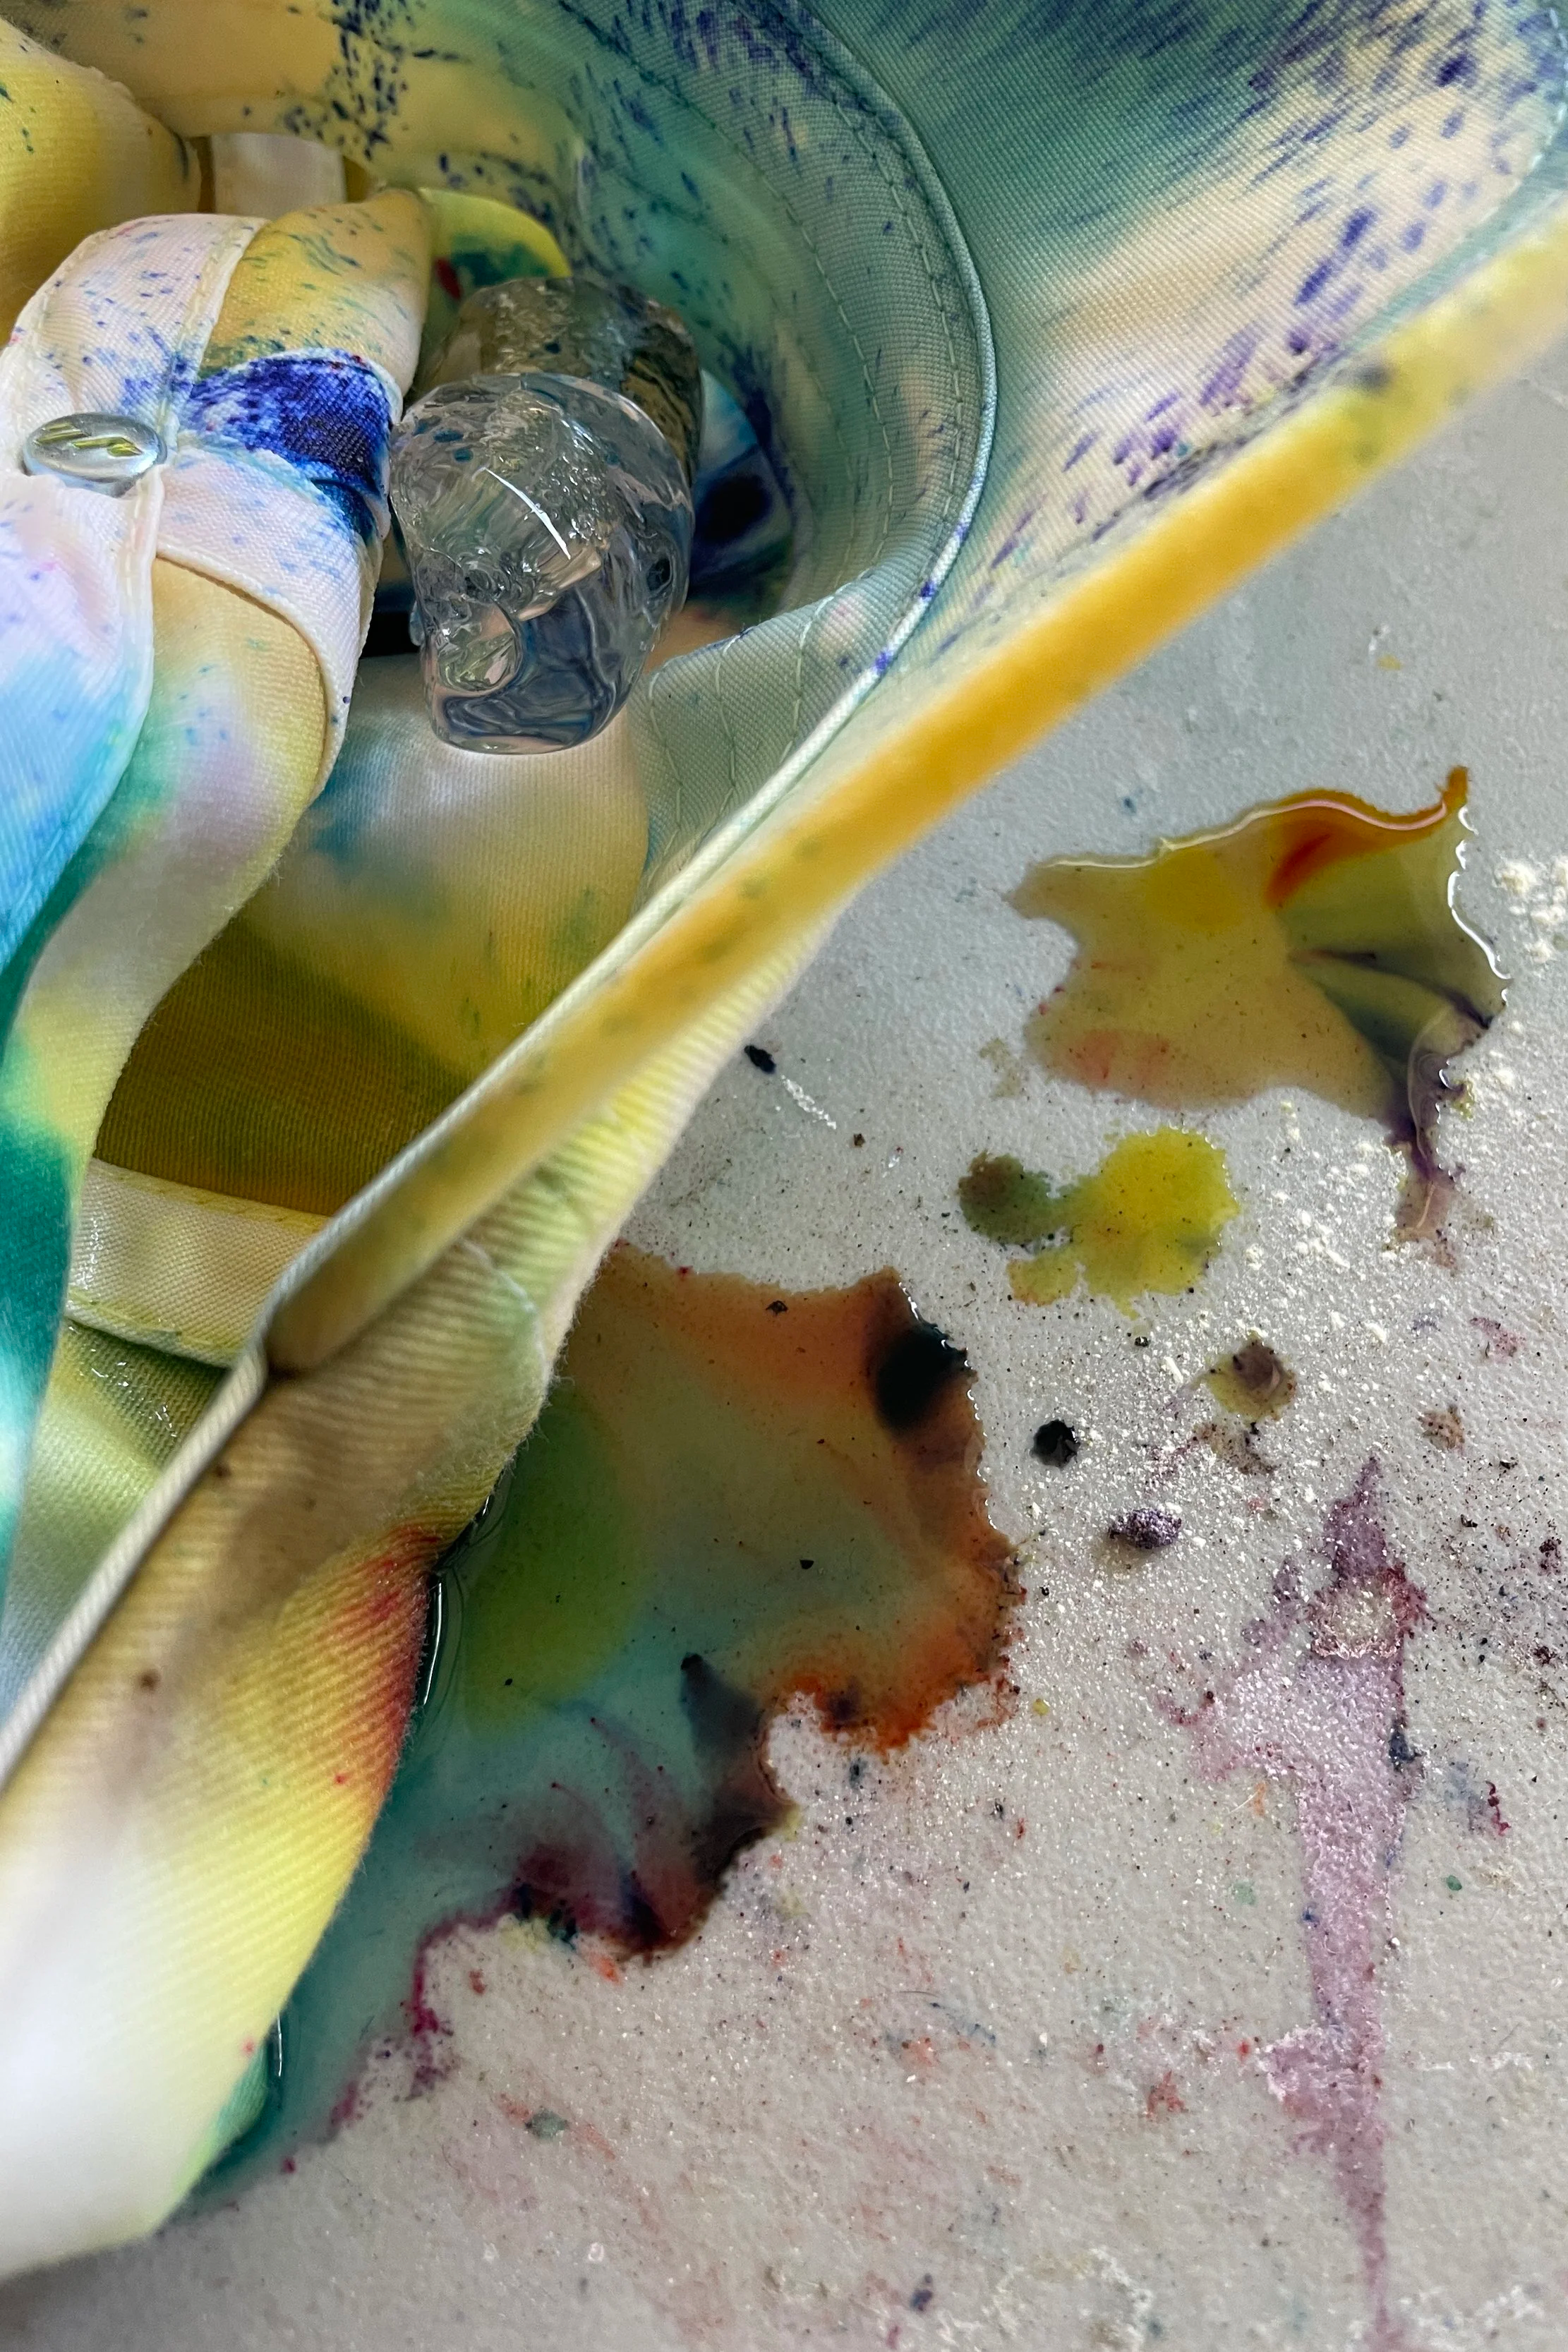
I’m still working my way through my cabinet of “blanks” (undyed goods) hoping to participate in a fun shopping event this holiday season. I have so many Ready Made treasures, they’re creeping on my workspace… and we can’t have that.
Truth be told, I hit a wall with listings. Gone are the days of photographing, editing, copywriting, and listing each item individually— a hill I used to proudly die on. My schedule doesn’t afford me that kind of time anymore. And yet… each piece I create is one of a kind, with no two dyed/sewn/marbled exactly alike. It’s a real conundrum for a detail oriented kid like me.
New system, tbd.
Mixed Media | Patchy Totes
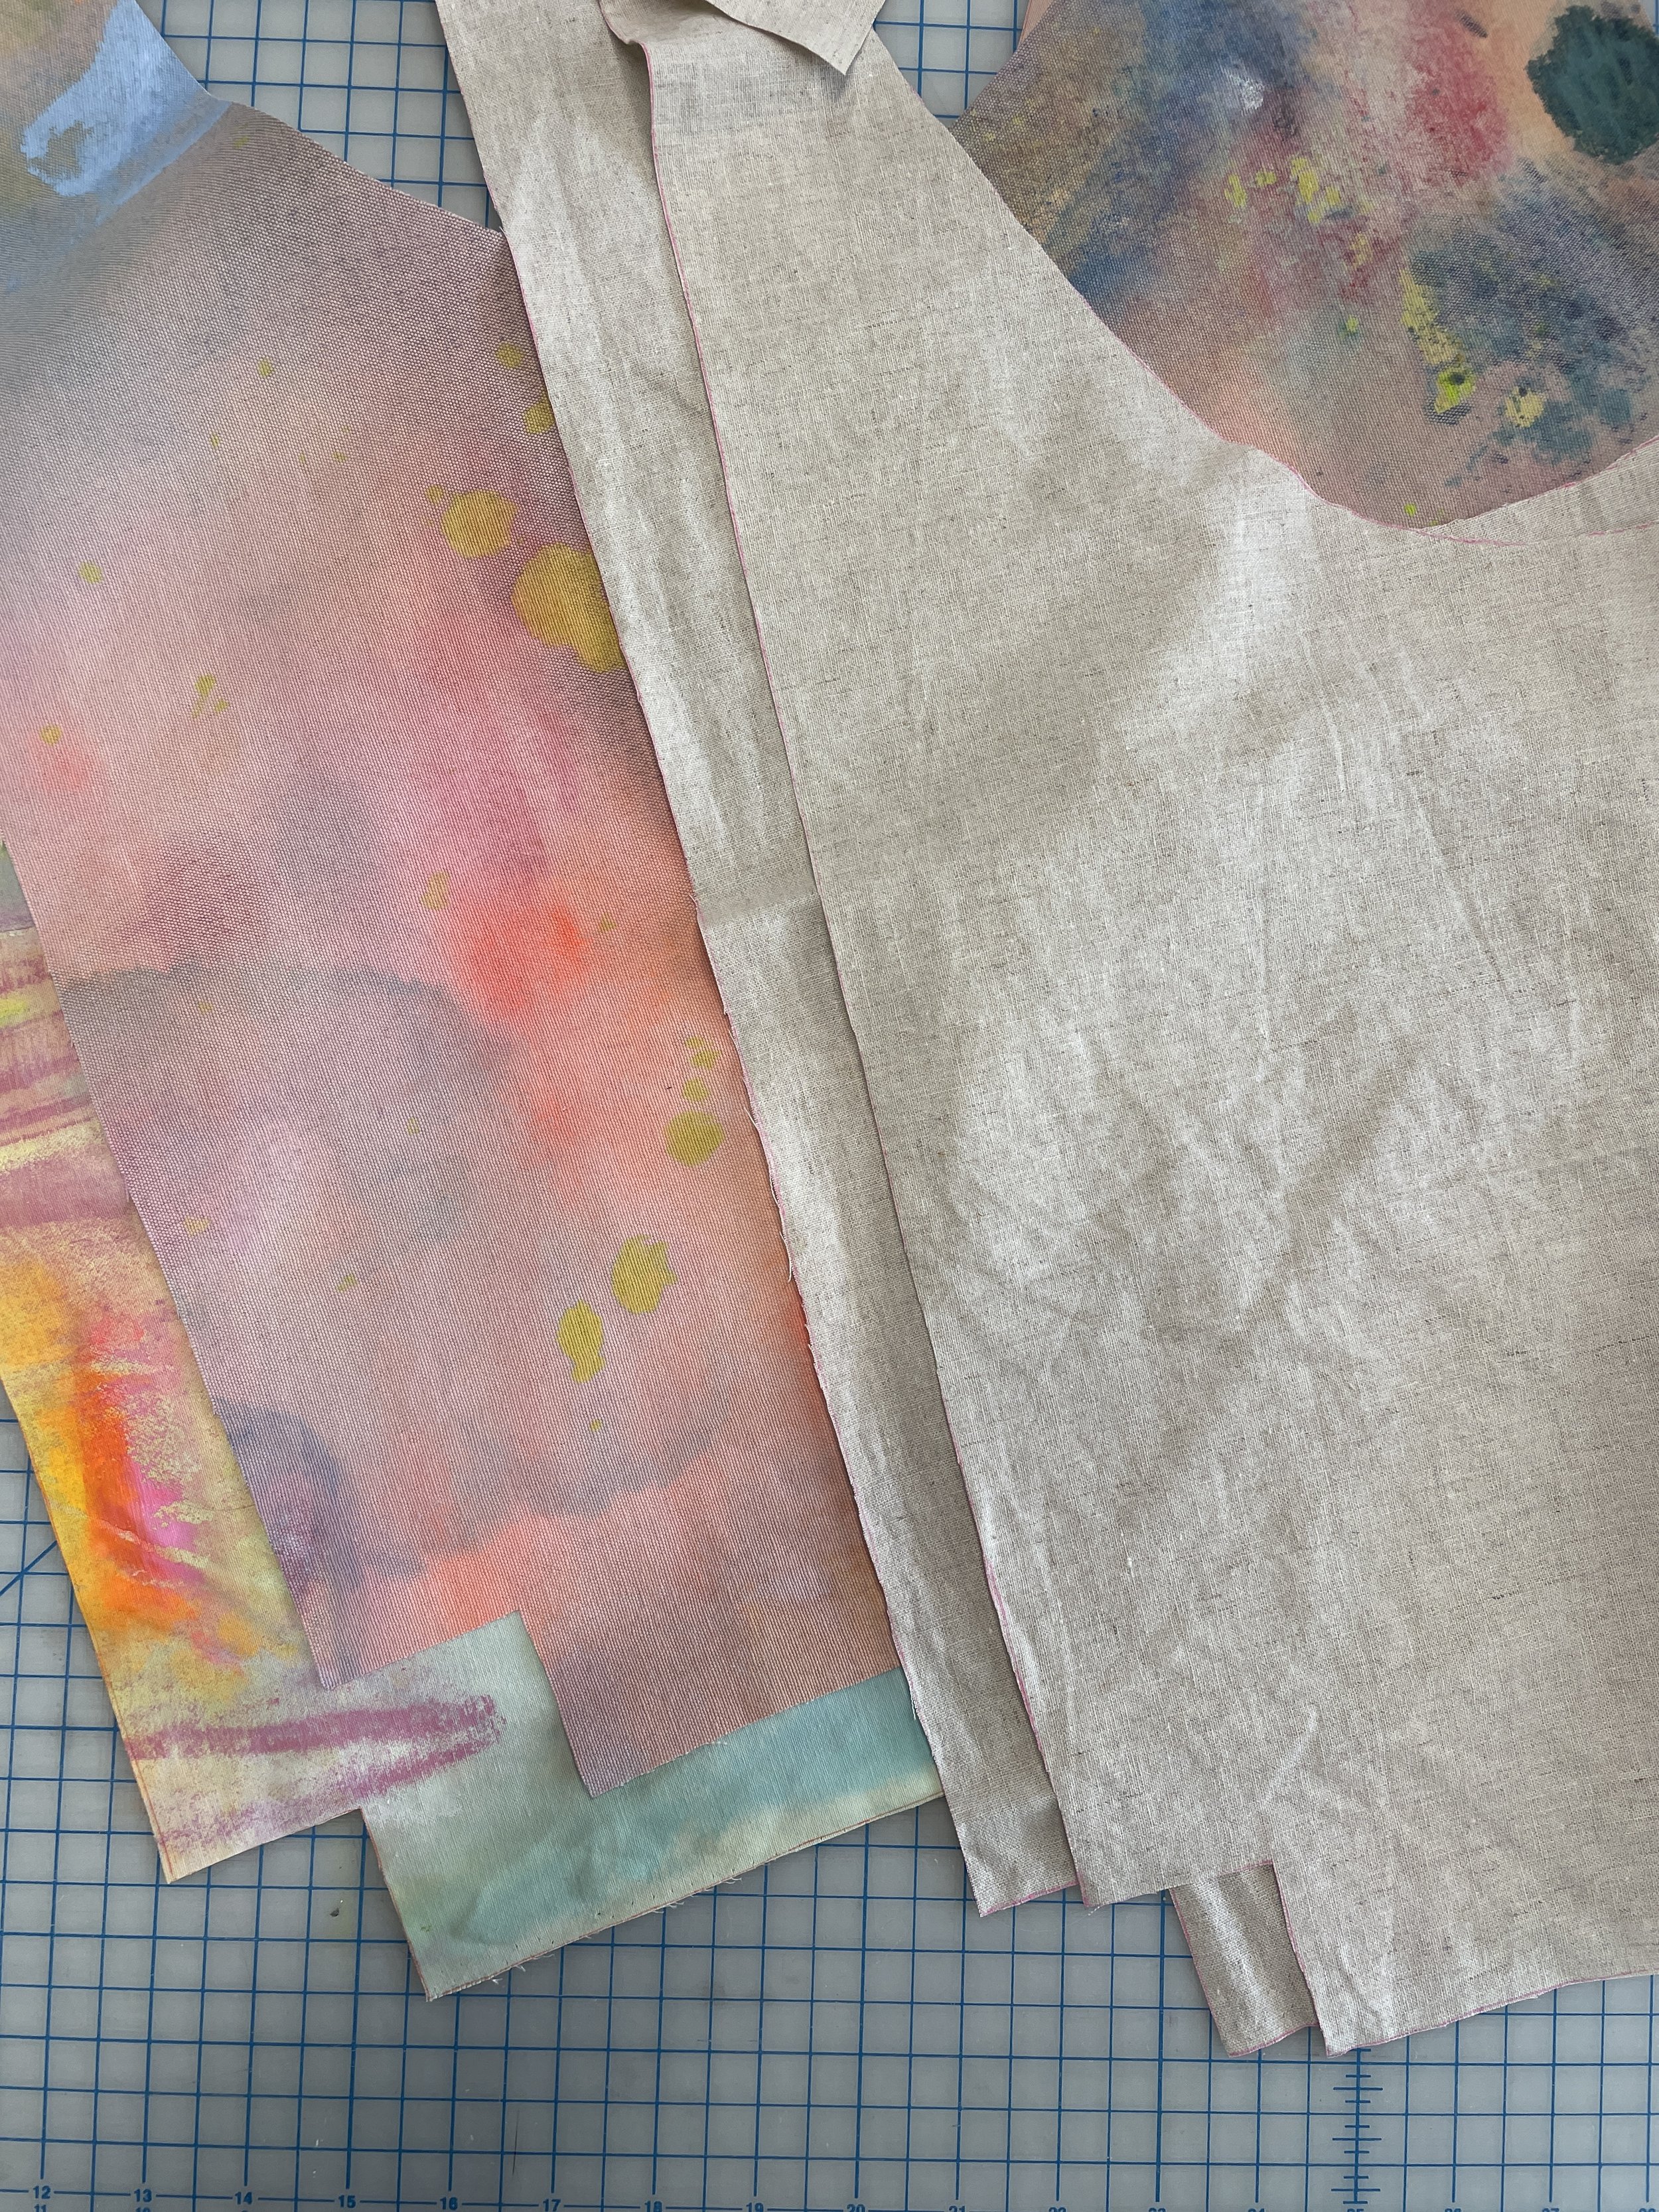
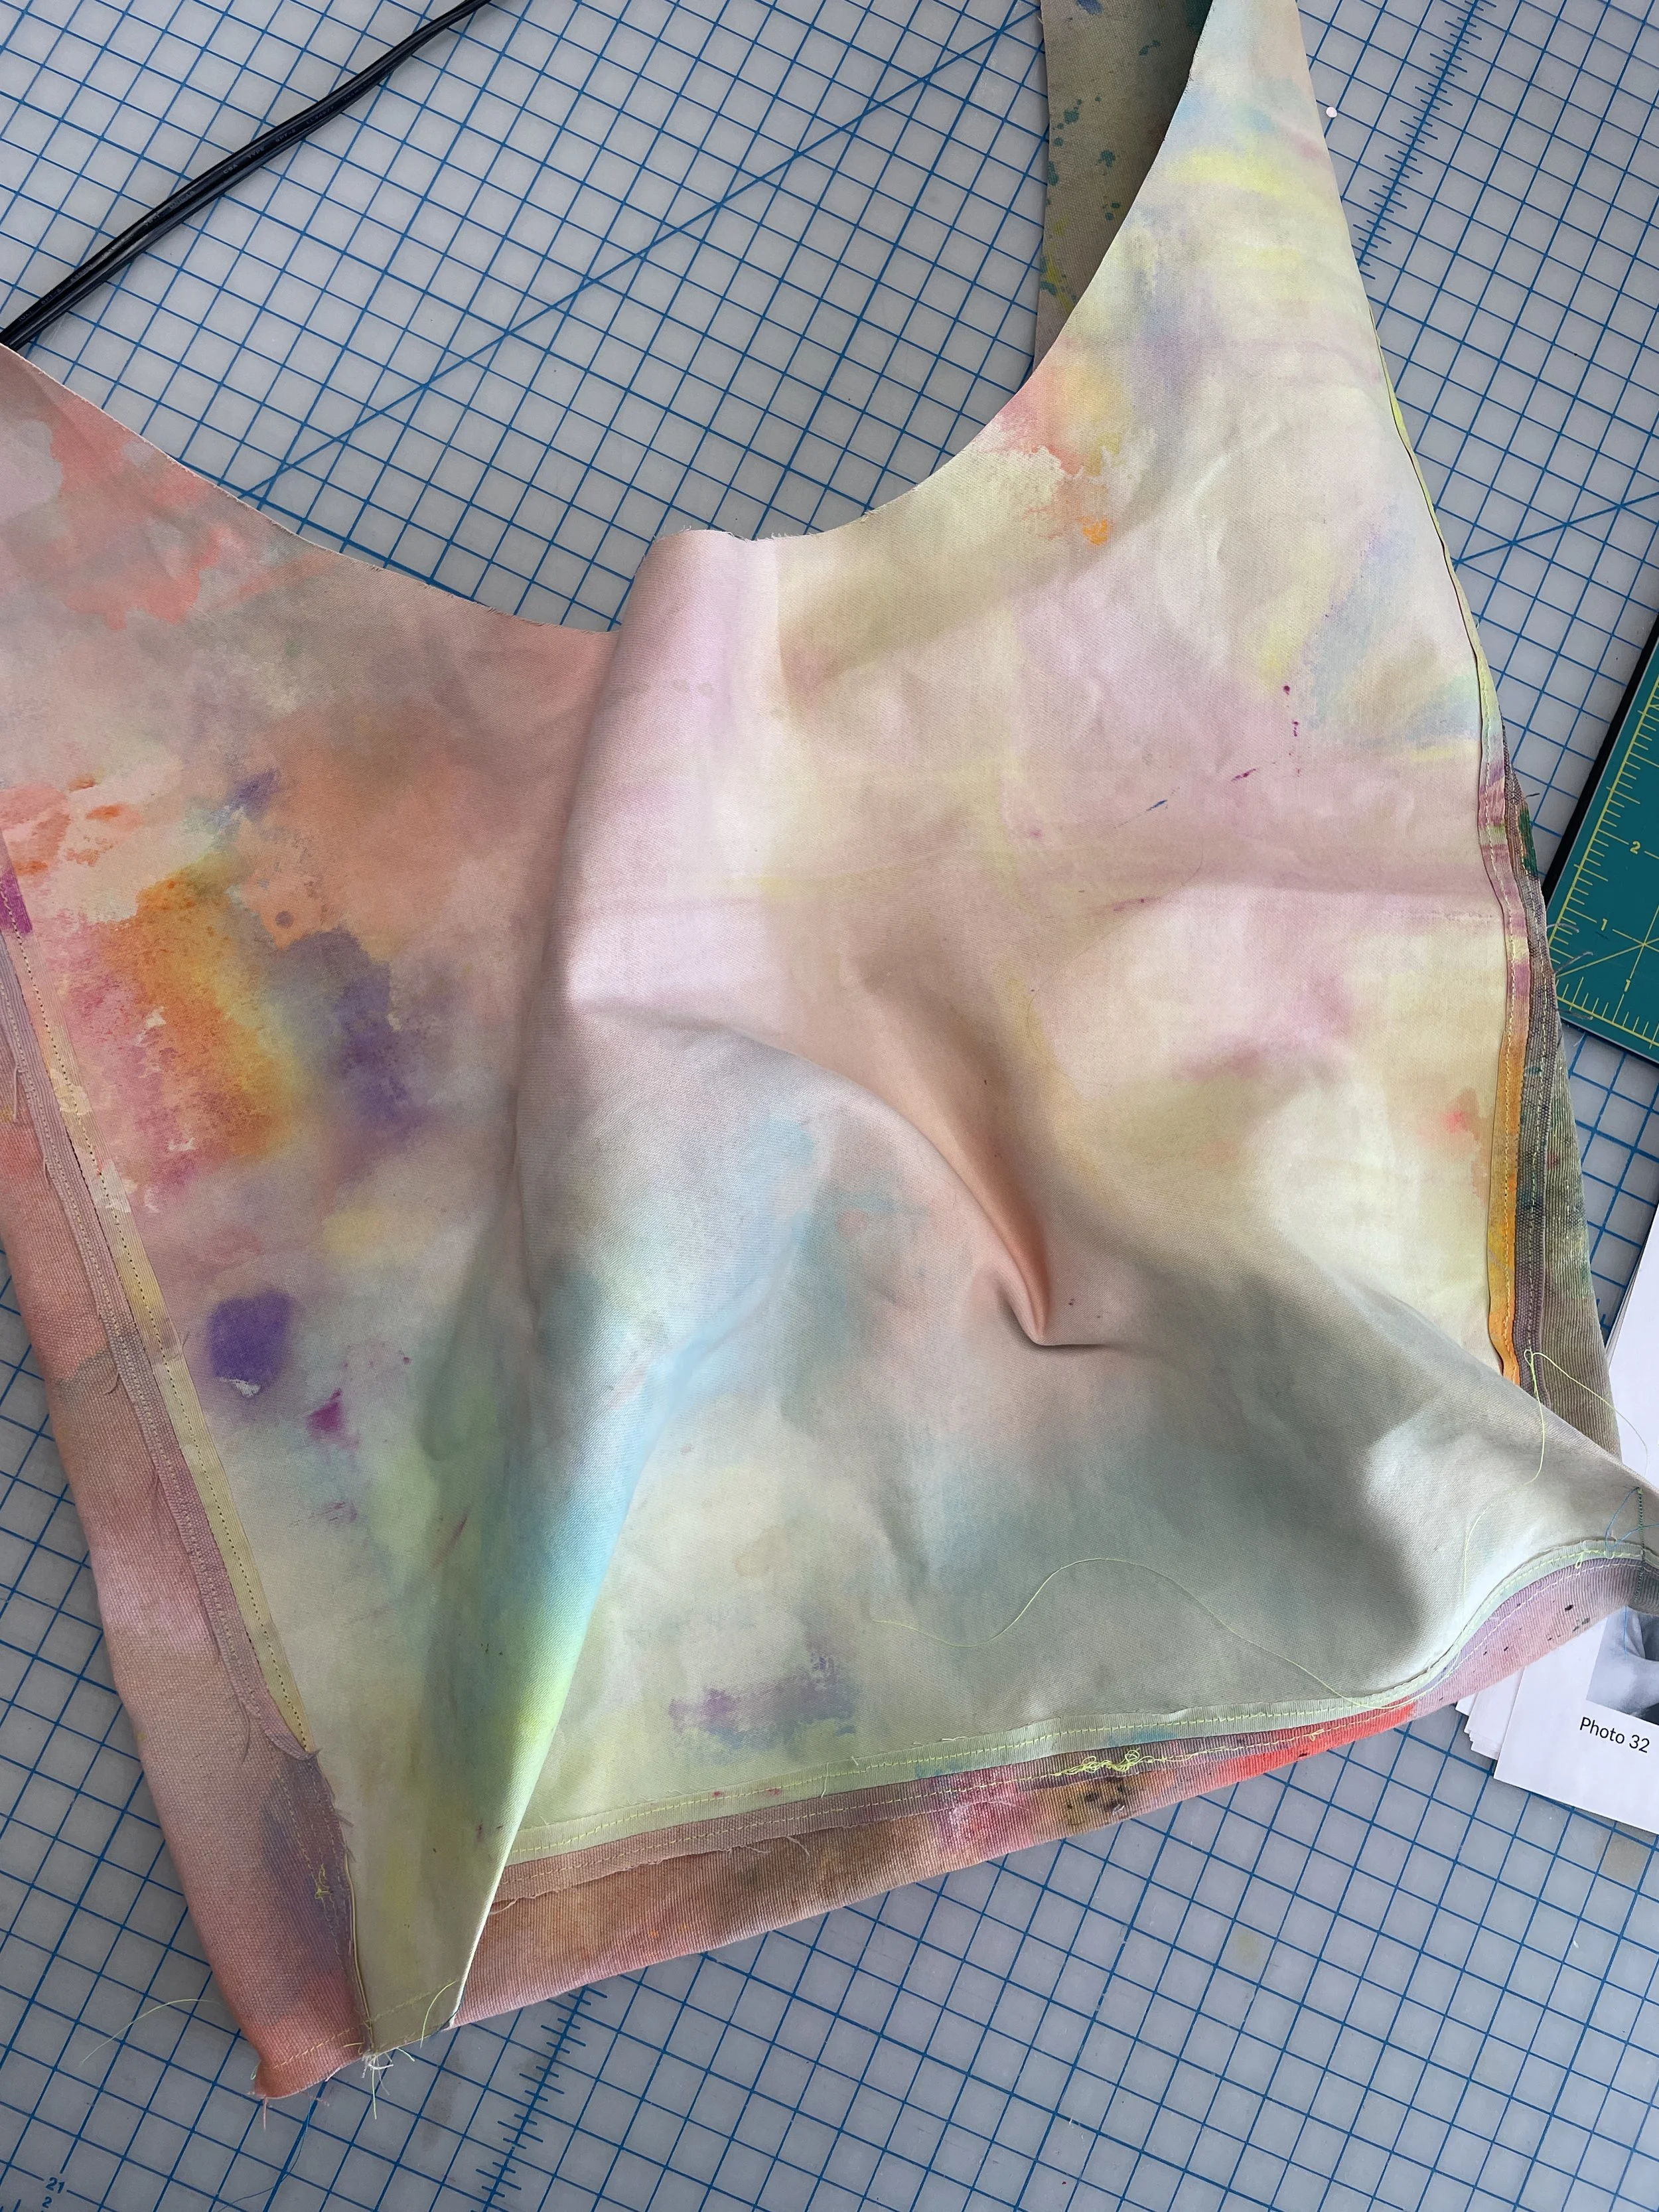
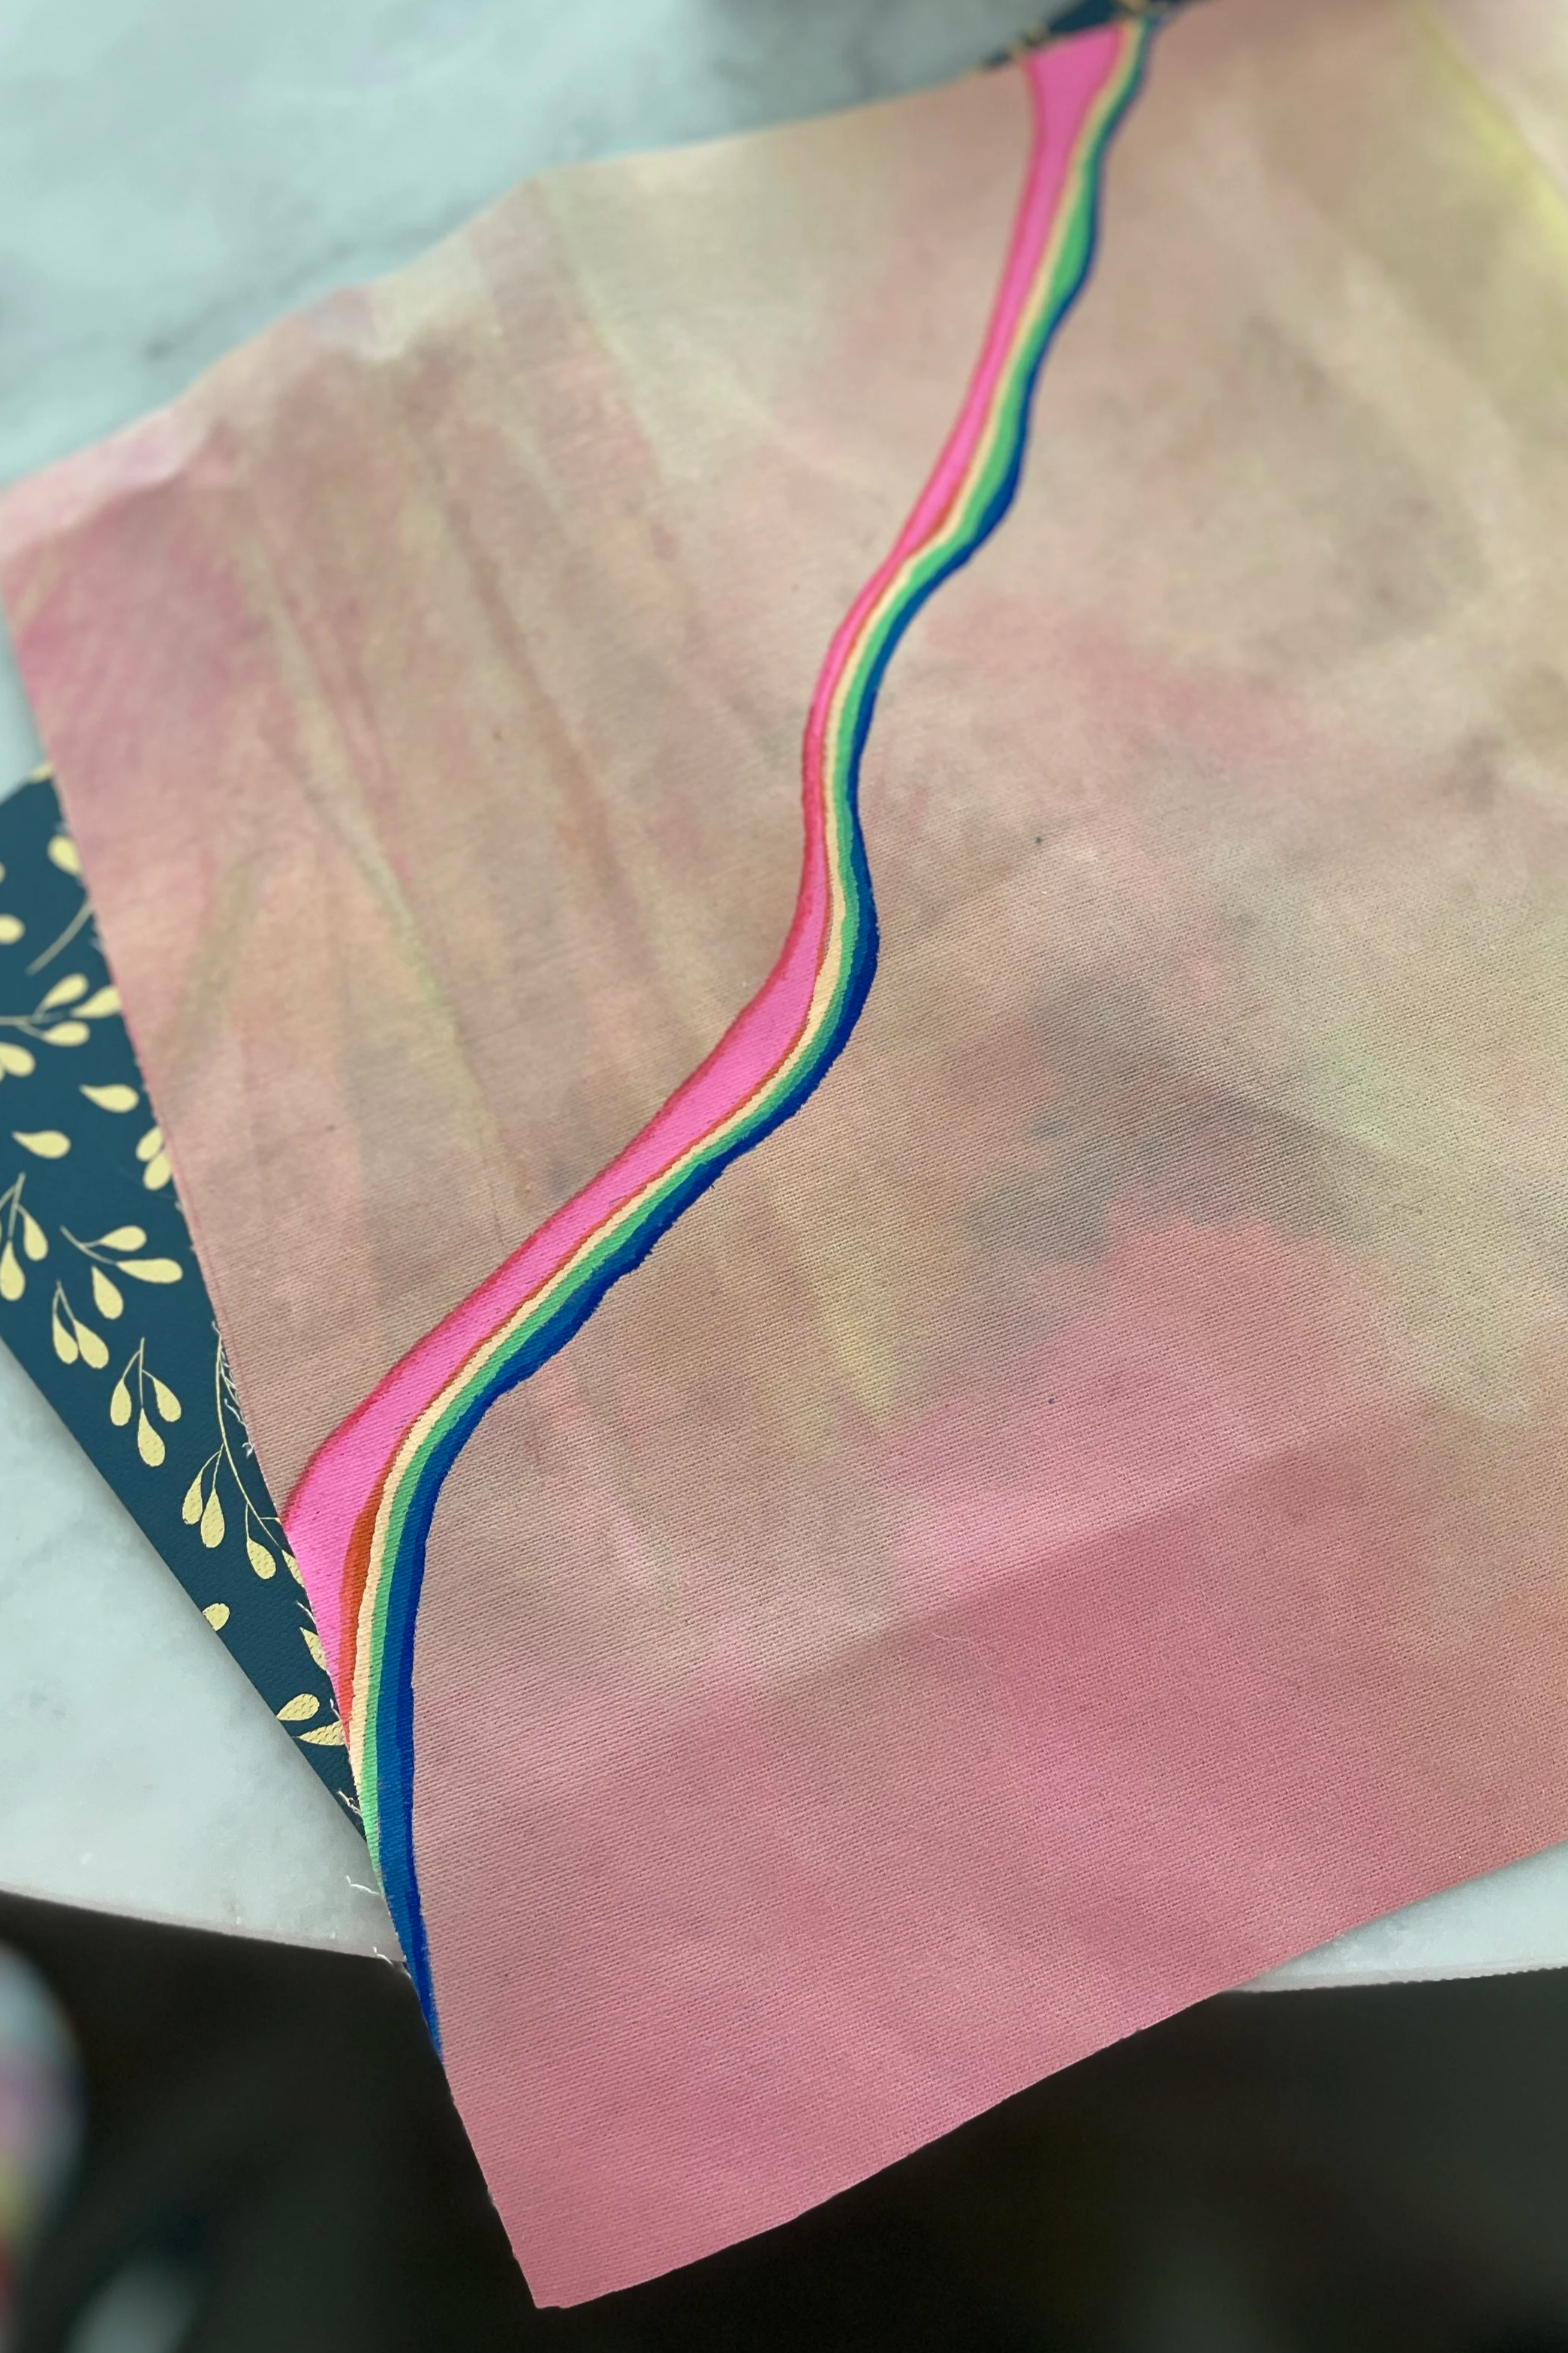
I’d been saving rolls of dyed and painted canvas drop cloth for ✨ something special ✨
Turns out, I have enough to make a dozen of my favorite totes!
My first thought was to sew the totes, and bundle them with a real deal decorating party at the studio:
List totes and patches for individual purchase (on my site) → Each tote purchase = free entrance to studio tote party (patch purchase optional, though the main reason for hosting the party) → Party: communal studio gathering where we design the layout of your patches (on the totes) and demo how to attach them → Then comes a choice… take your tote and patches to go (and attach them yourself later) or leave them with me, and for a flat rate, I attach the patches in the thread colors/stitches of your choosing.
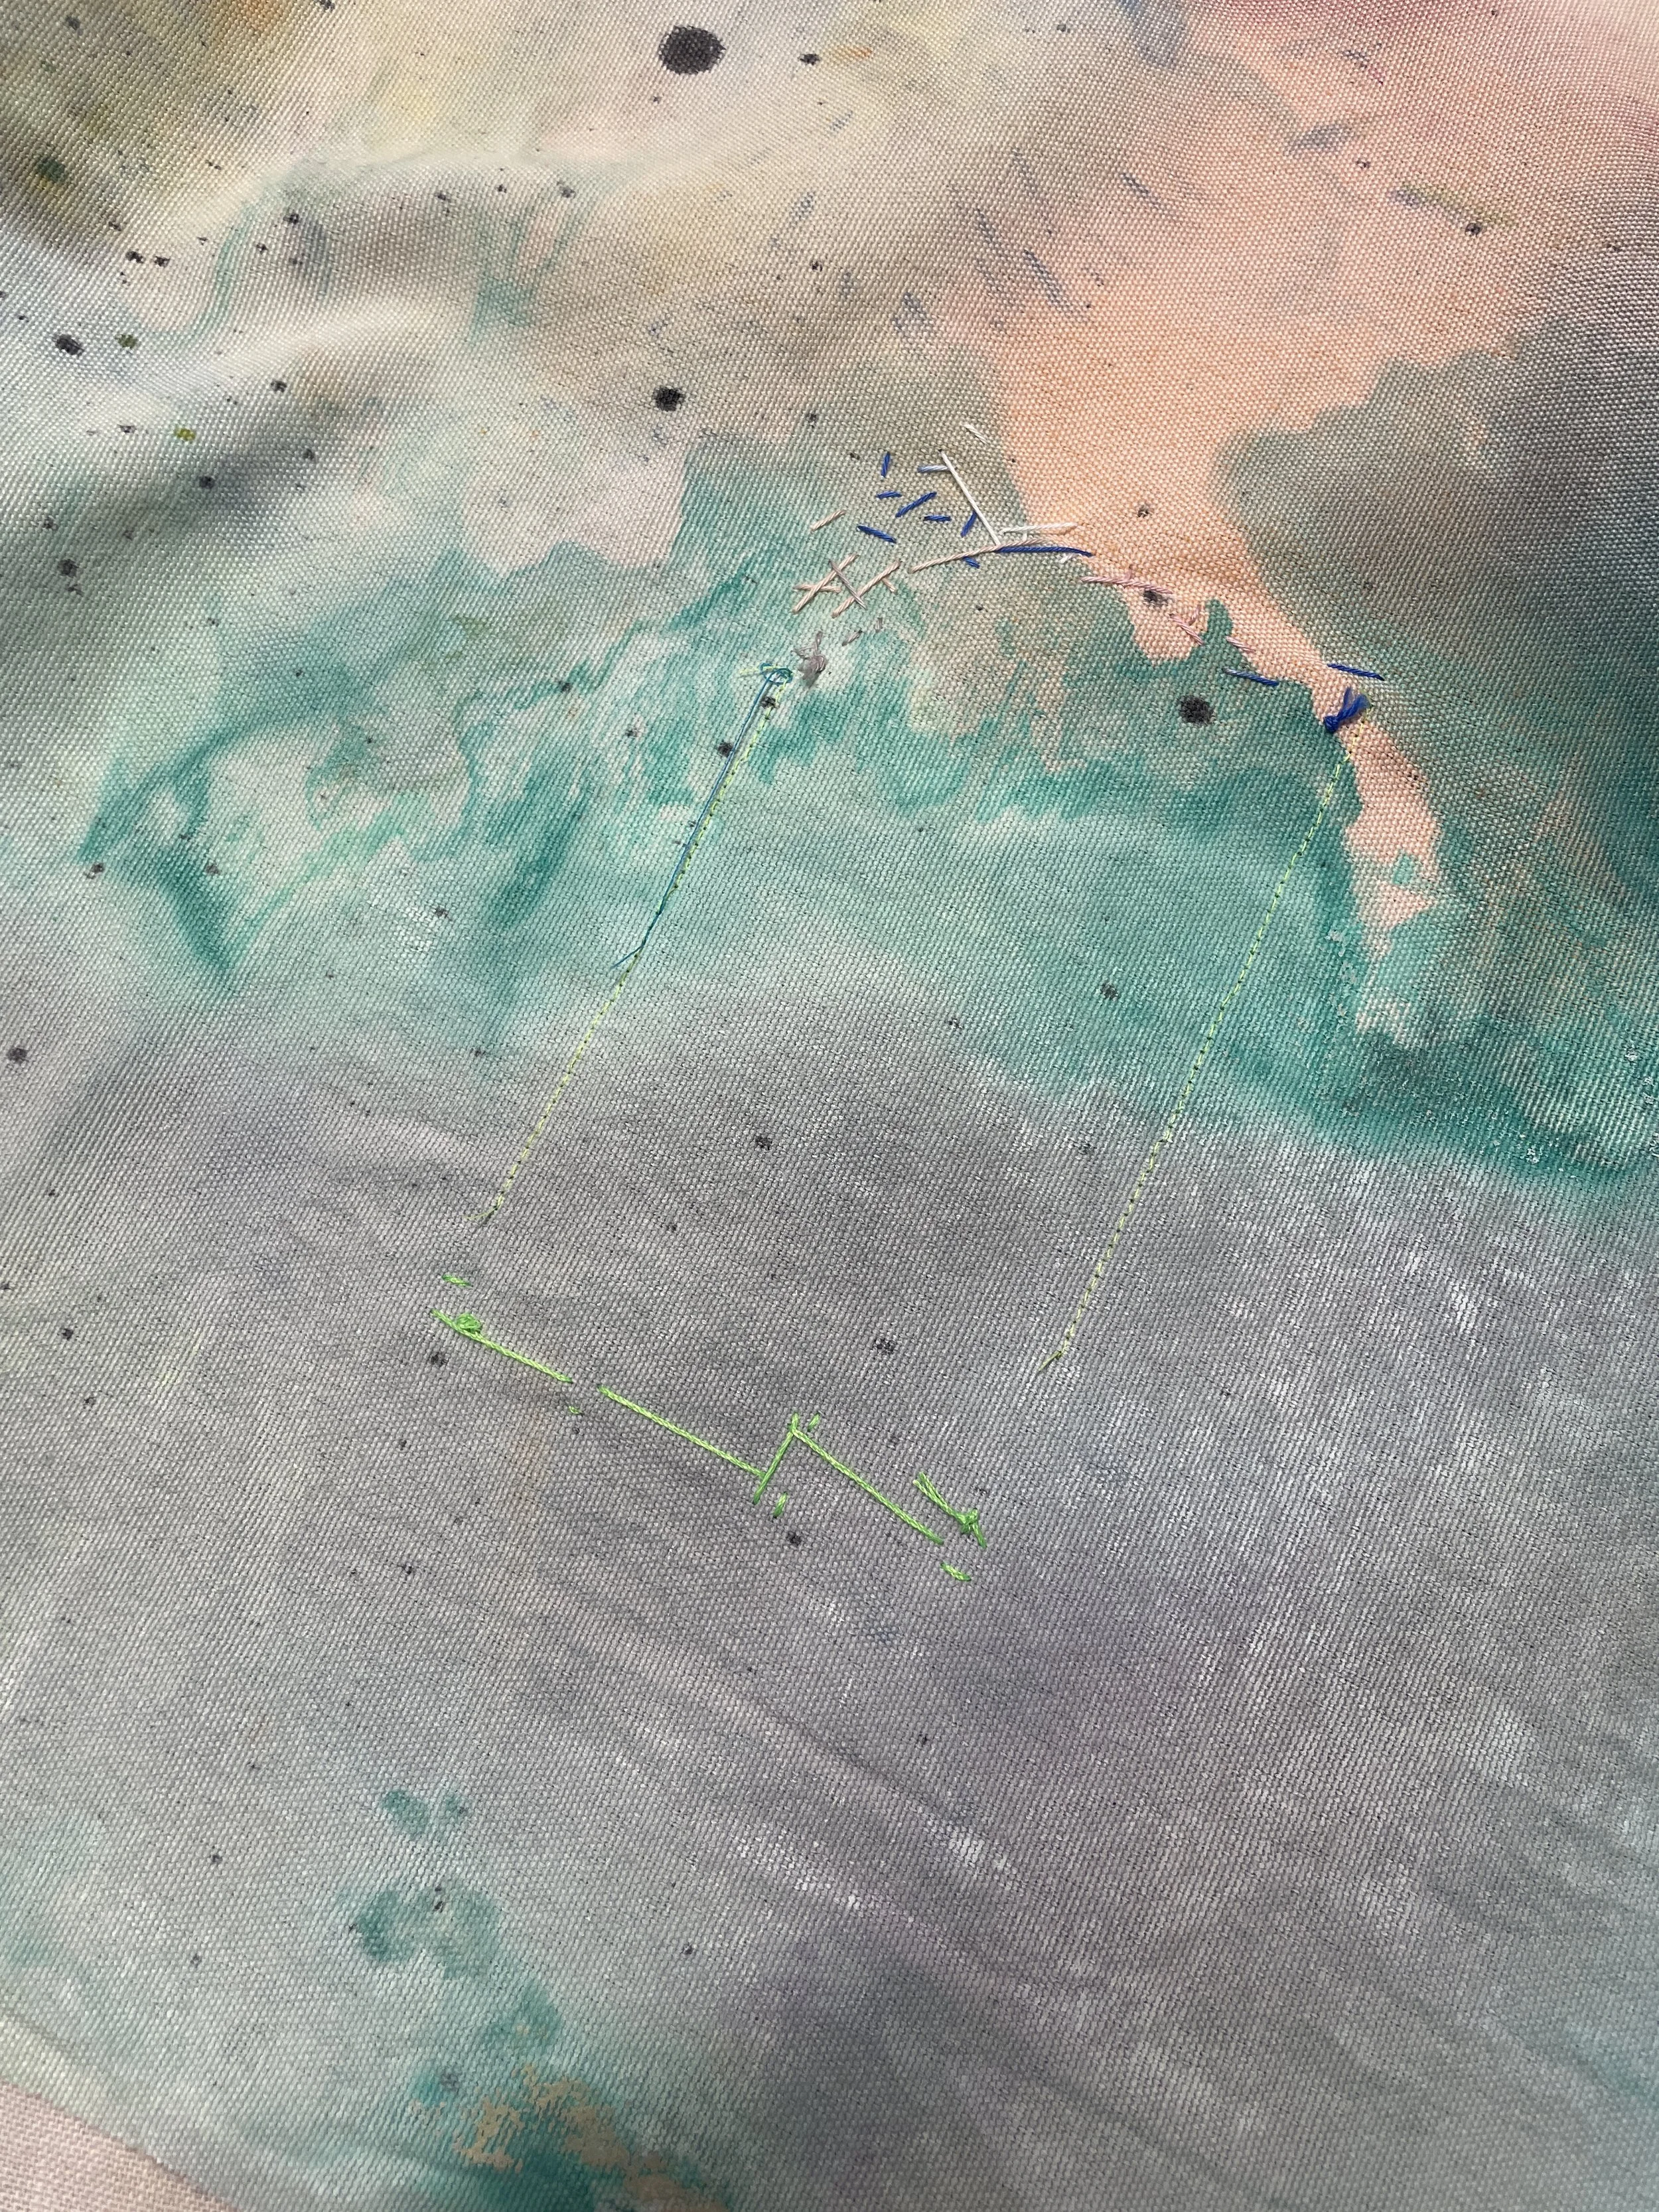
But as I mulled things over… that’s a lot of work for twelve totes. And I actually prefer attaching/stitching the patches before the bags are fully assembled, because it’s more efficient and easier to hide stitch work between panels.
I decided on a hybrid plan:
Each tote will be assembled and decorated with a curated assortment of patches (3-5ish/tote) → A la carte patches will be offered for purchase → A discounted rate will be offered if you’d like an in-person or Zoom hand sewing lesson with me (1:1 or group) → Optional: we’ll make a date, and I’ll teach you my tips and tricks for attaching patches whether by machine or by hand.
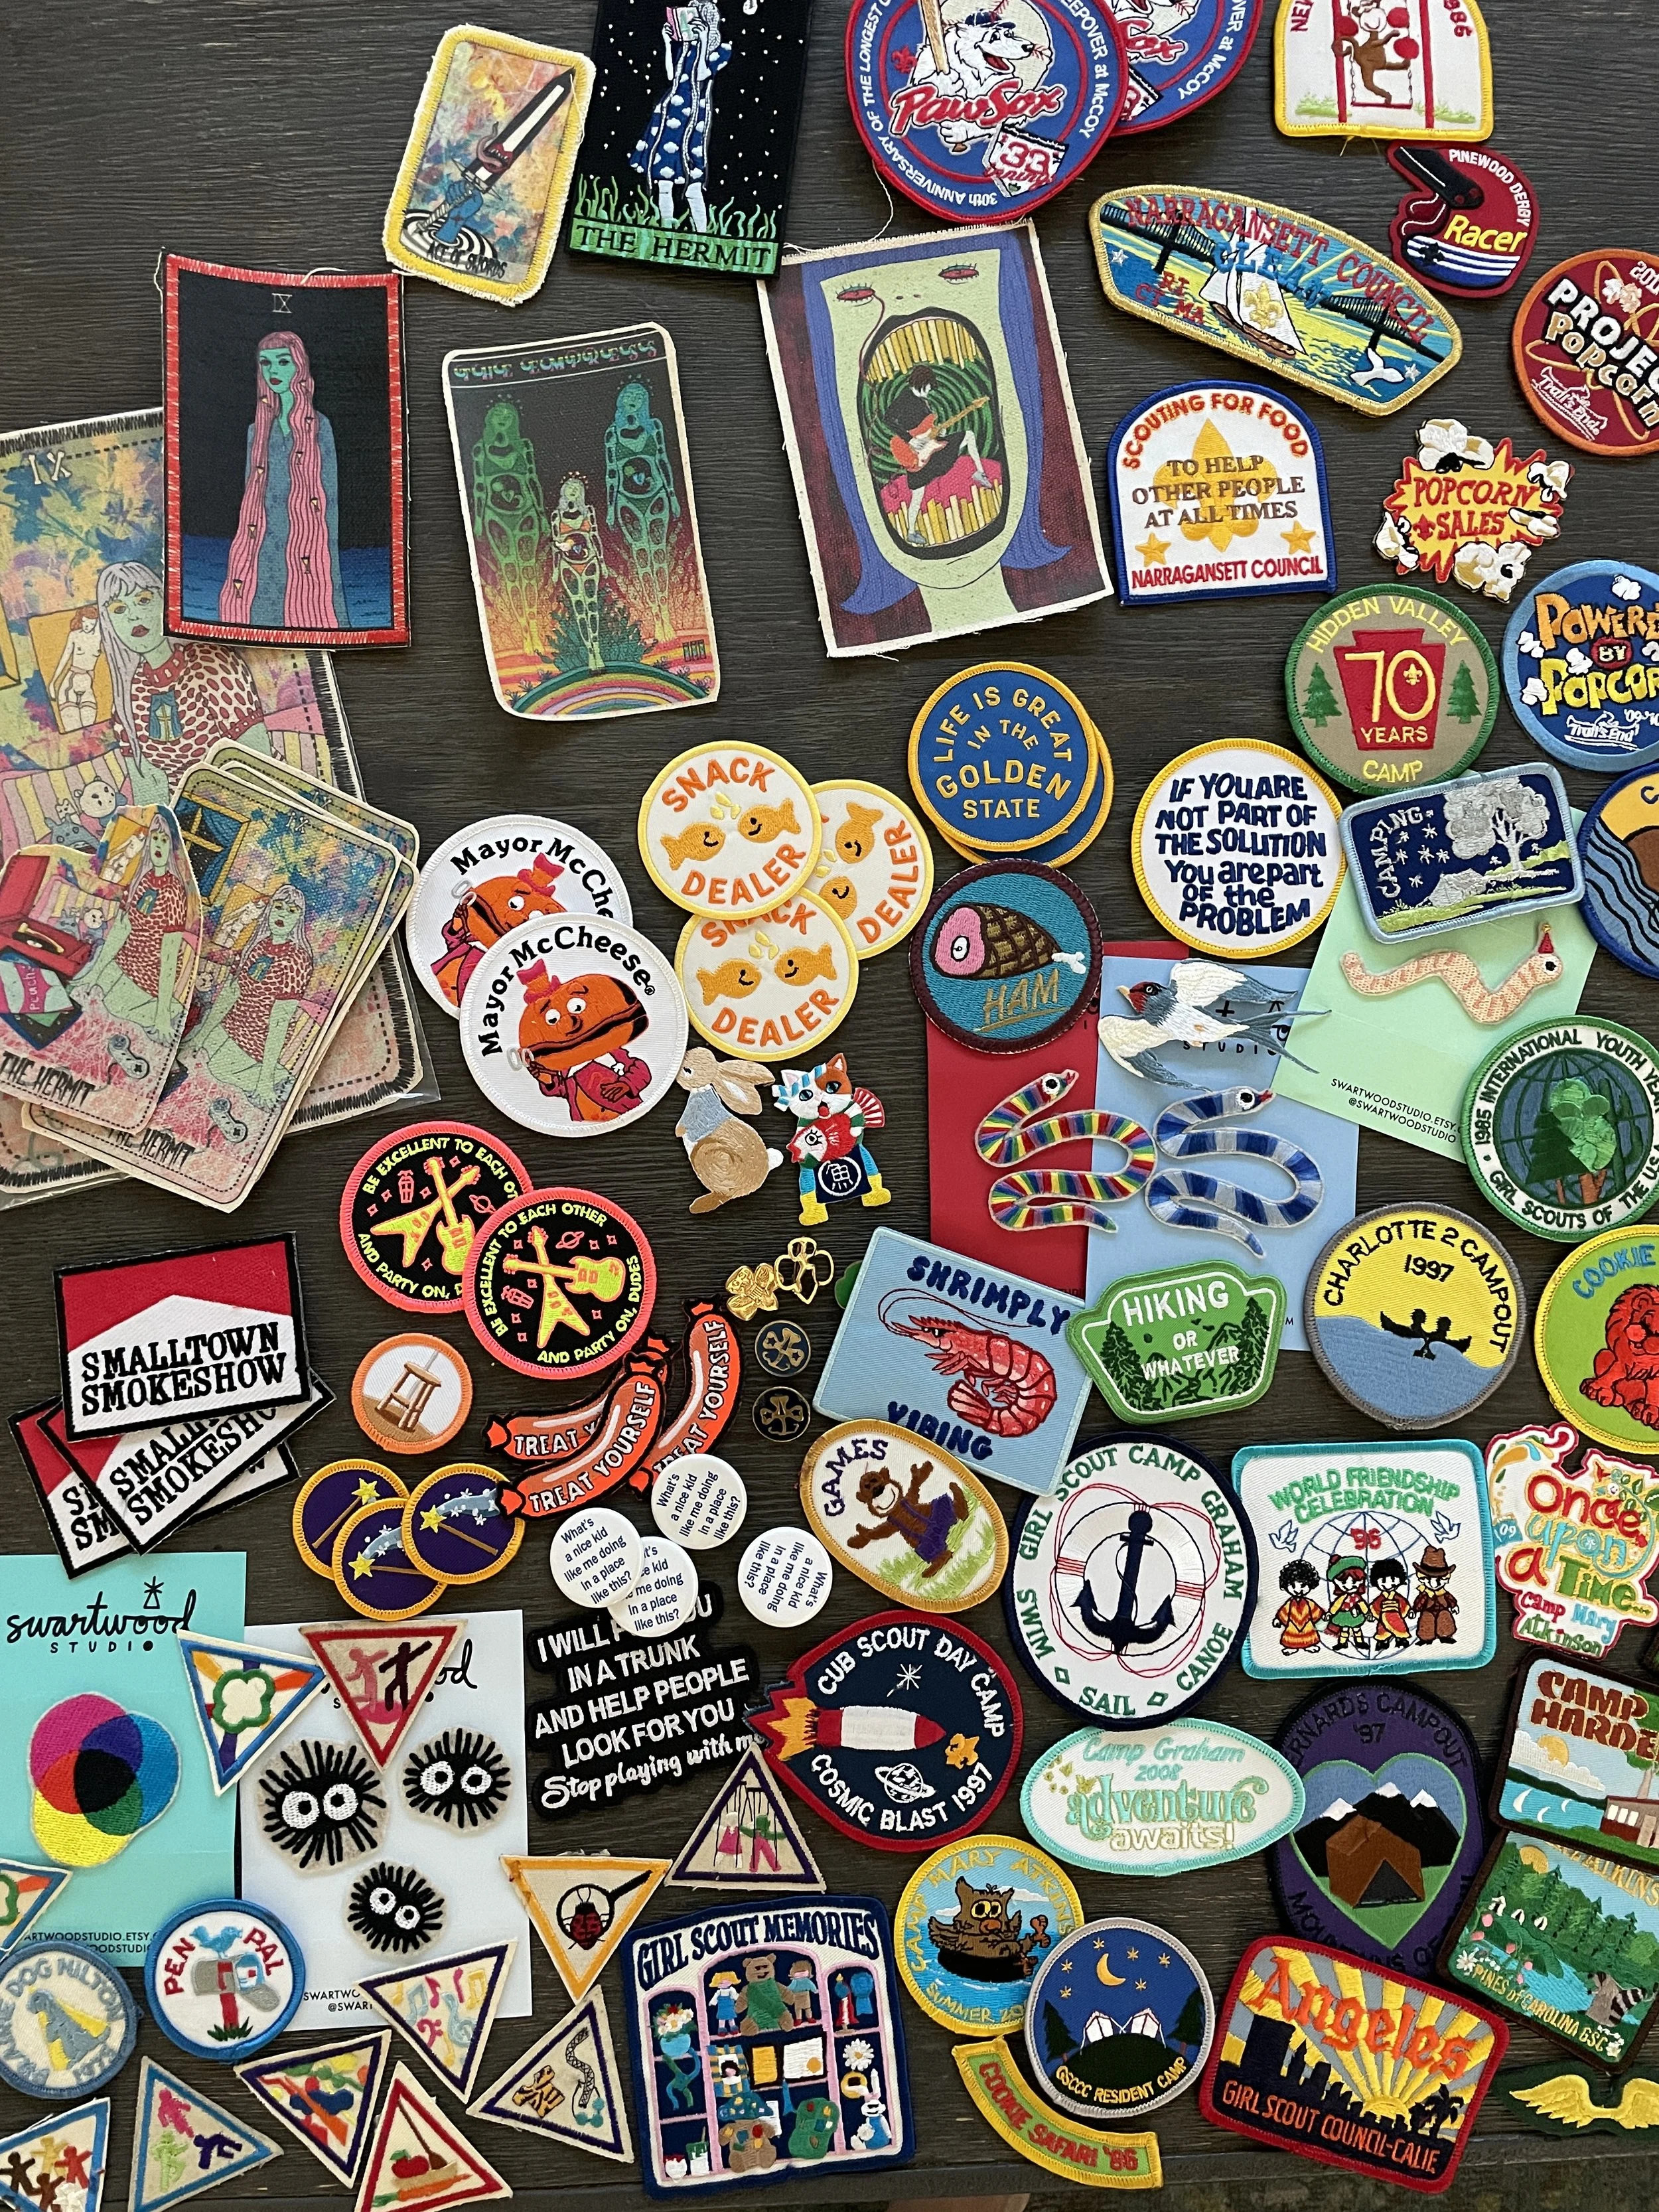
Some of my favorite {new + vintage} patches:
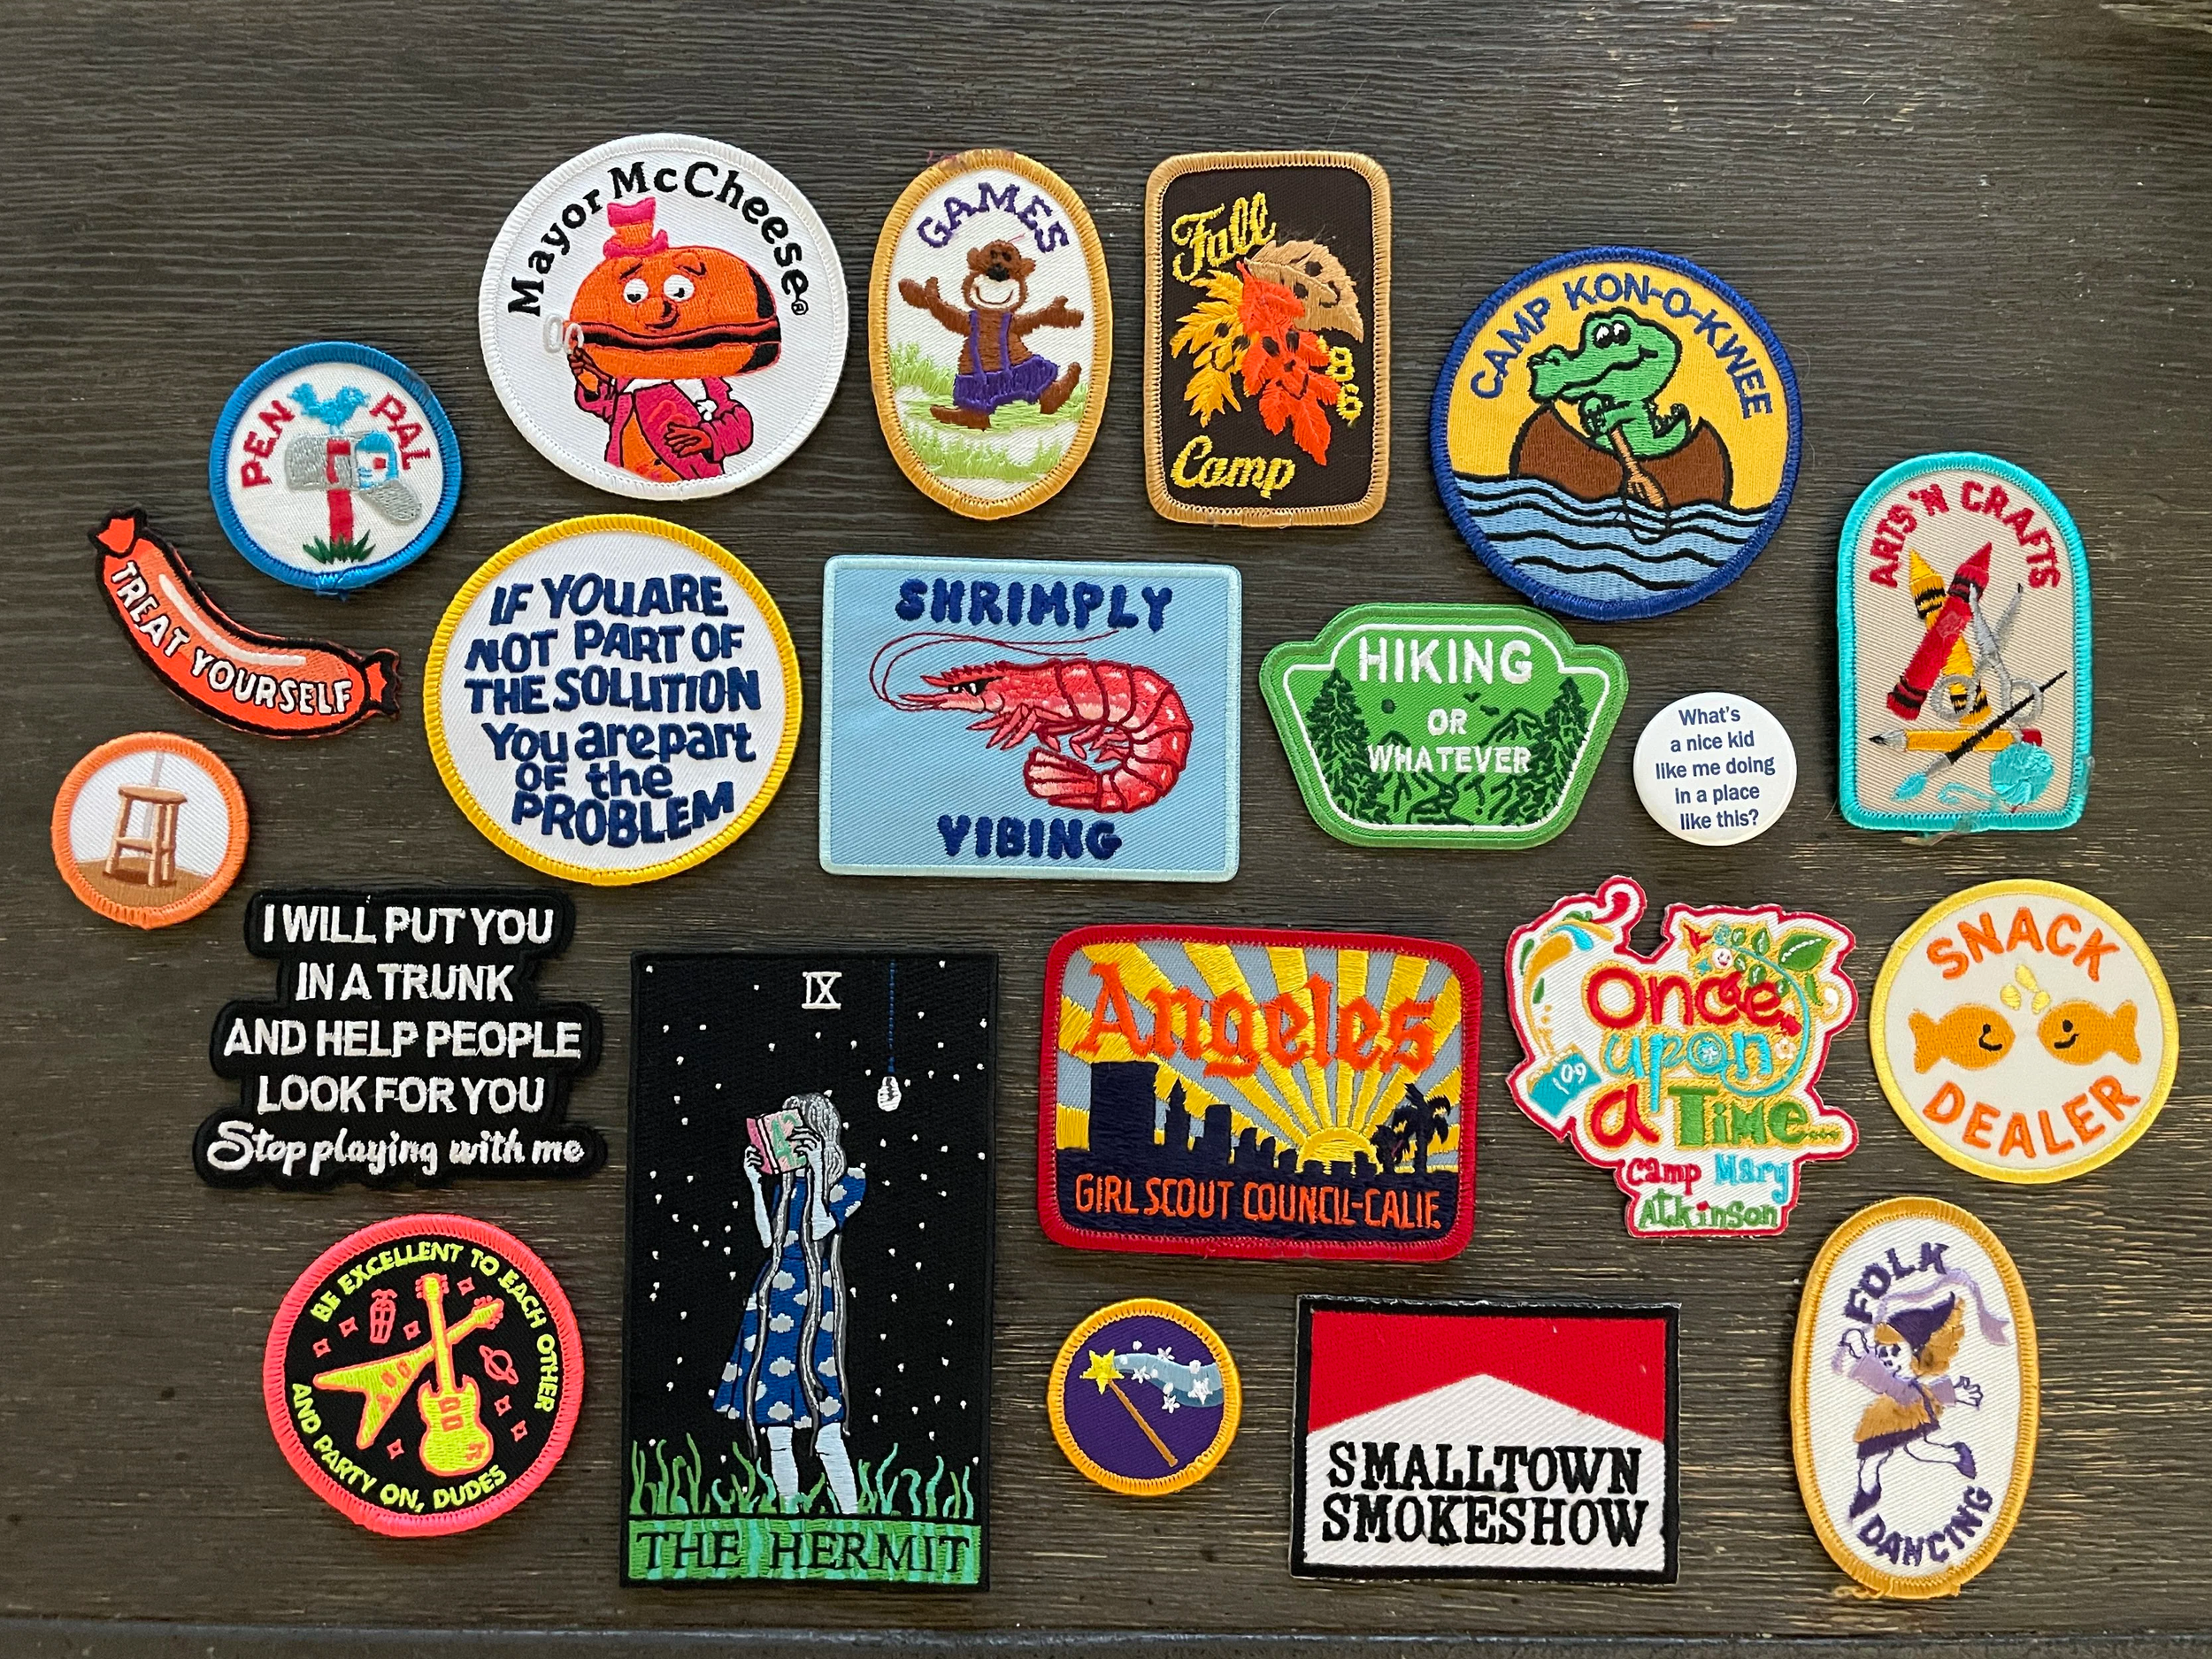
I hope people continue decorating their bags beyond what I start them with, and have the most fun turning them into cheeky collaborative pieces of art.
More to follow once they’re constructed. I’m getting ahead of myself {again}.
↓ Playing with patch pairings and placements
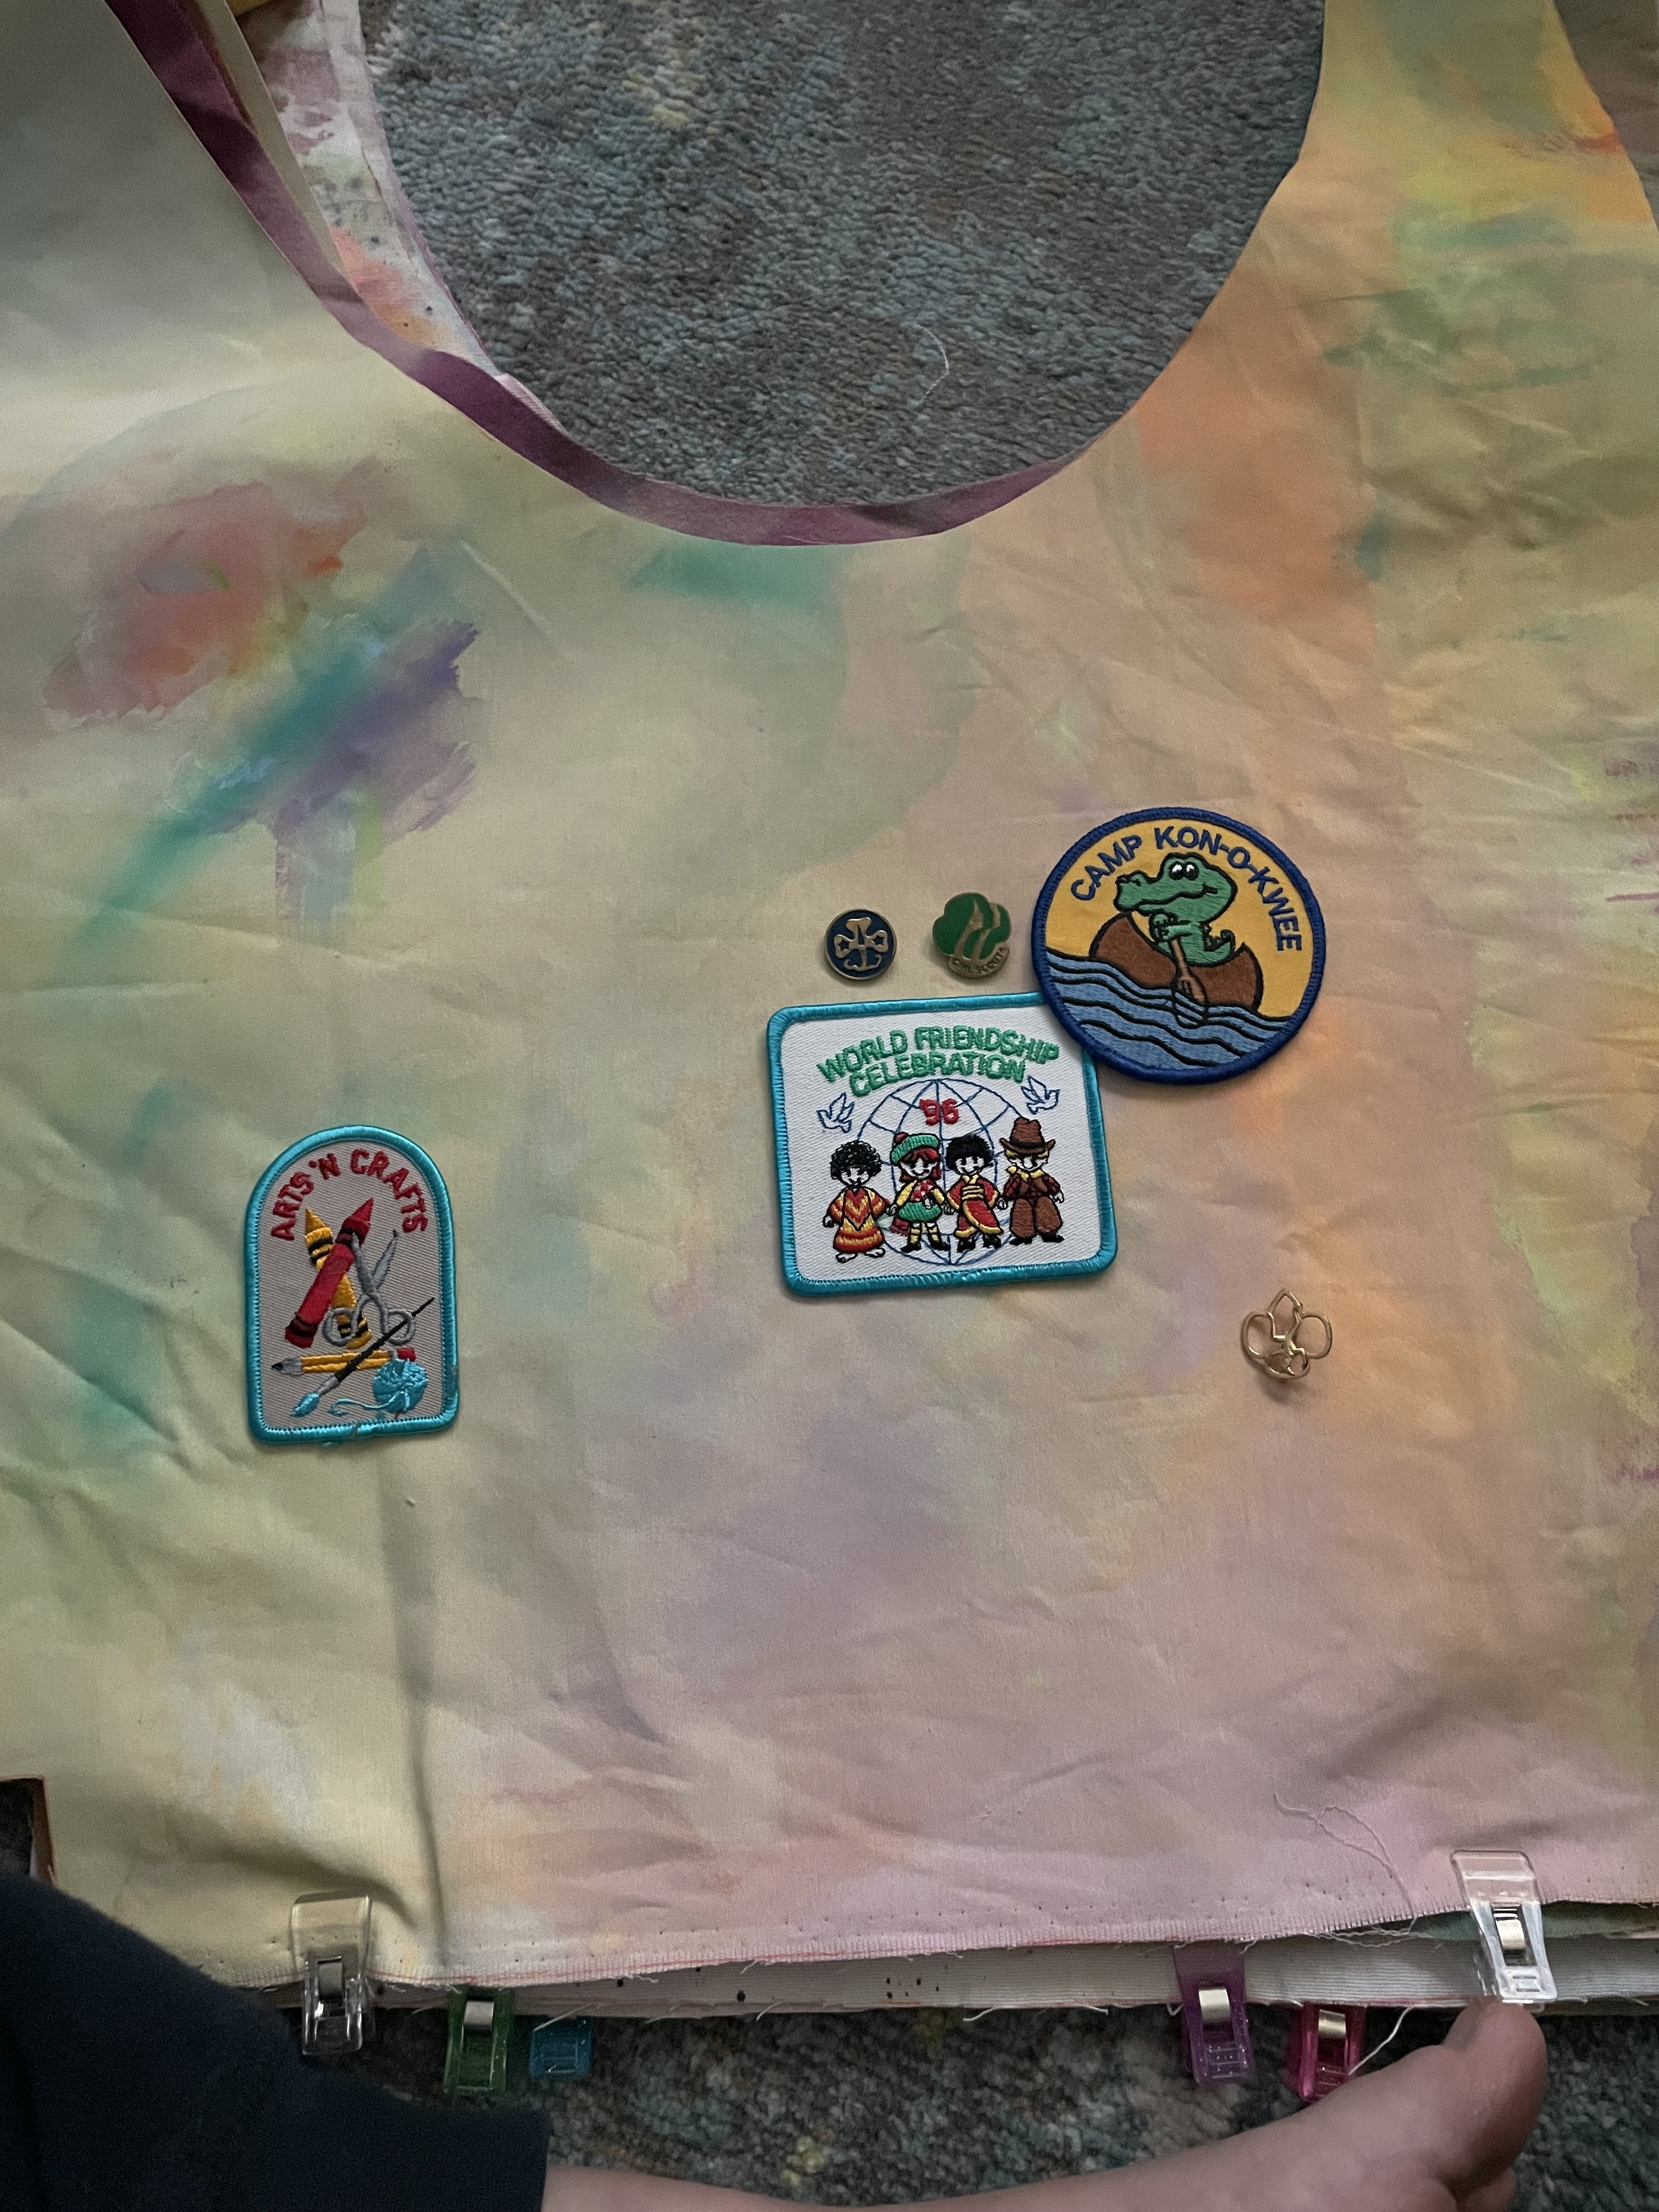
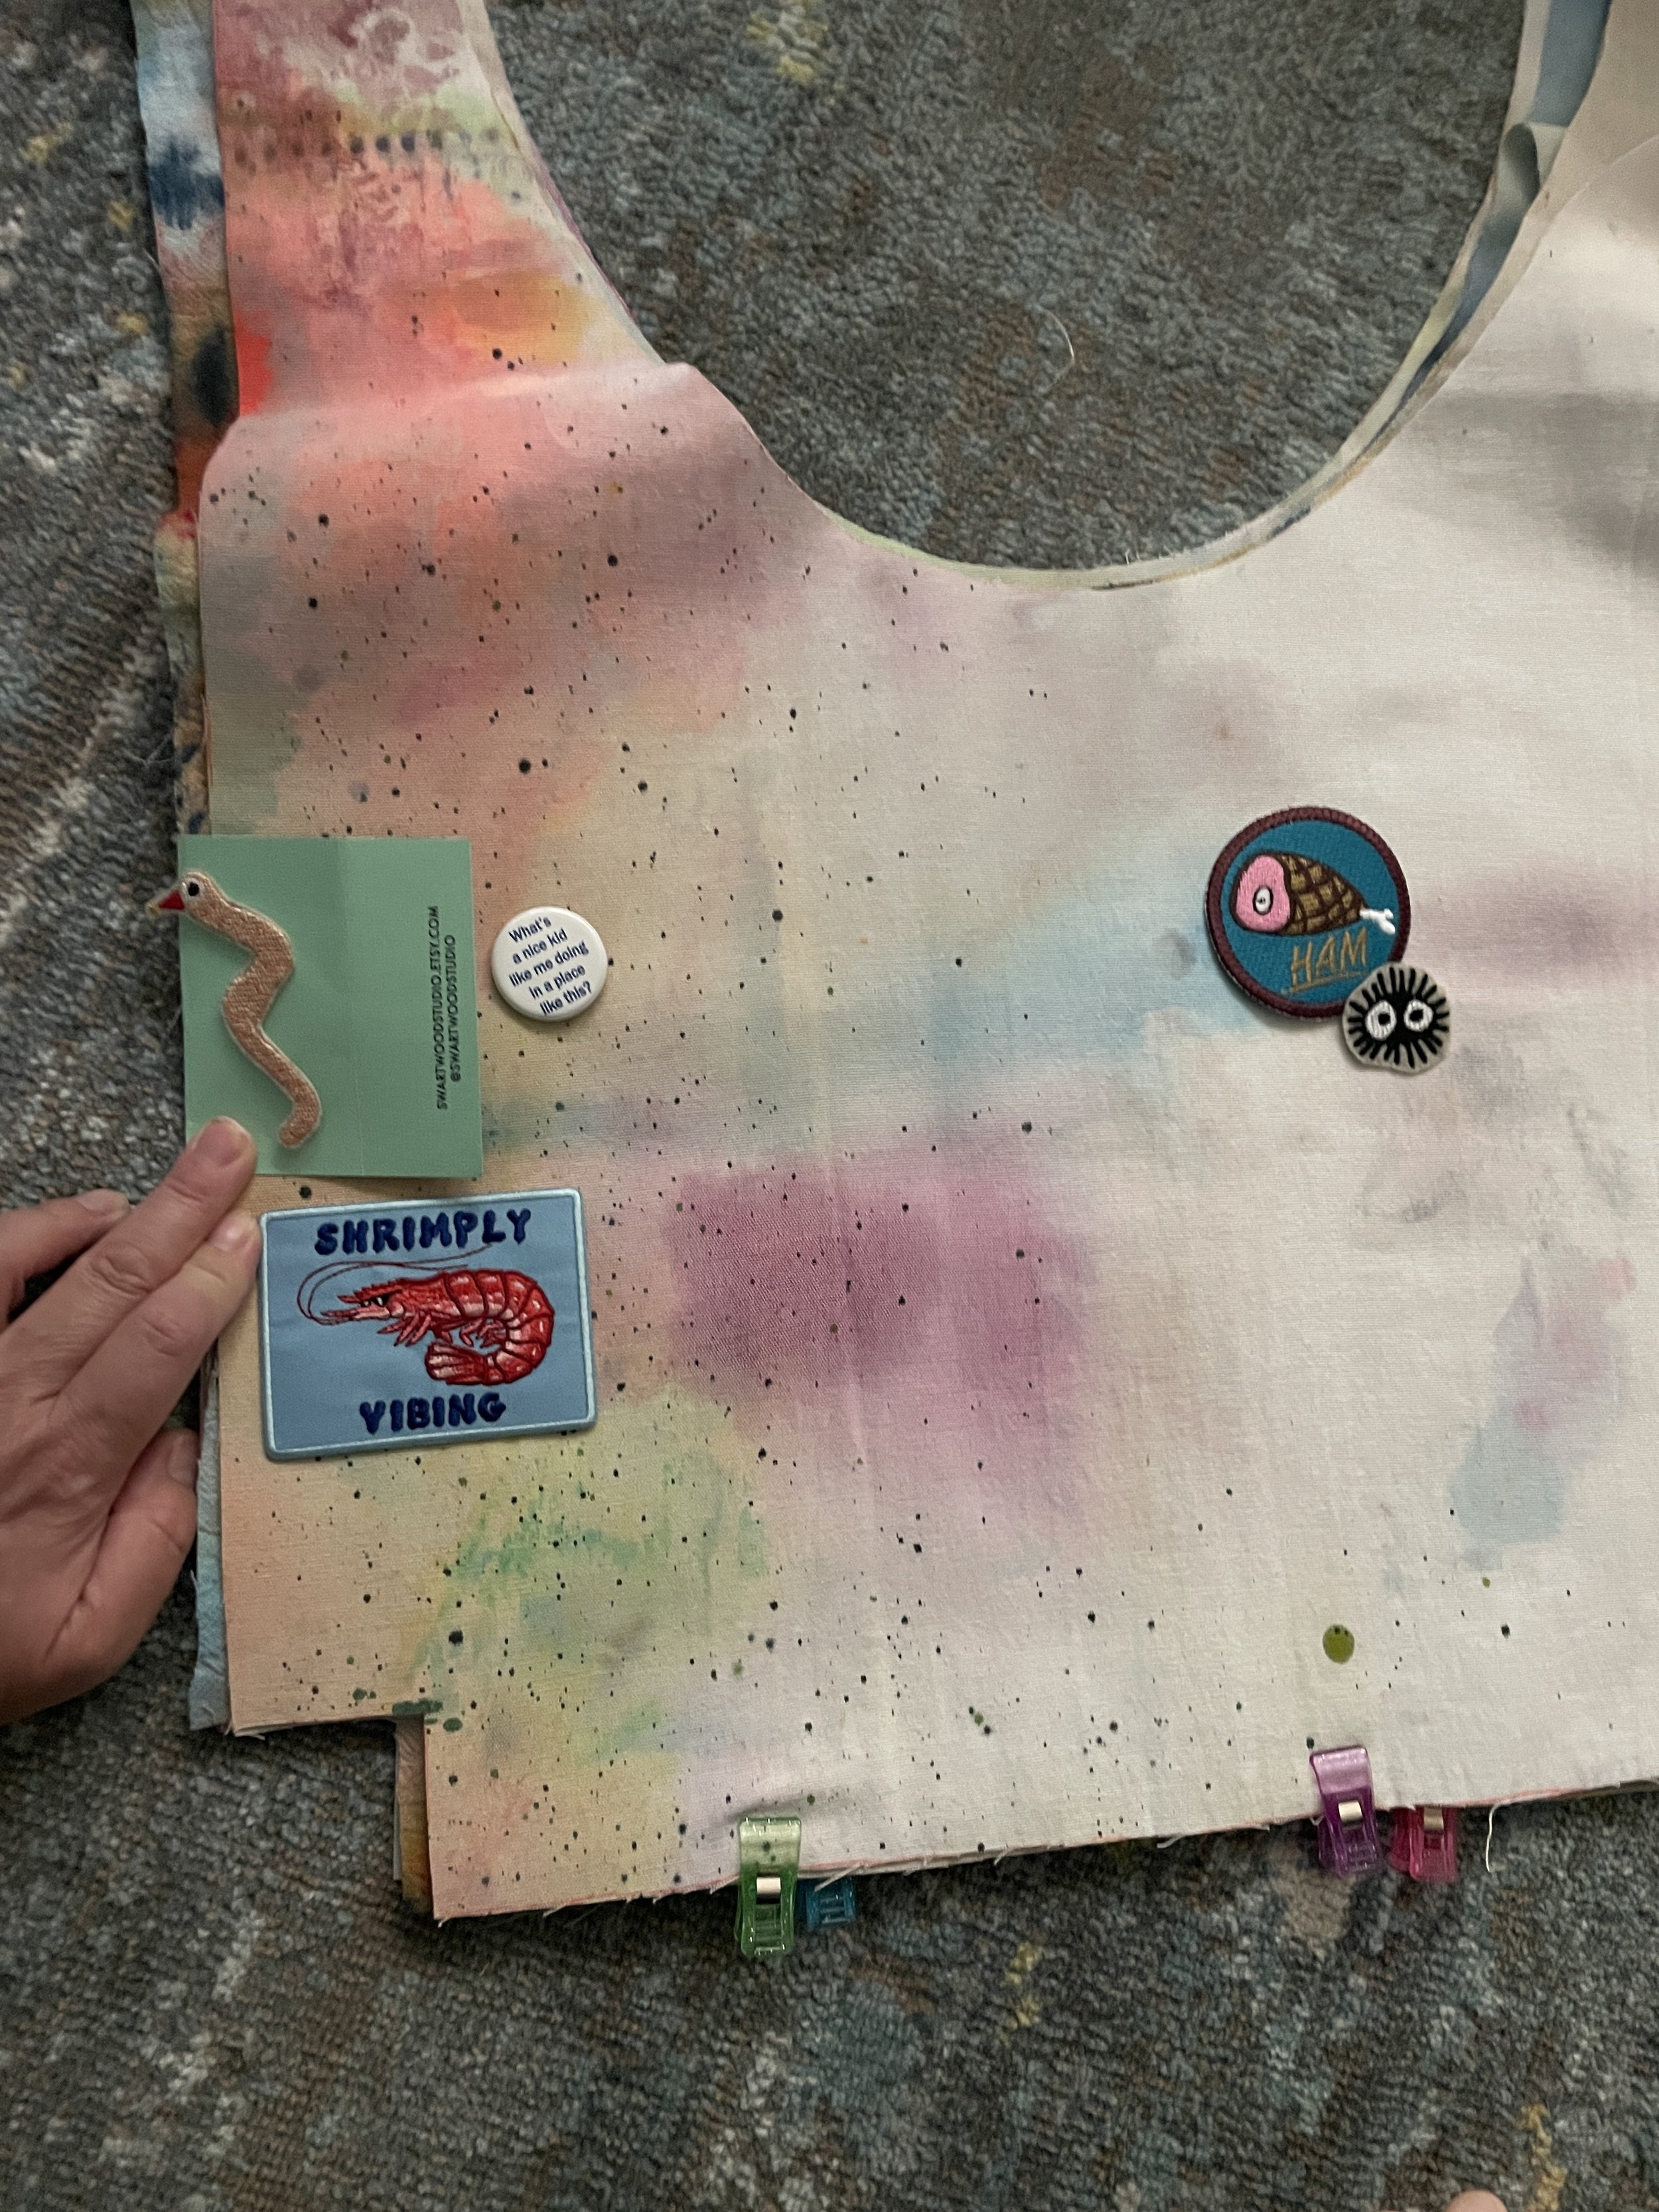
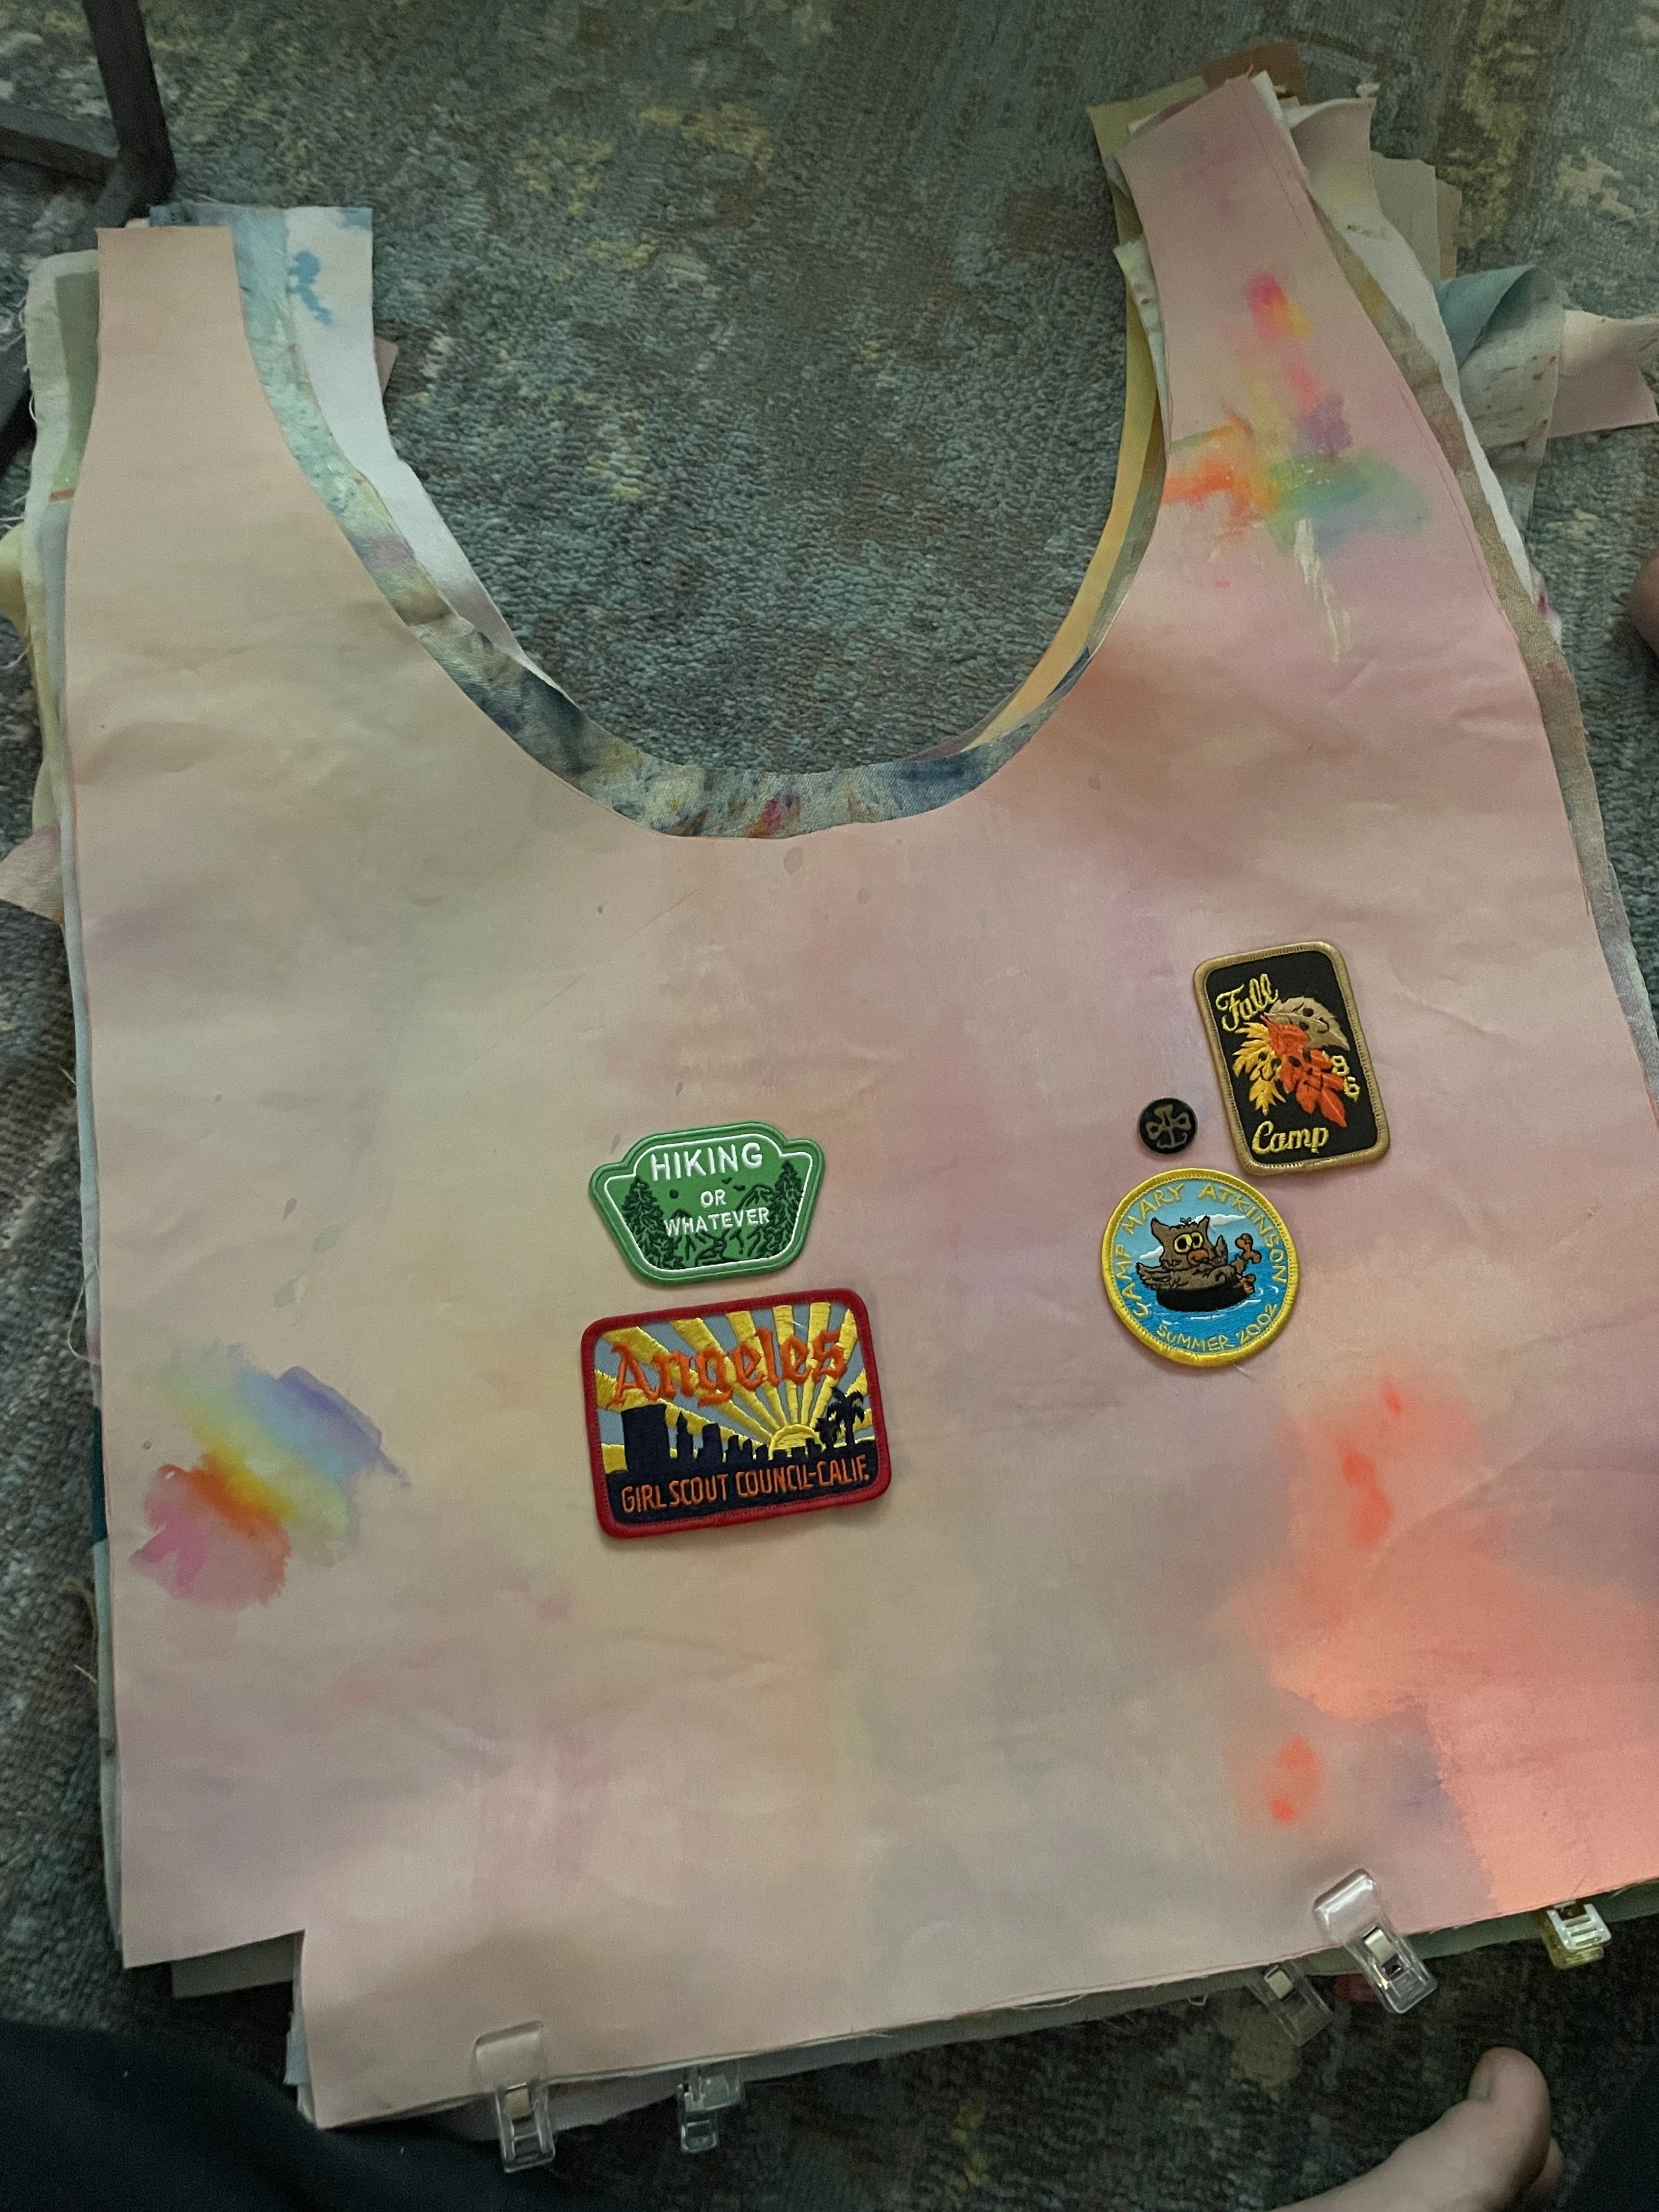
In 2024 I’d begun cutting/preparing fabrics for a different tote pattern altogether; a smaller, scrappier “book bag” shape/style.
Here’s my sample— funnily enough, some of the patchy tote canvas ↑ is in the background:
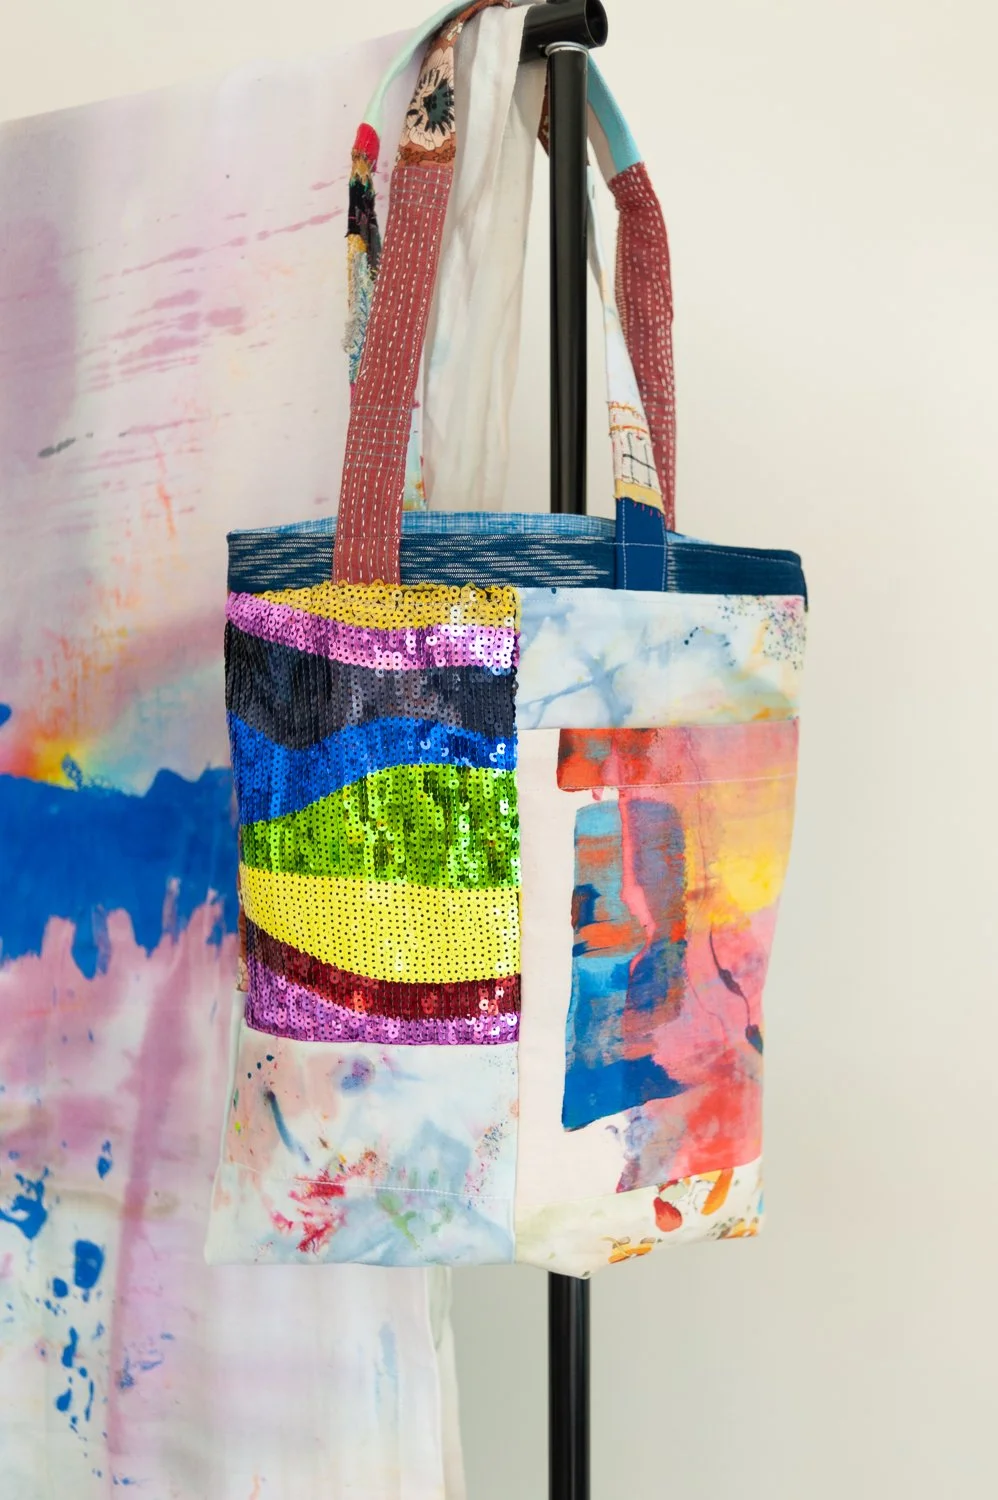
Cute, right?! There’s even a pocket pouch on the front.
If only I’d finished on them while I was on a roll… and not set them aside for so long that I lost my inspiration to complete them.
🙃 🙈 😬
Because… that happens.
Cut to this month, rummaging through my WIPs and unearthing the cut pieces still waiting for assembly…
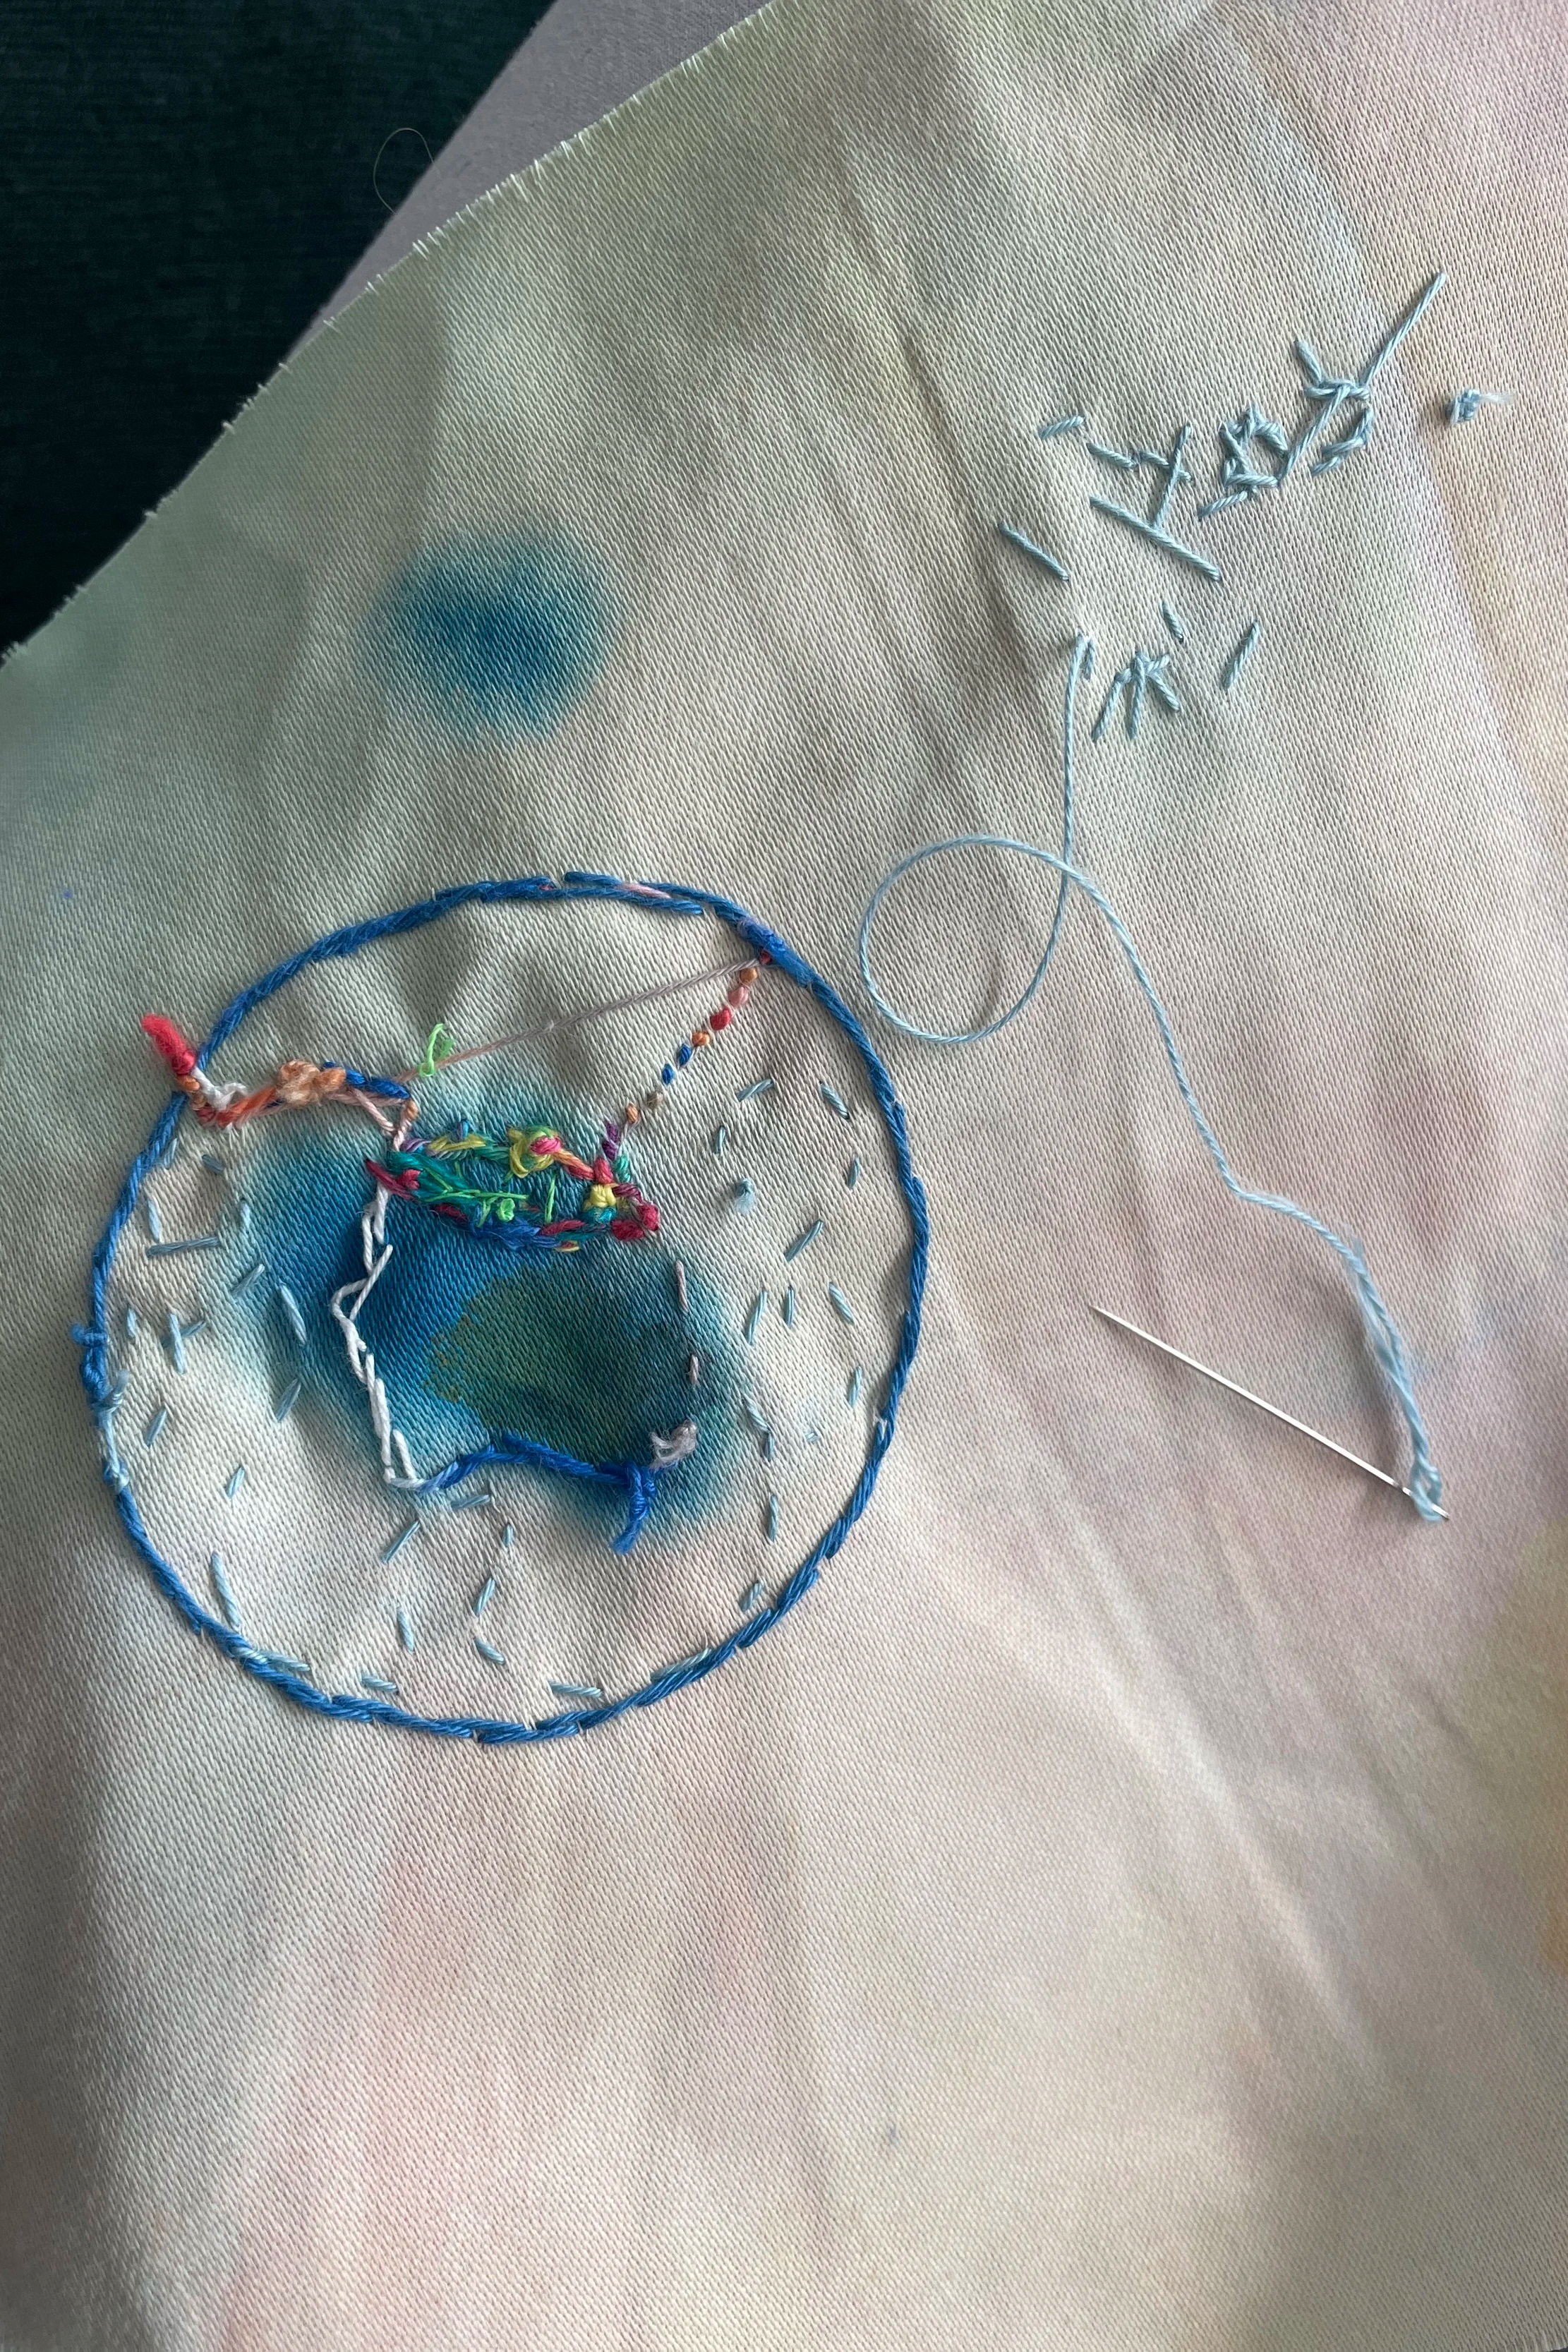
{I’d forgotten how much handwork had gone in to each of these pieces}
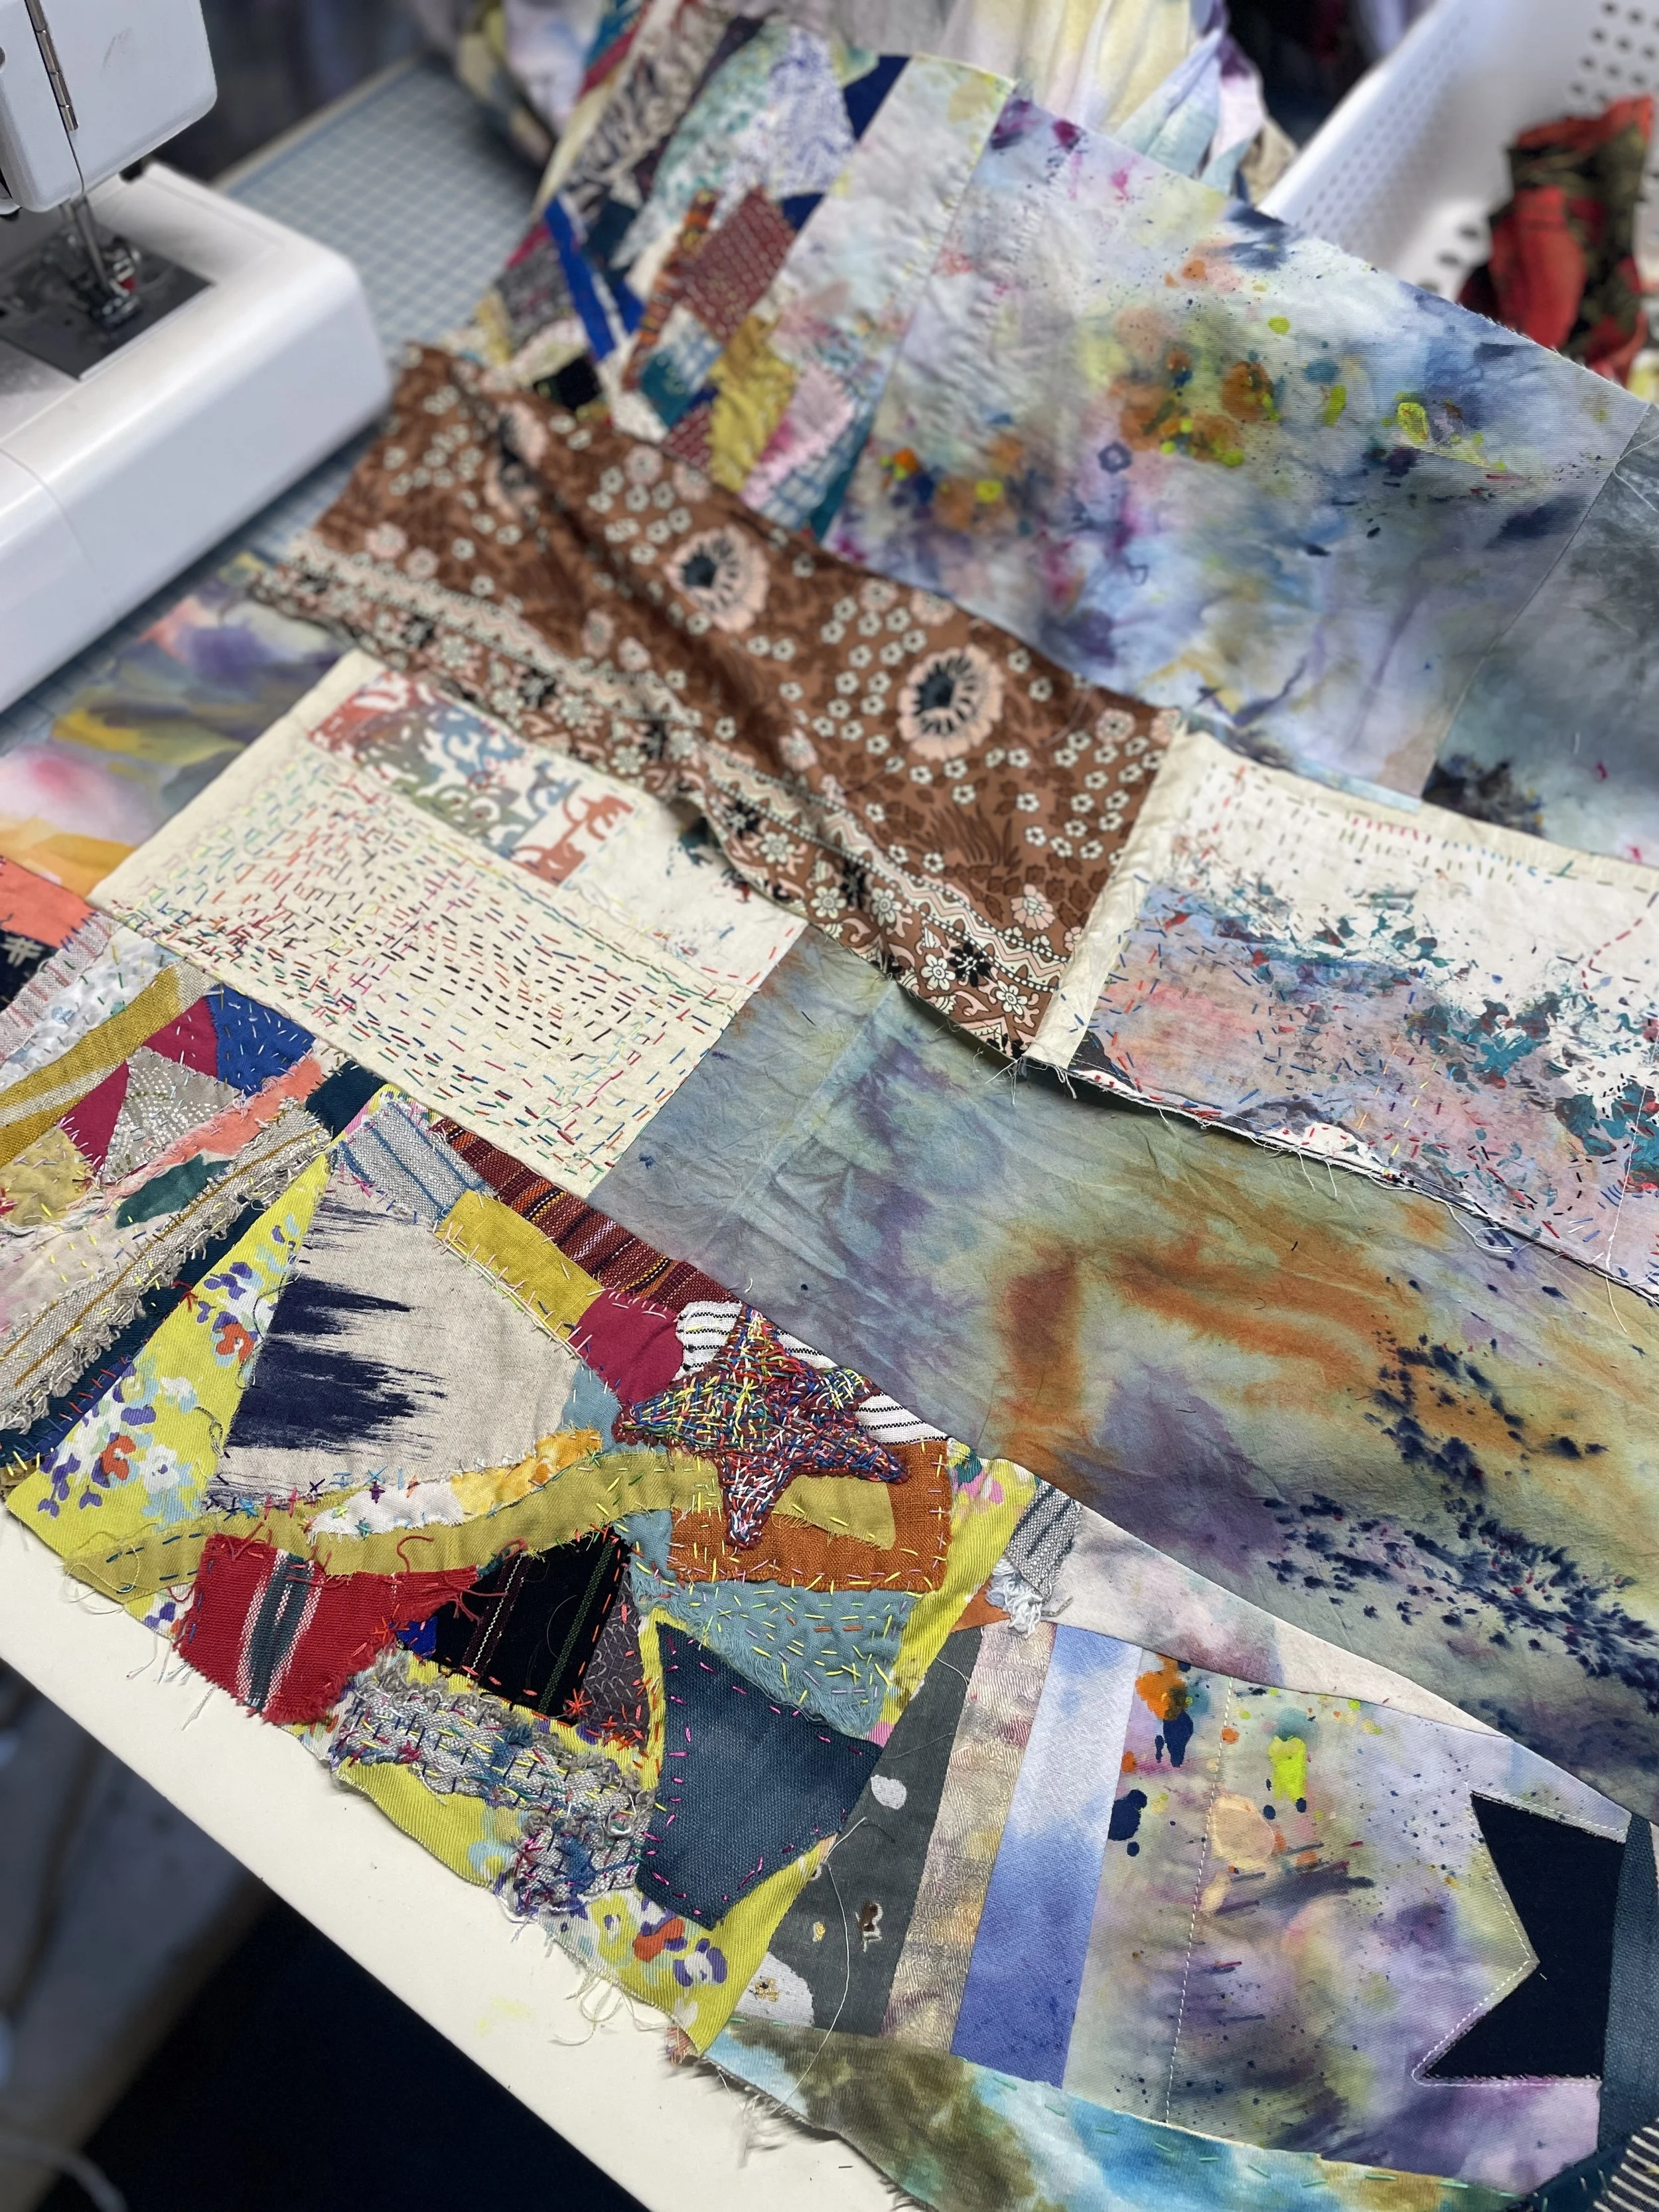
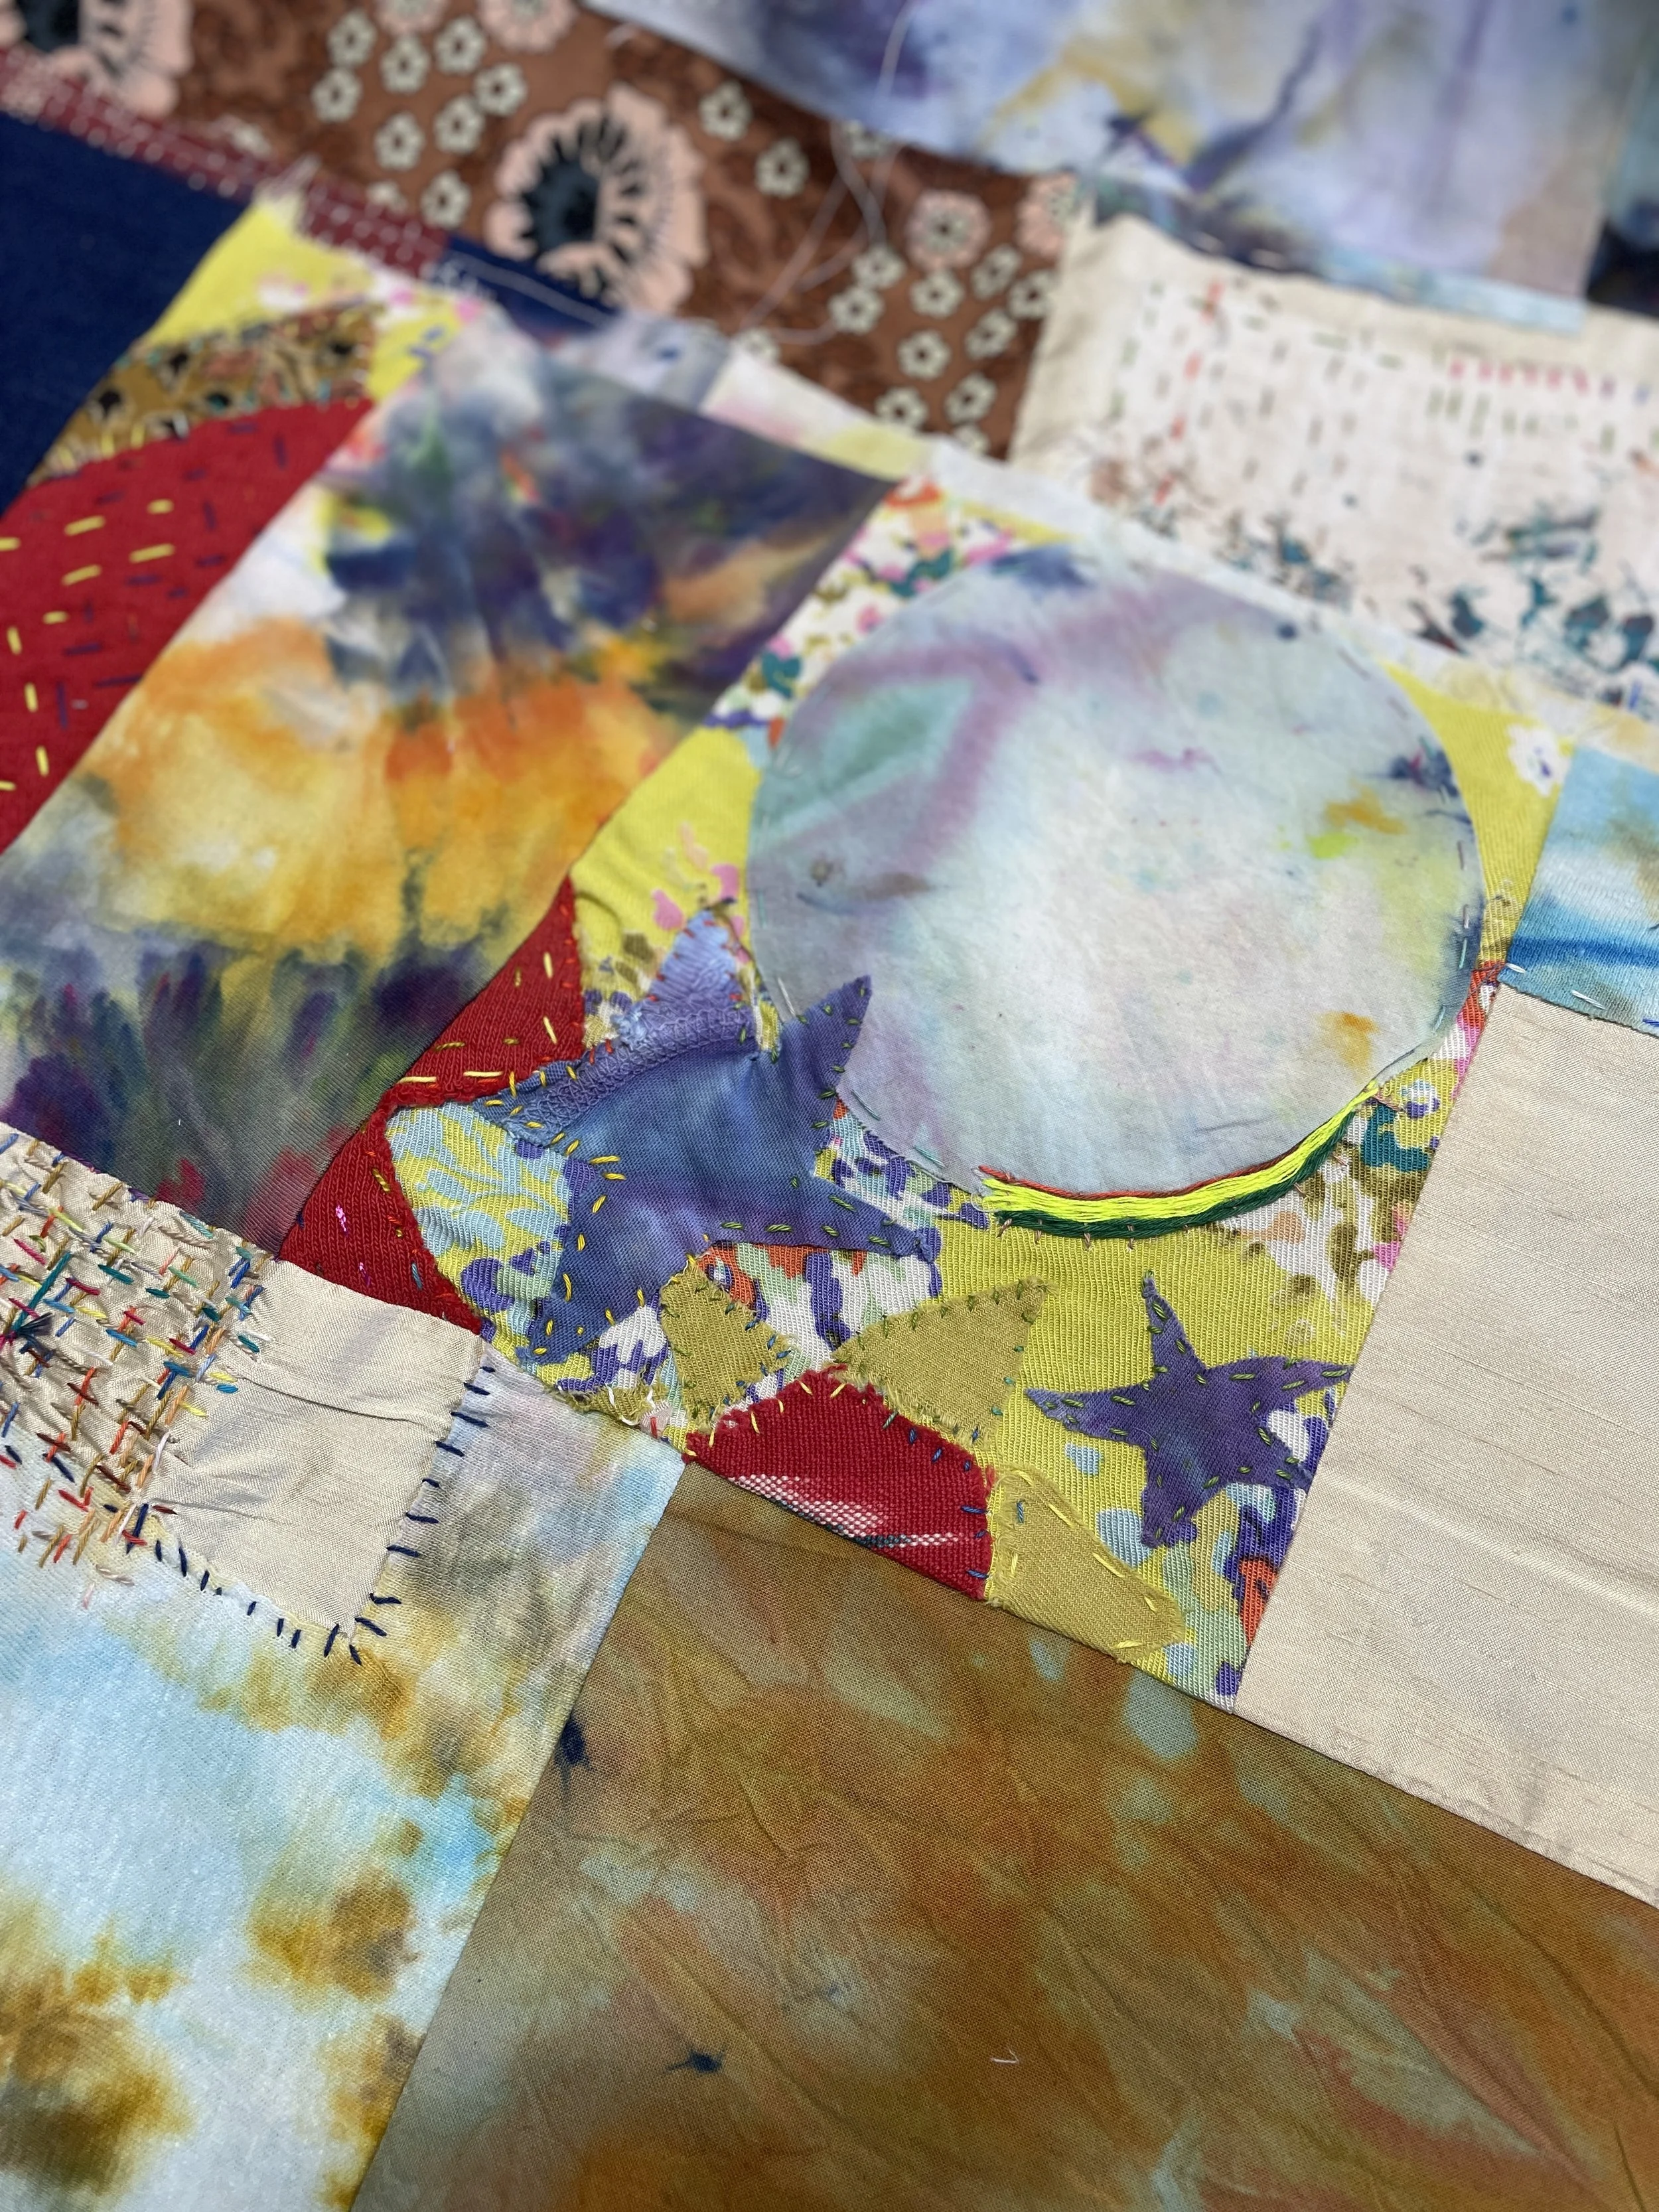
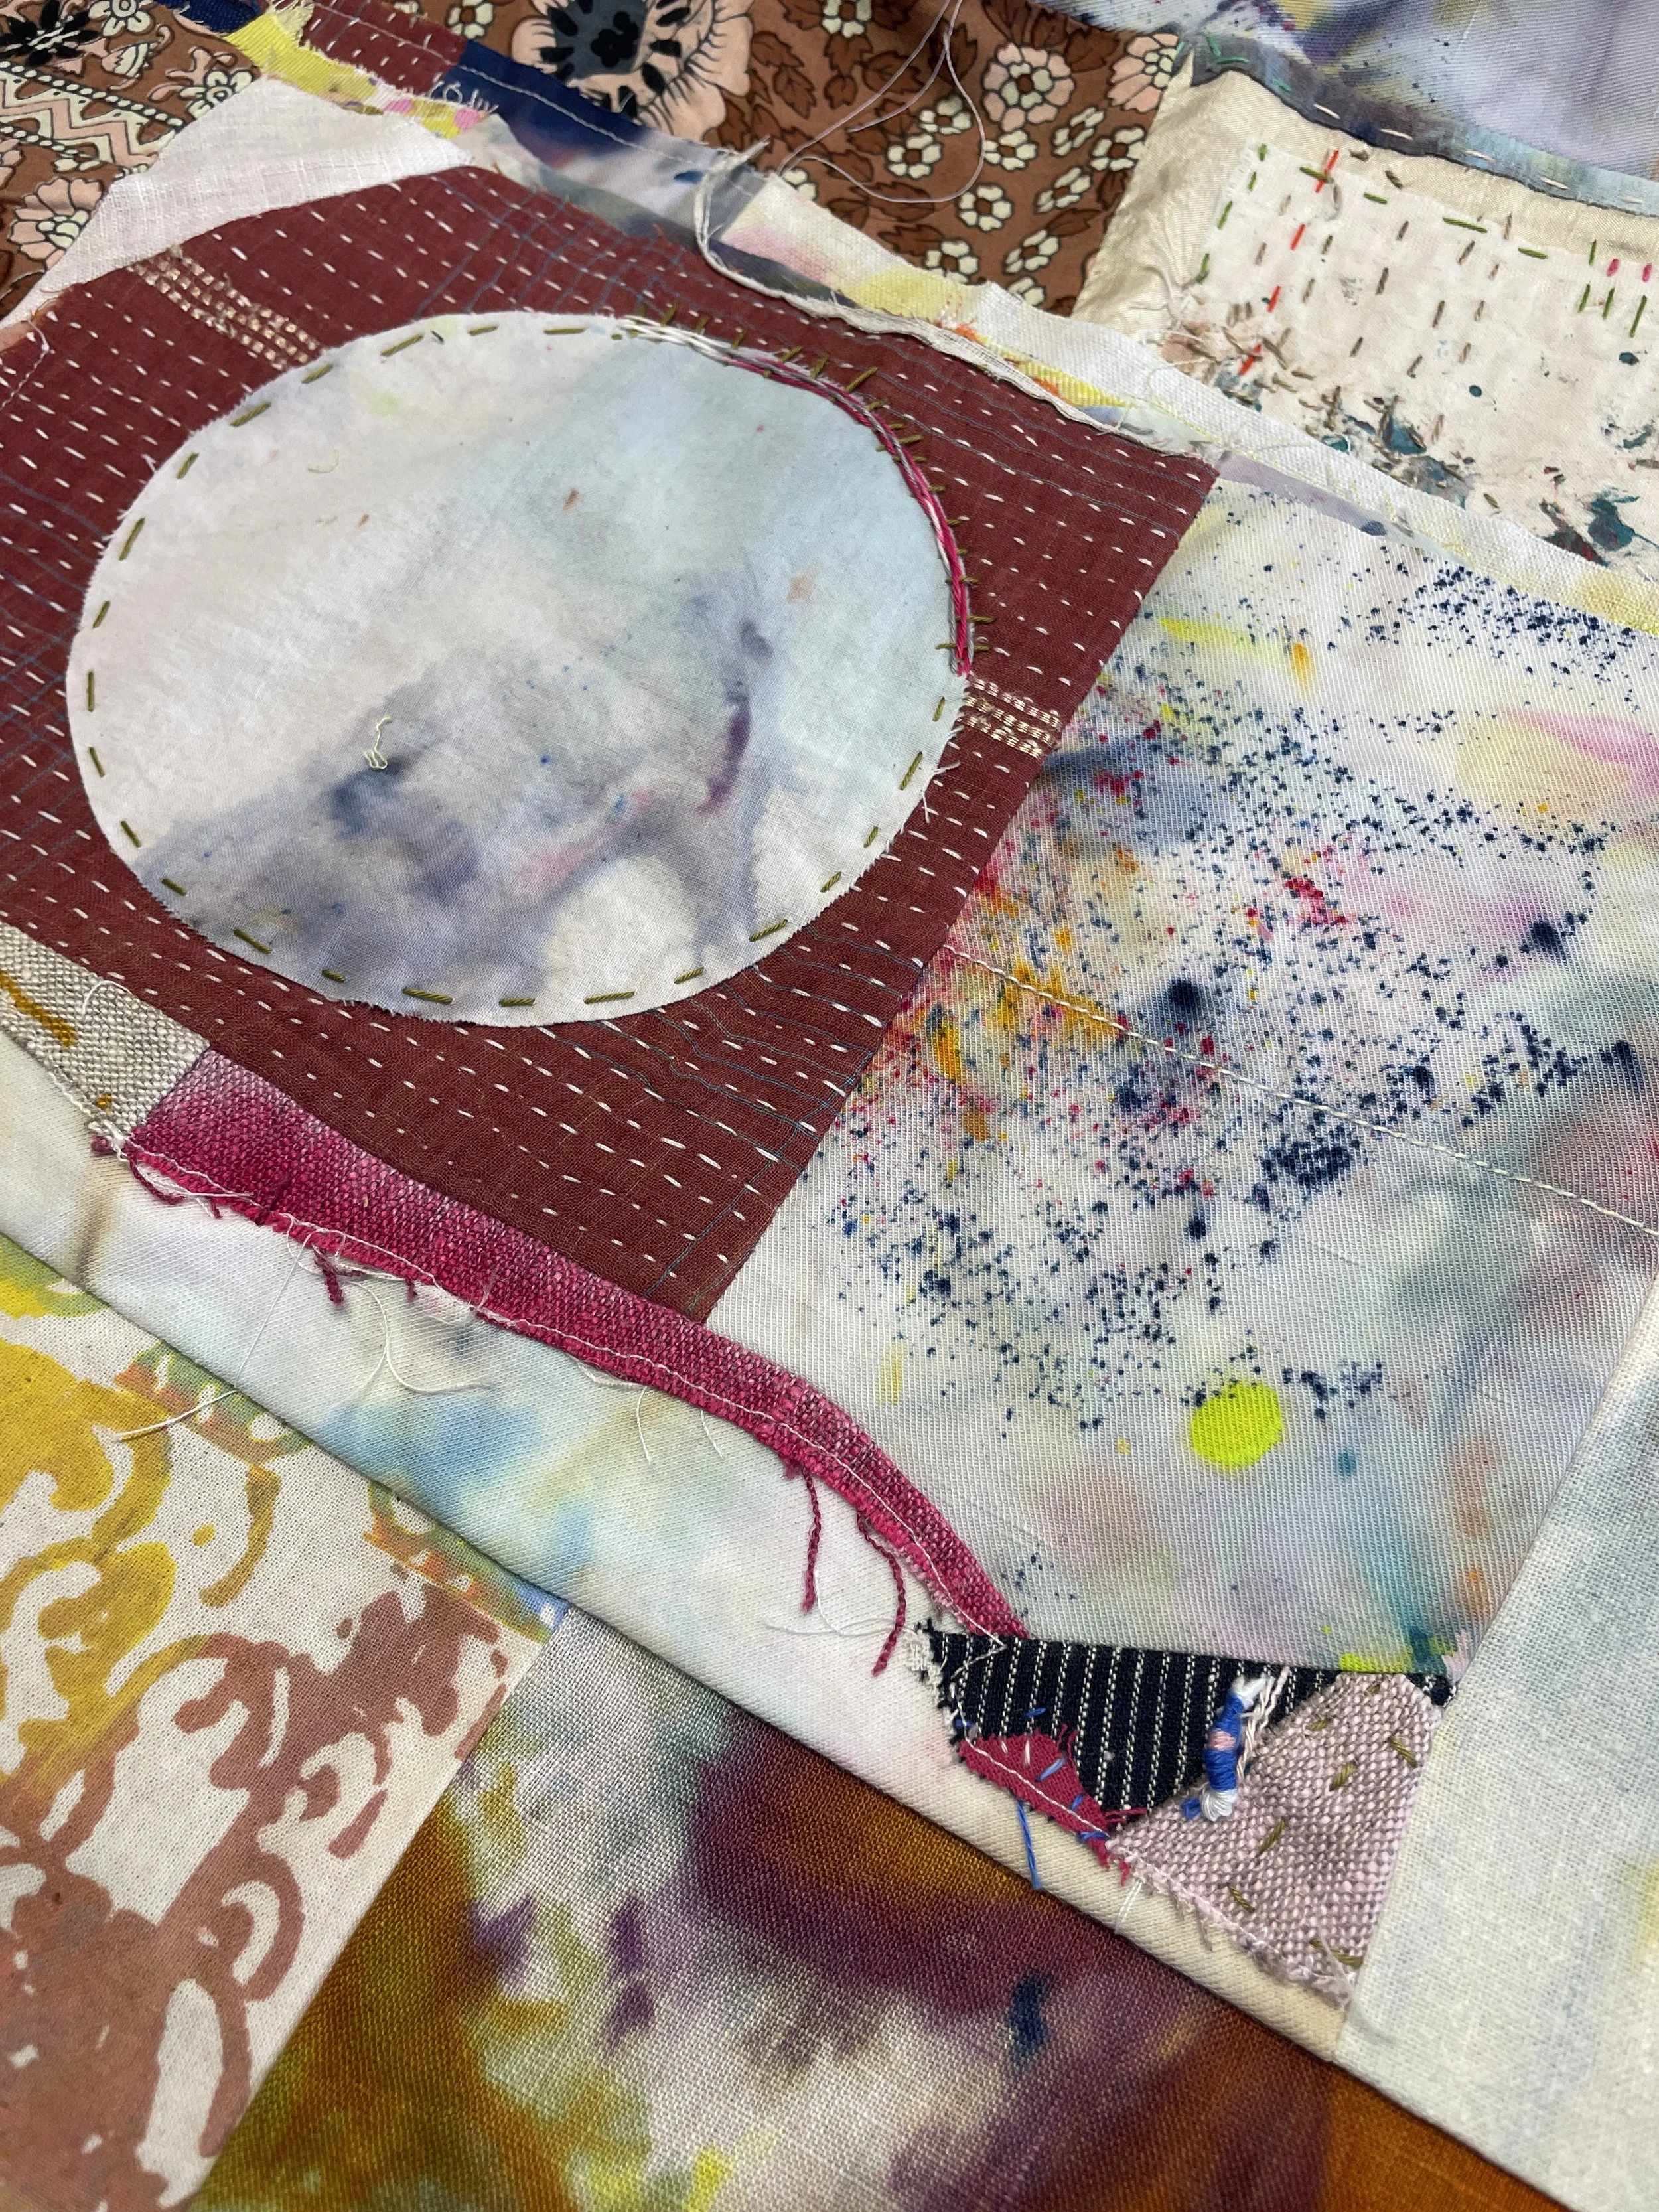
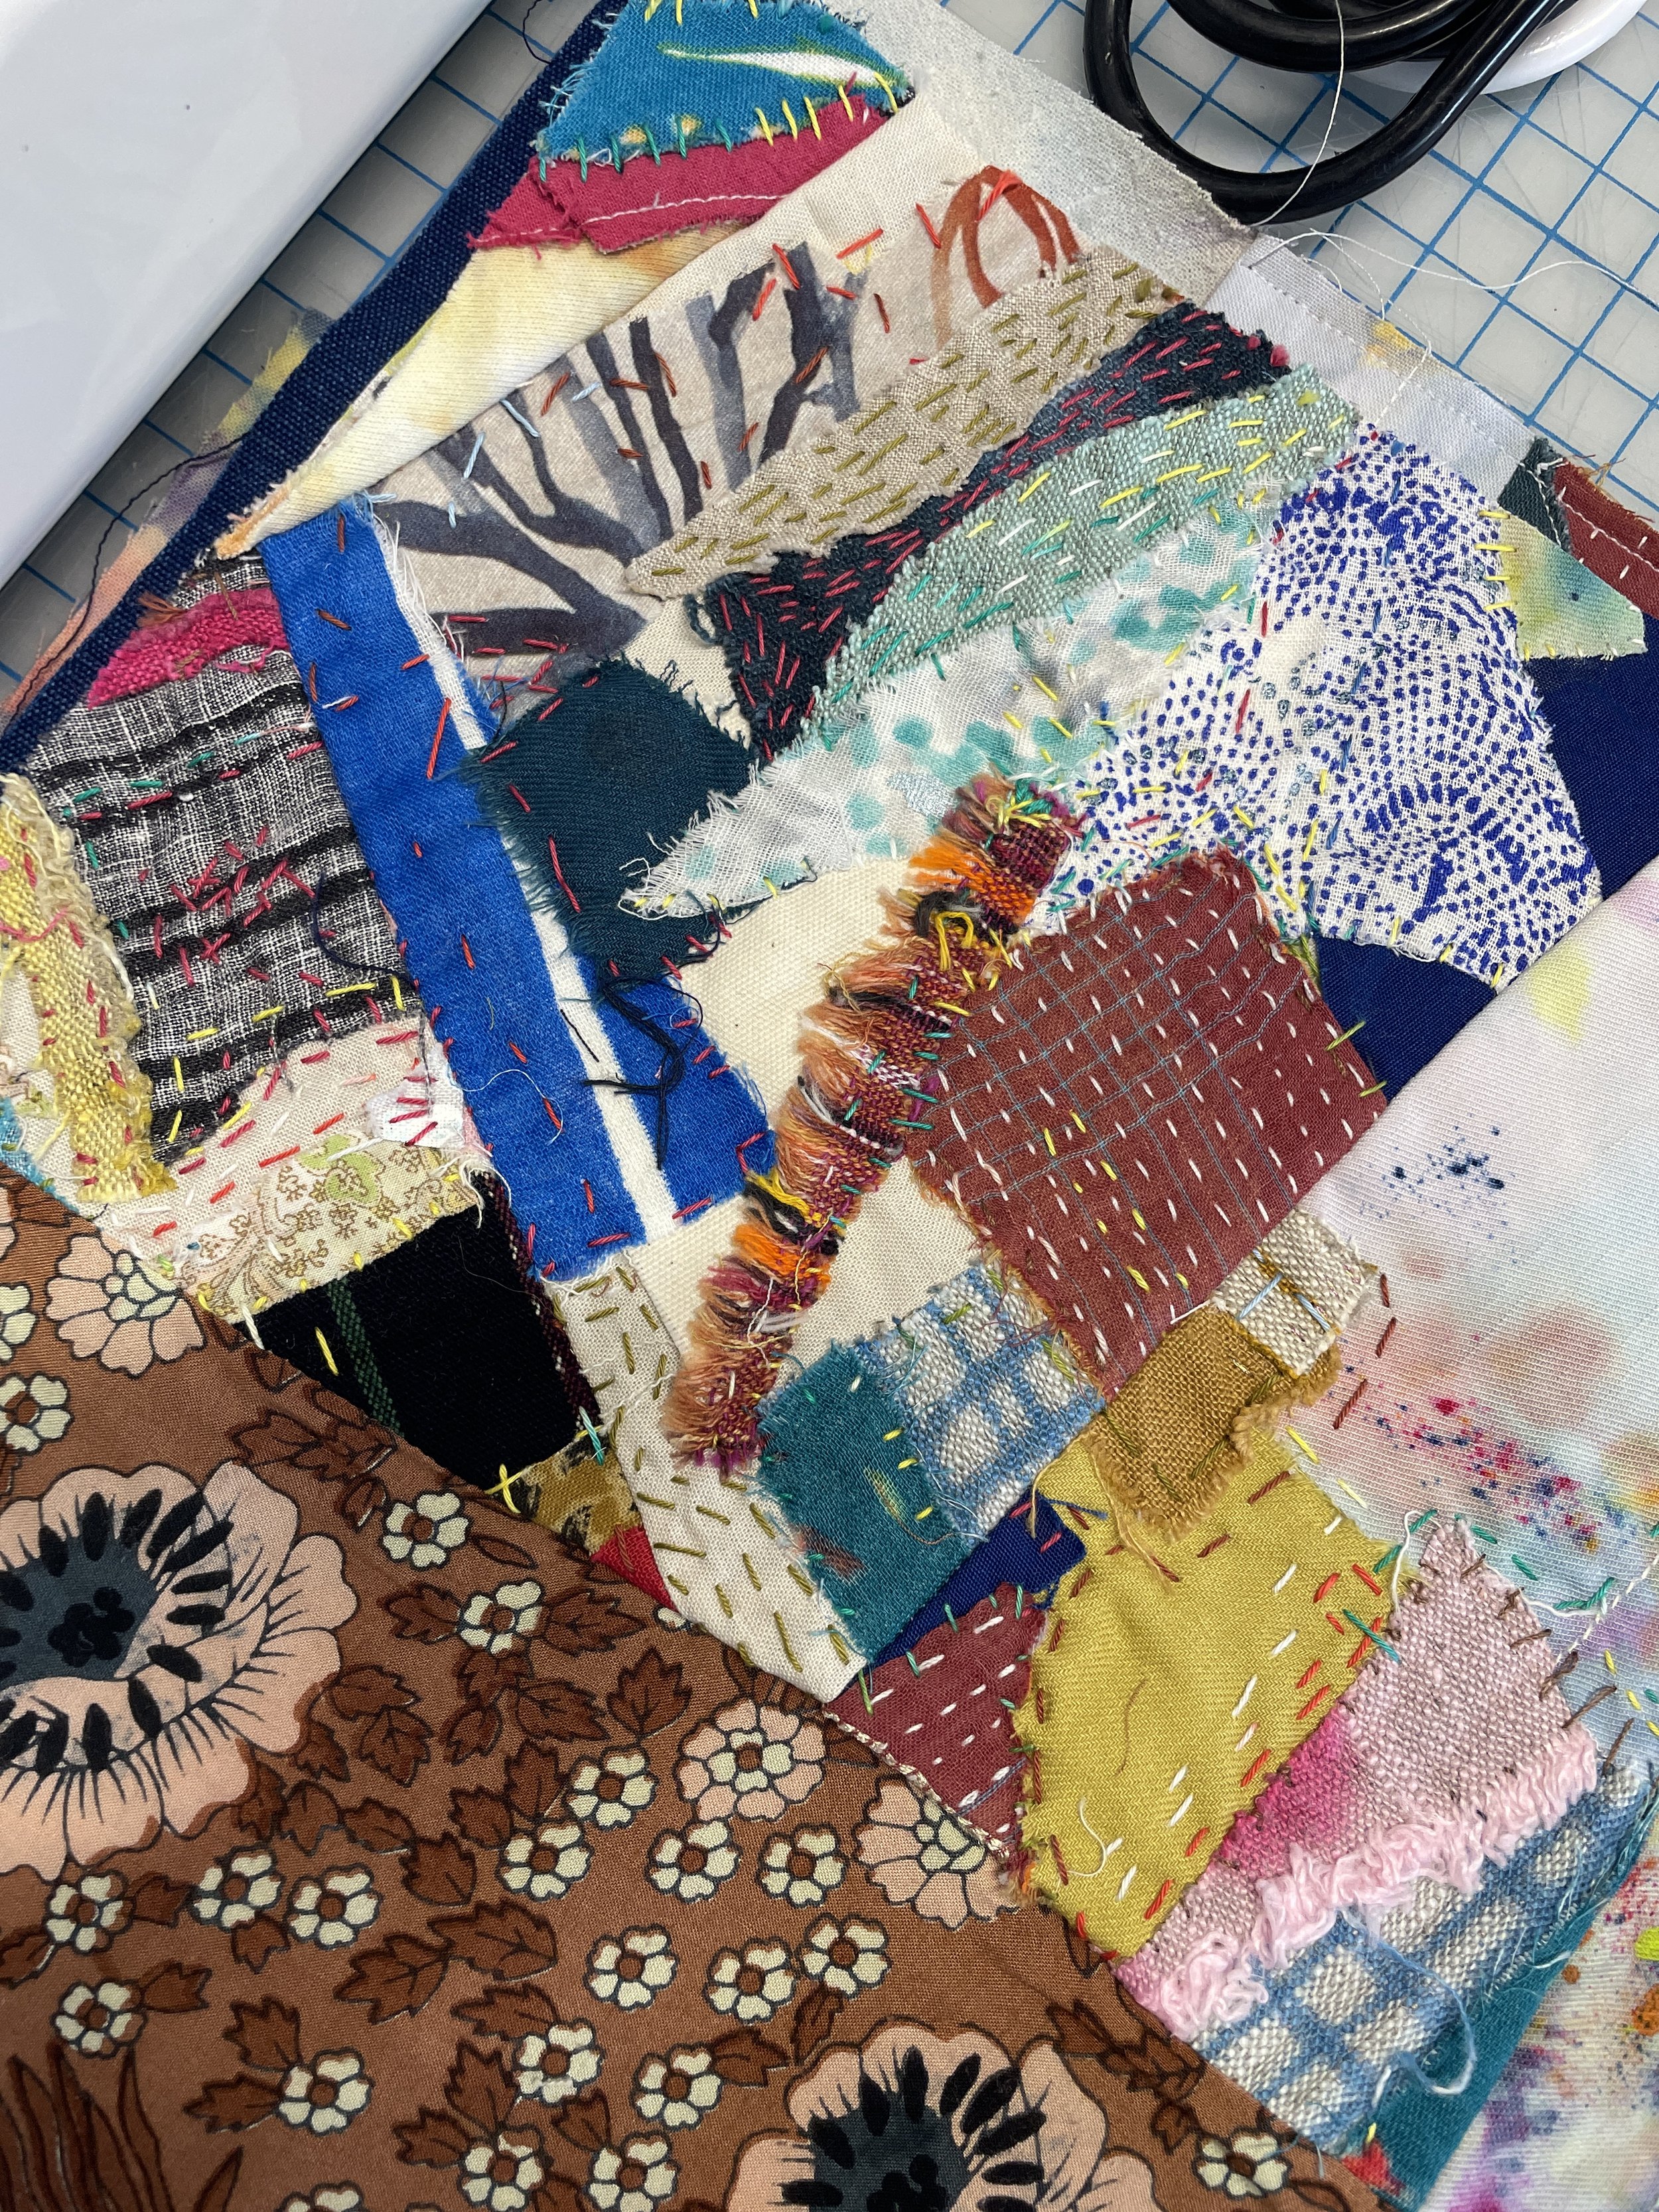
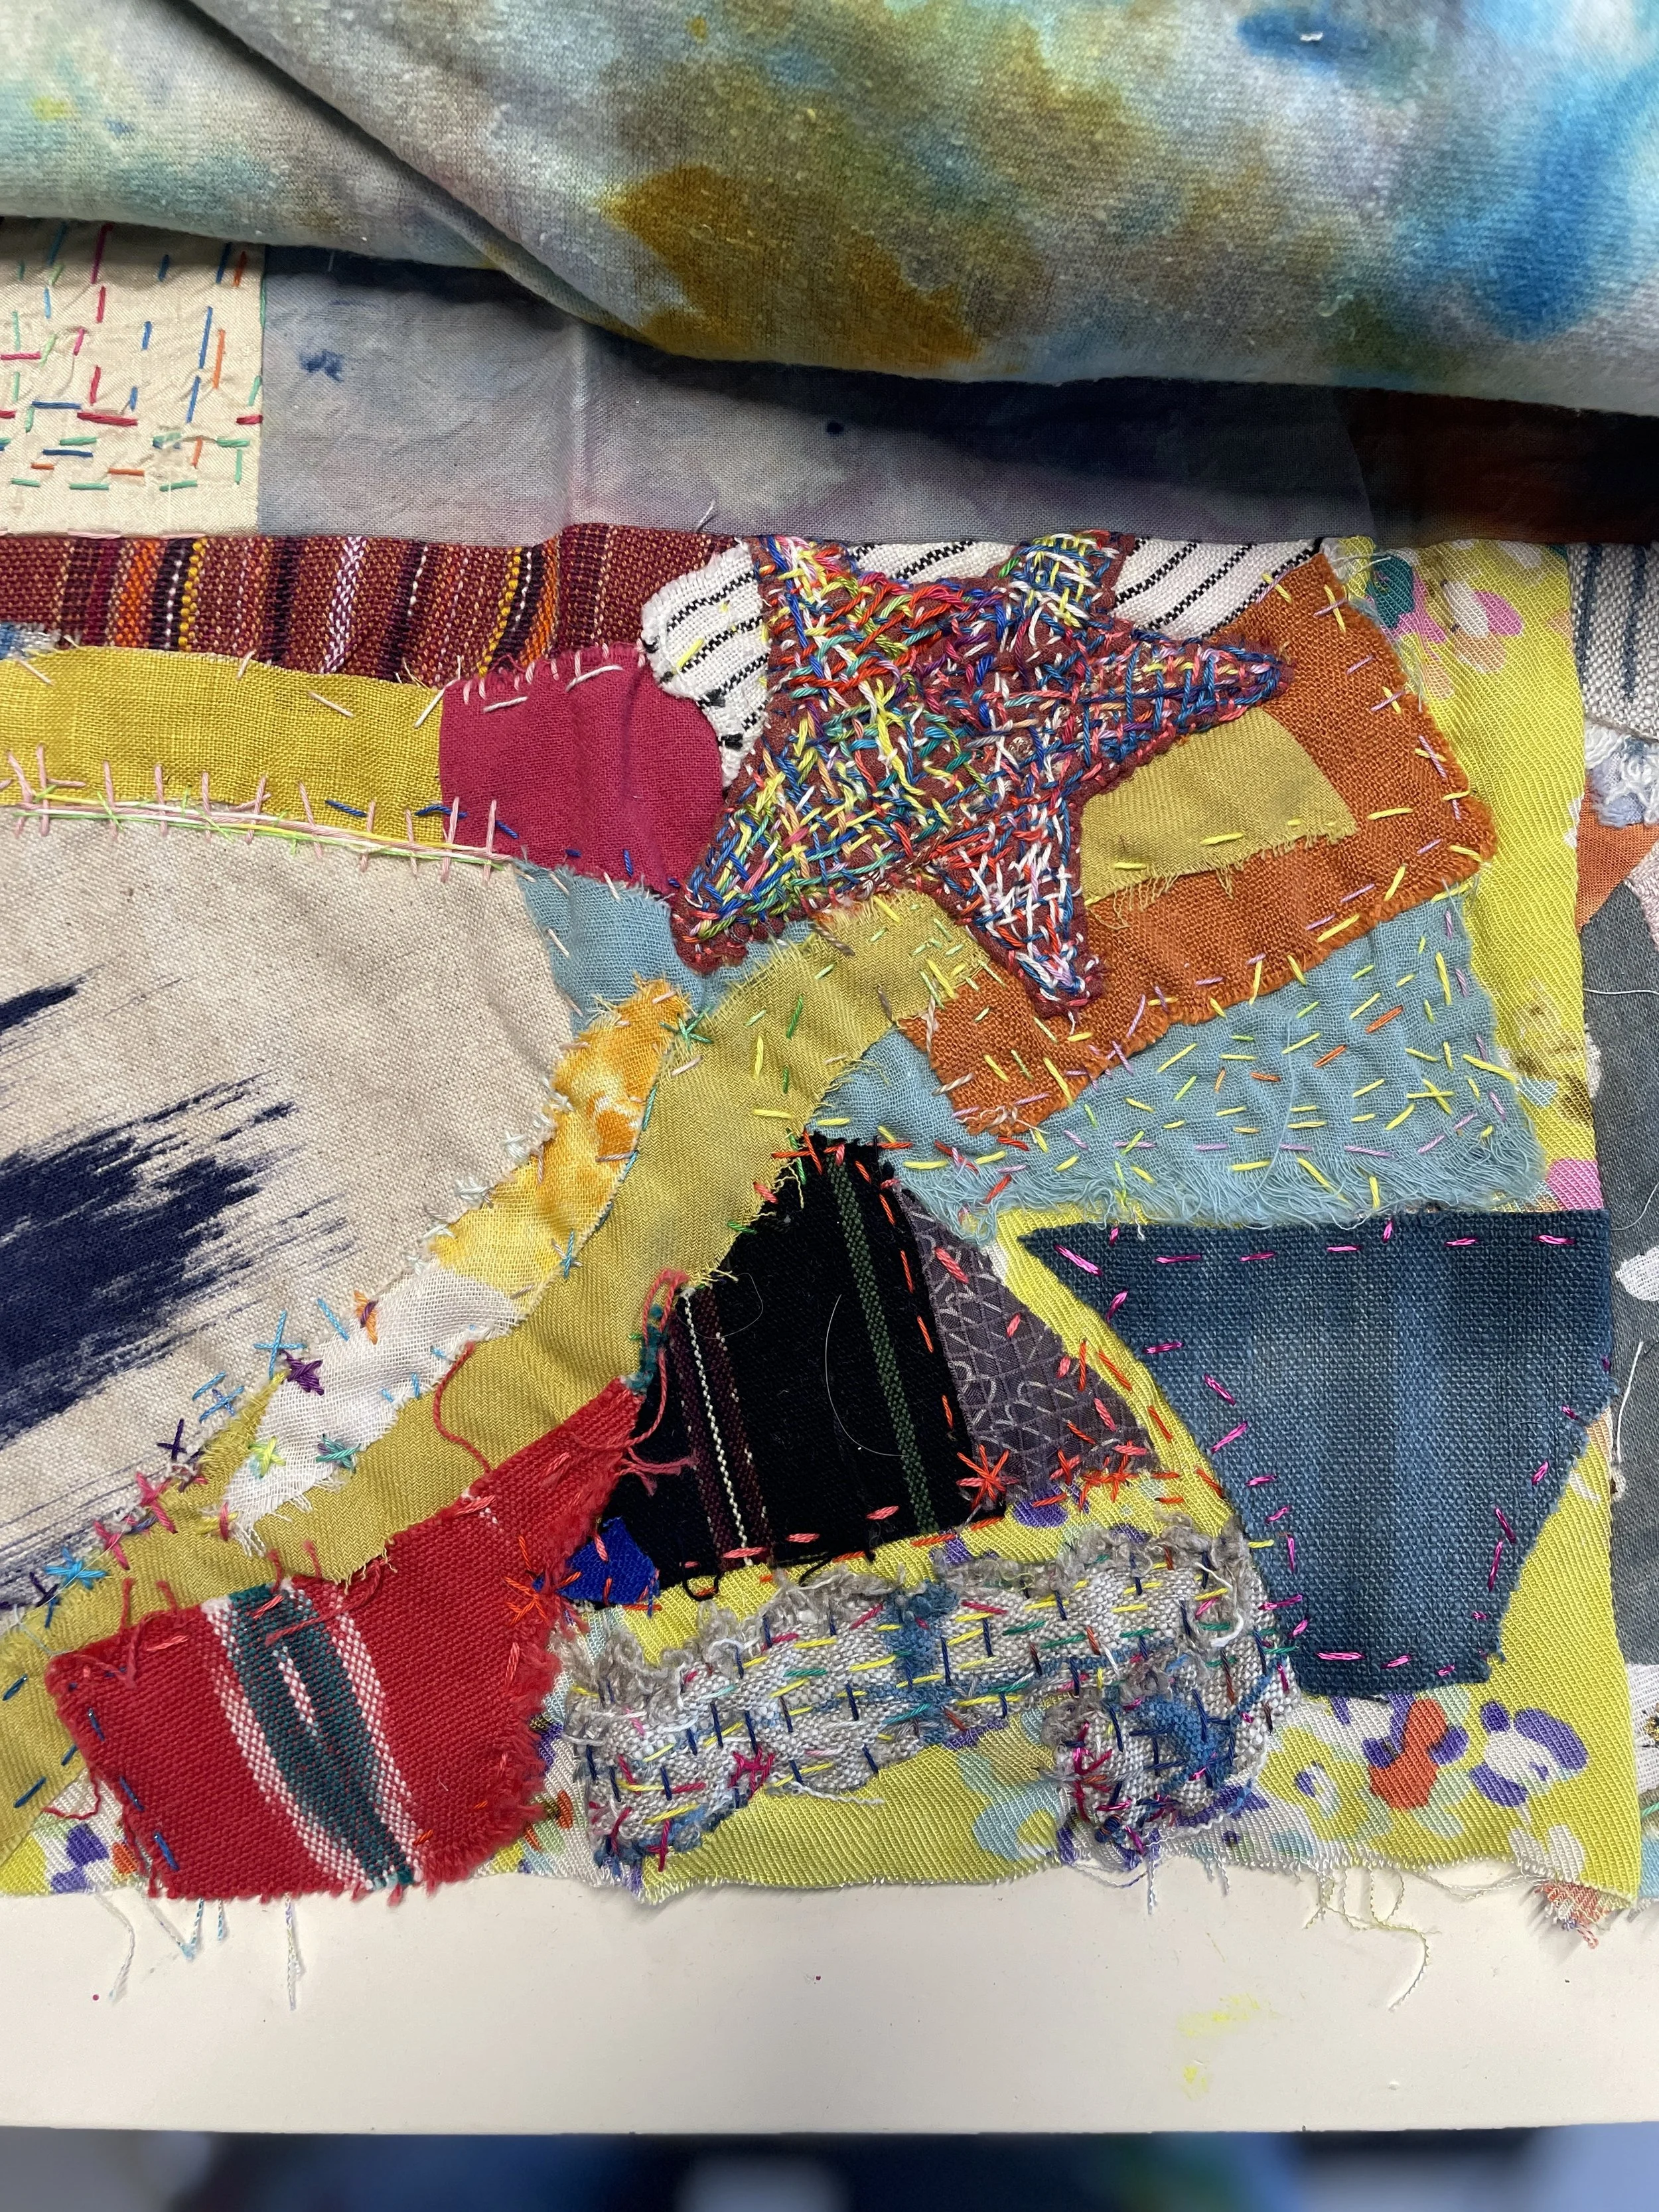
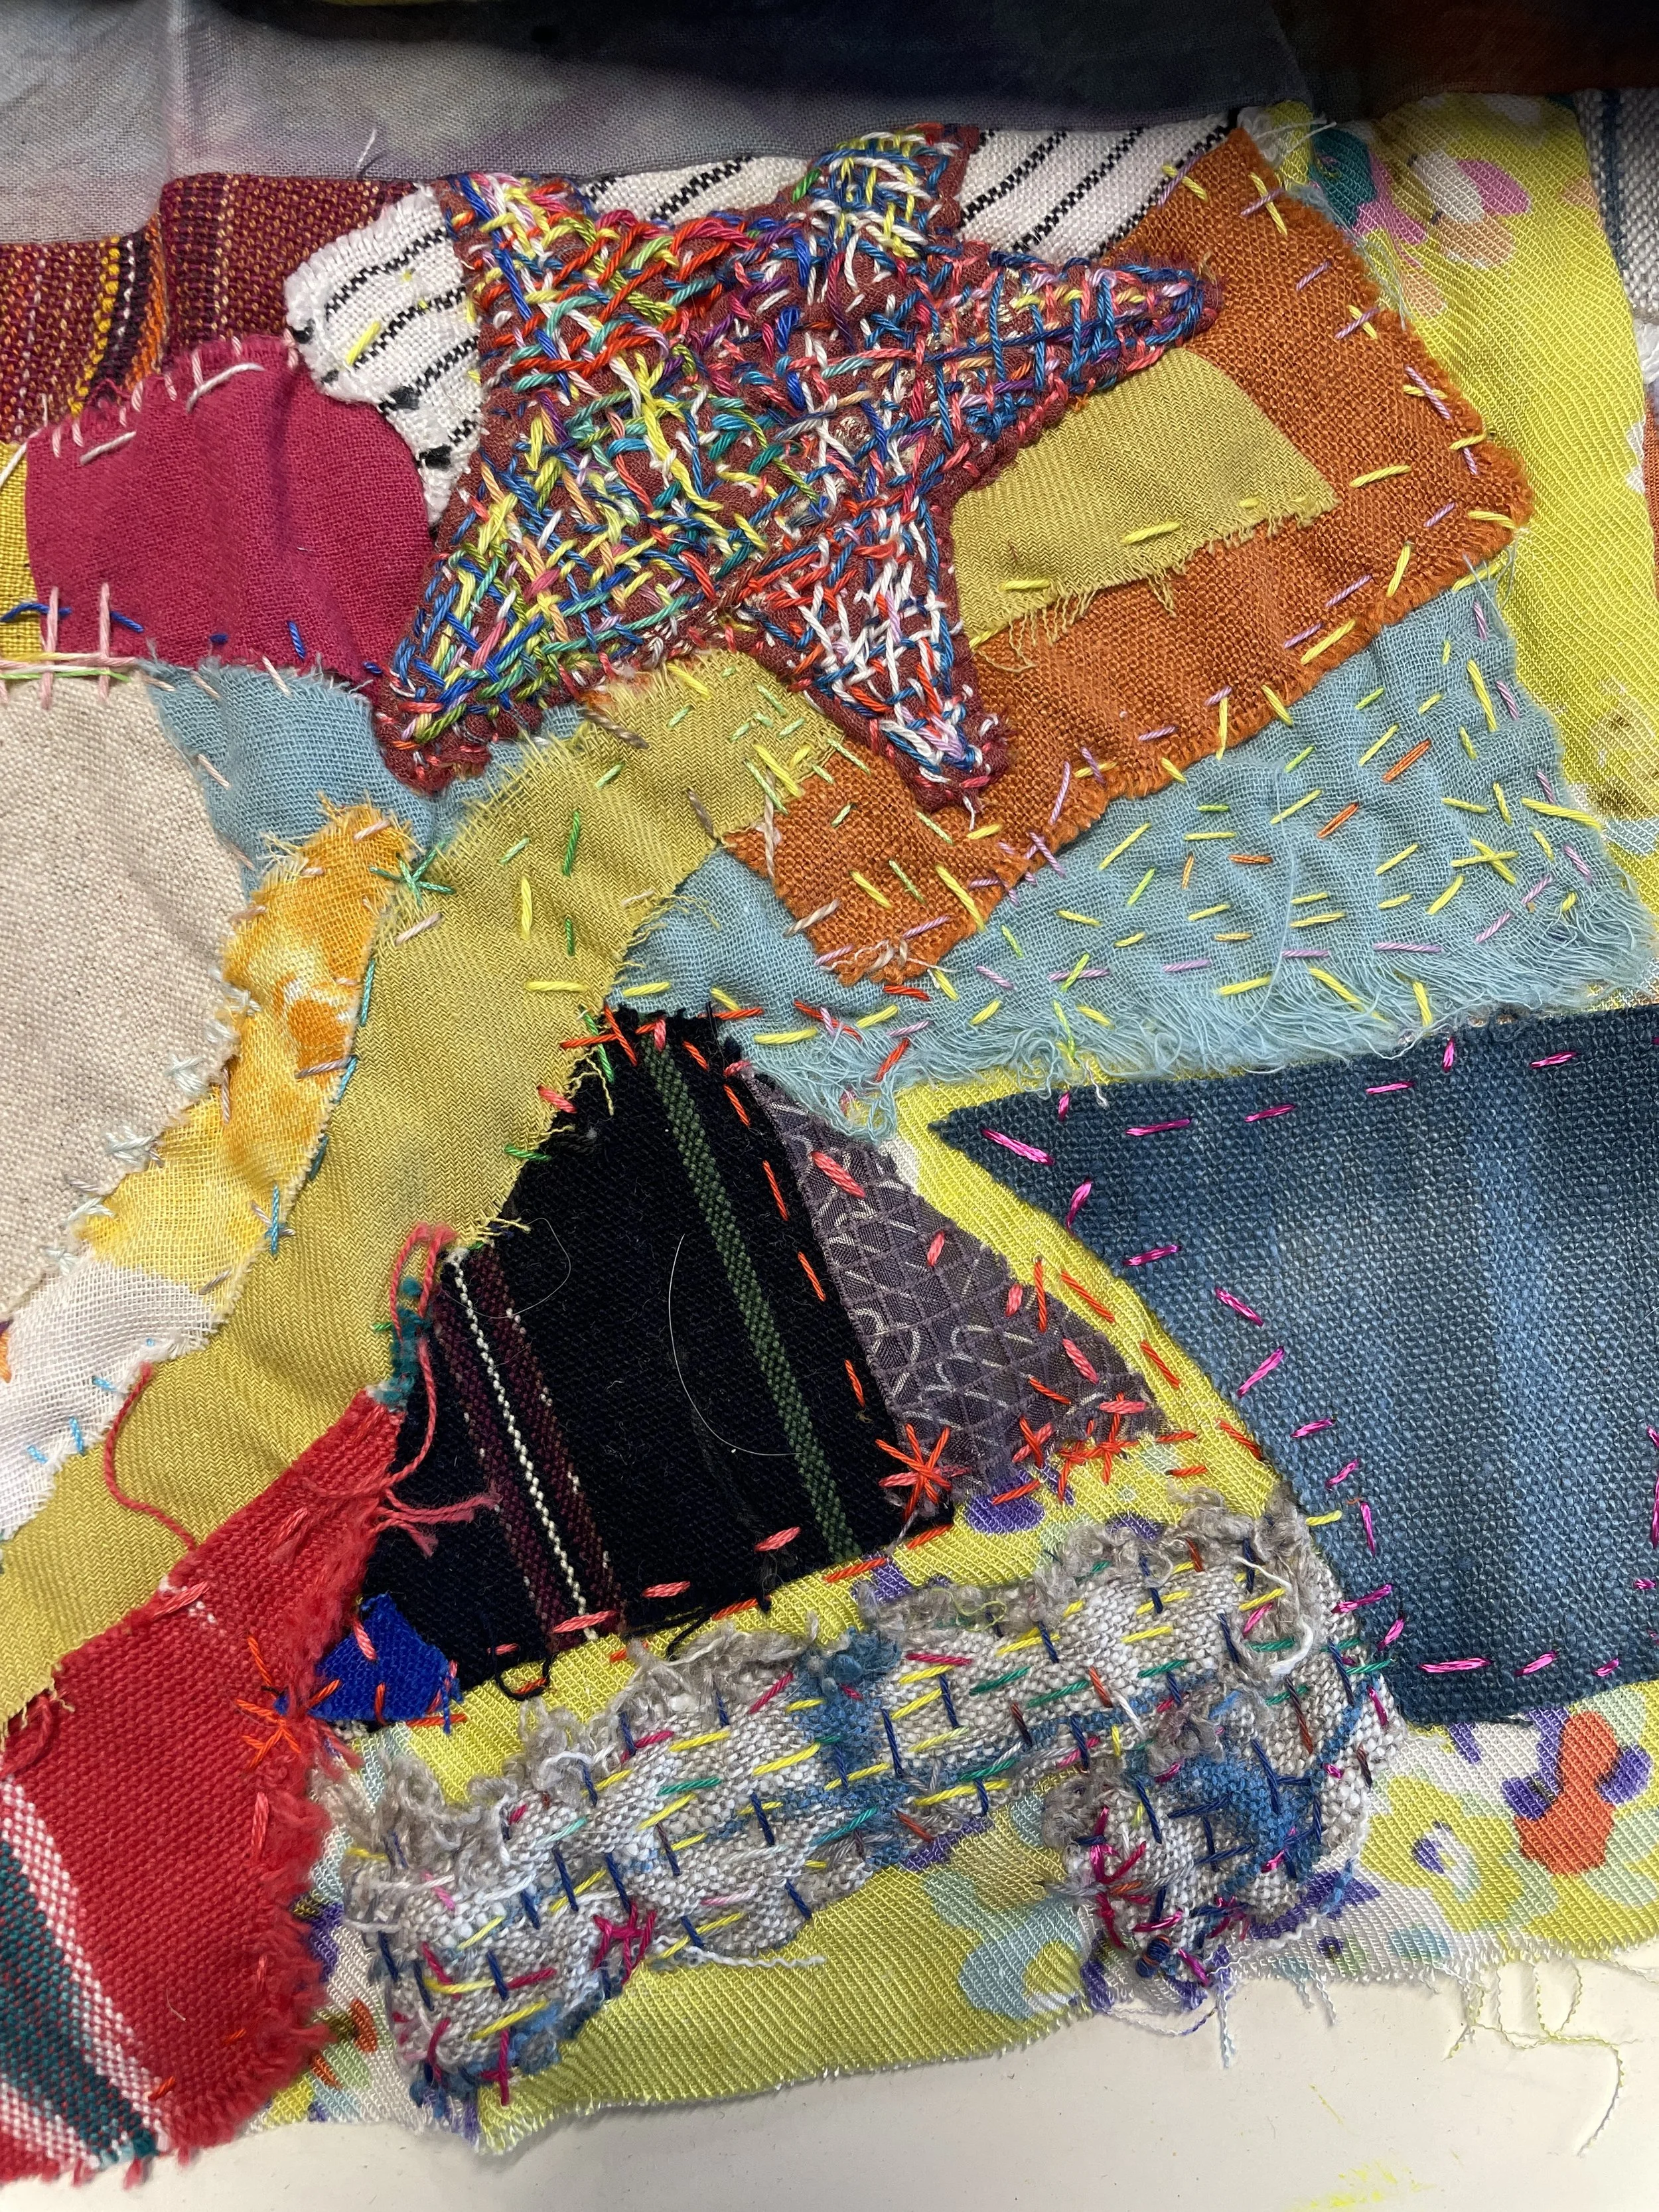
Lining, pocket, and handle pieces:
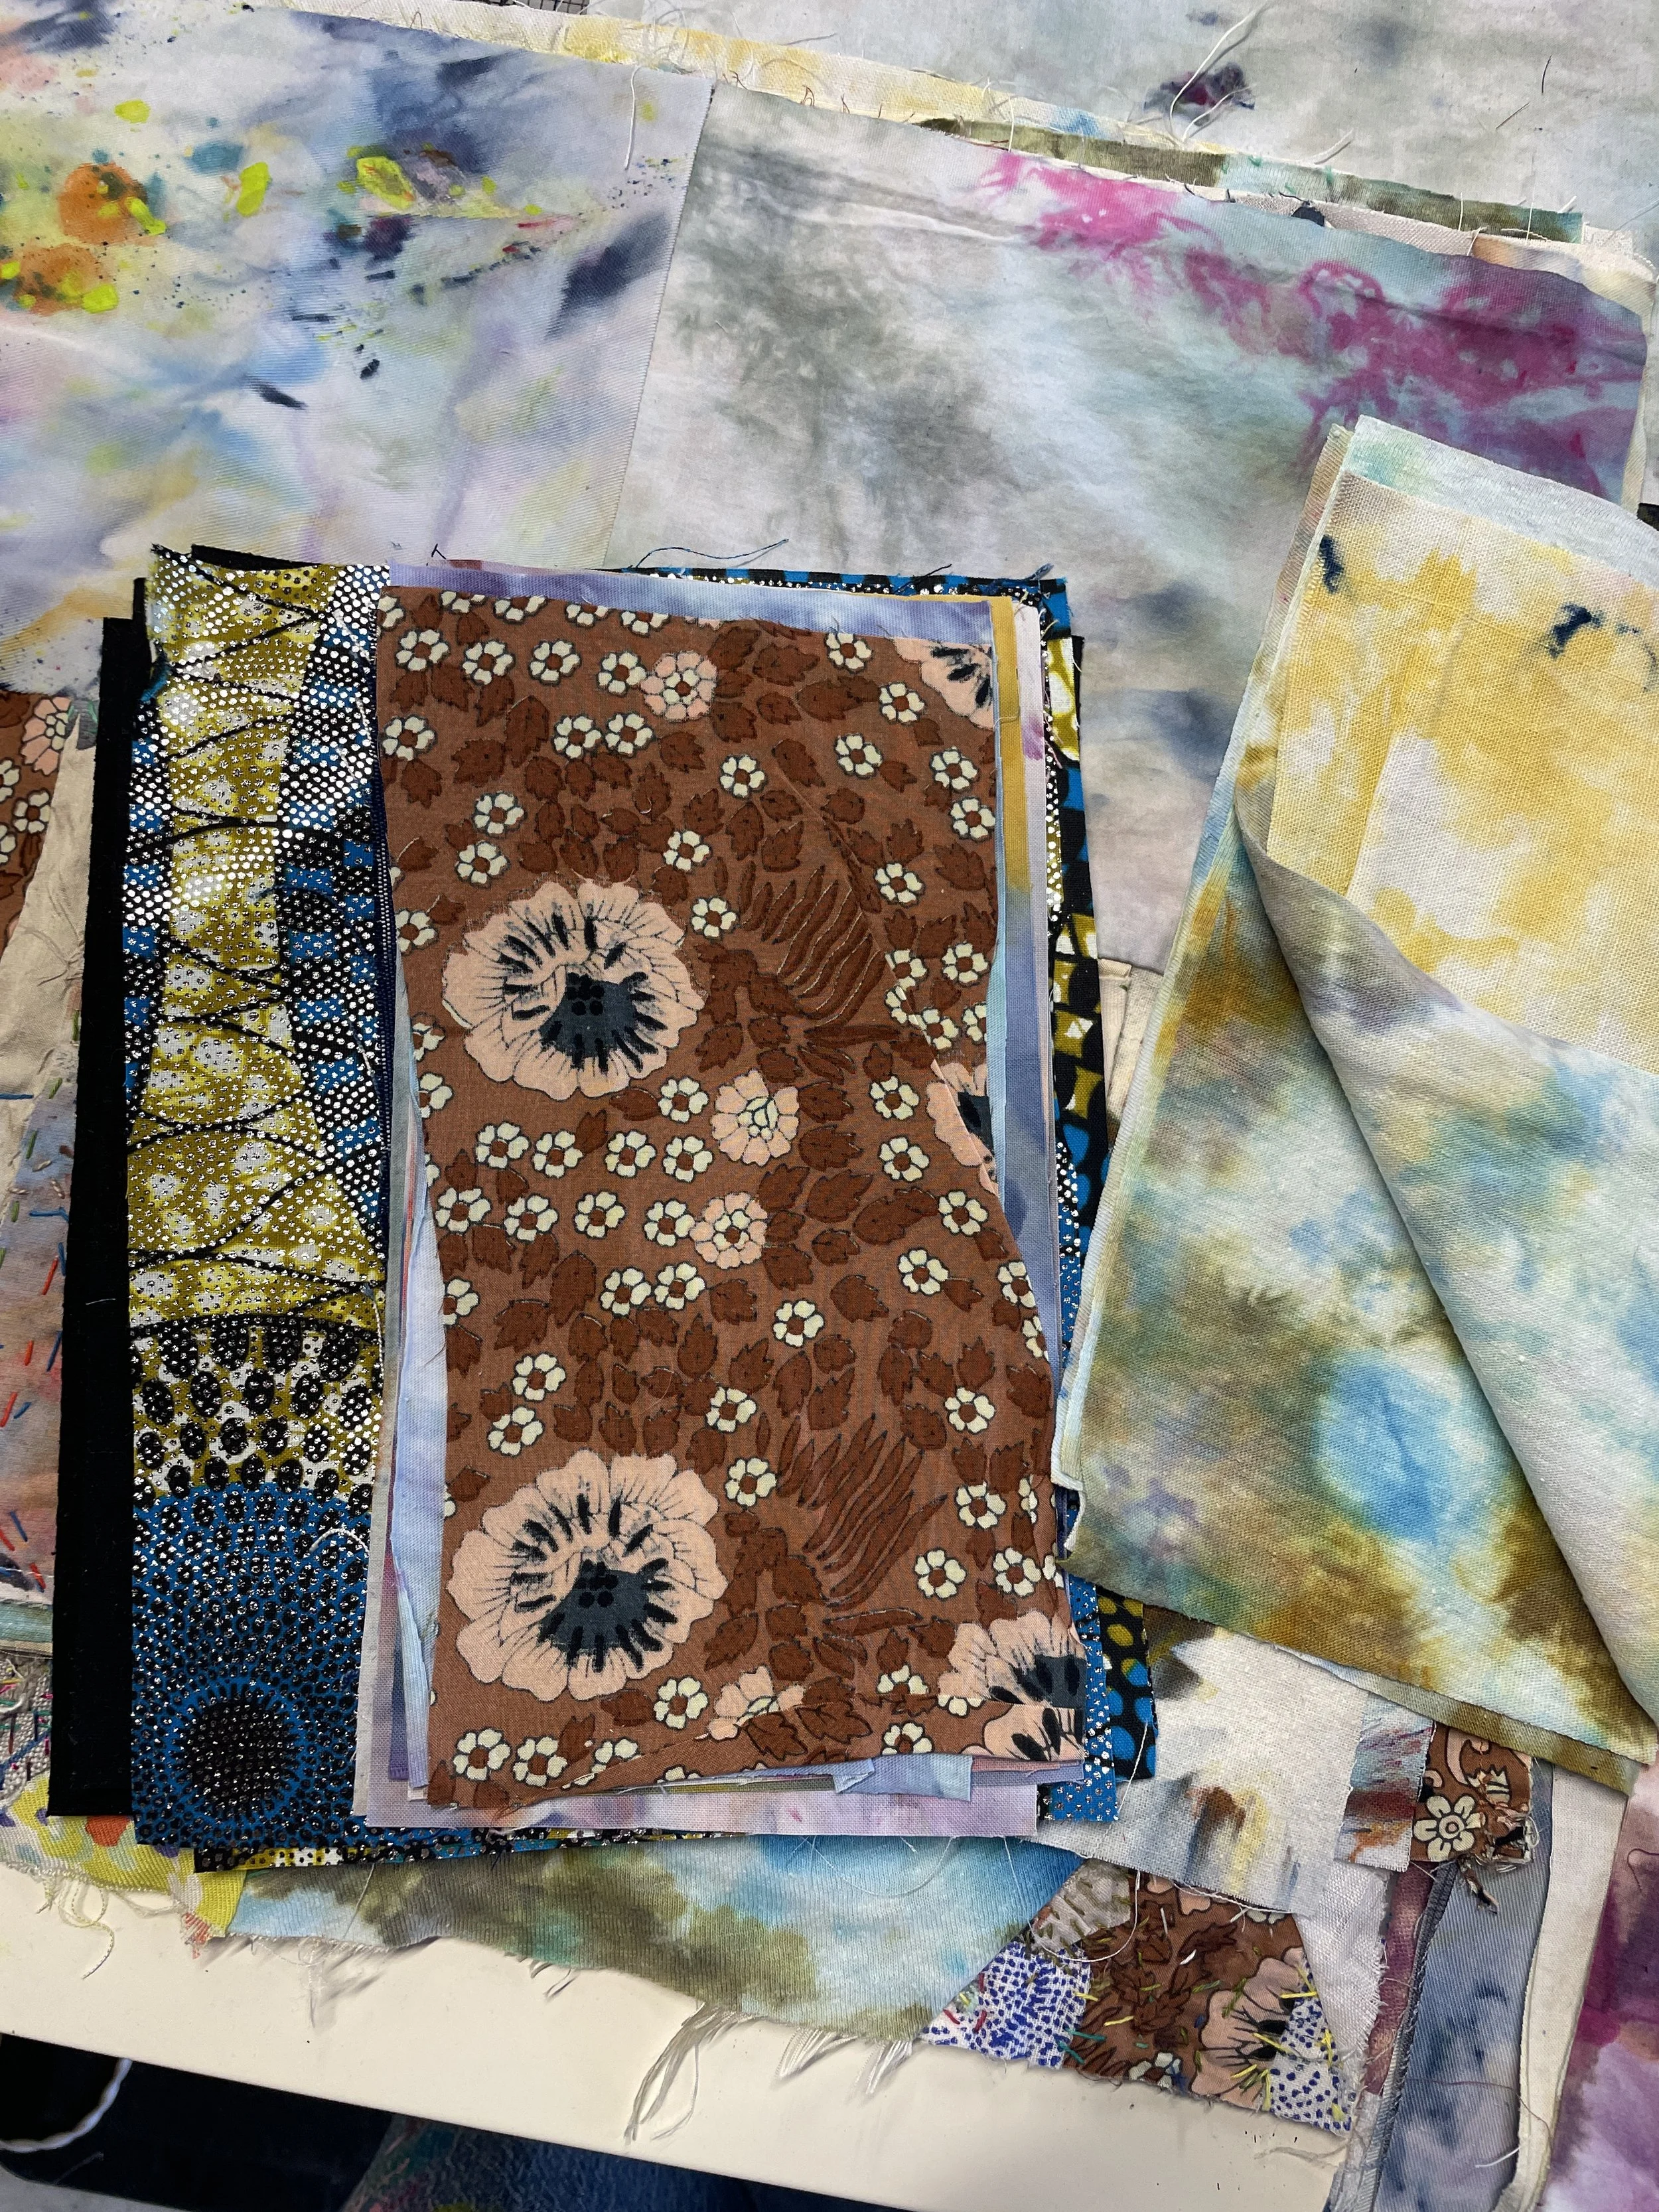
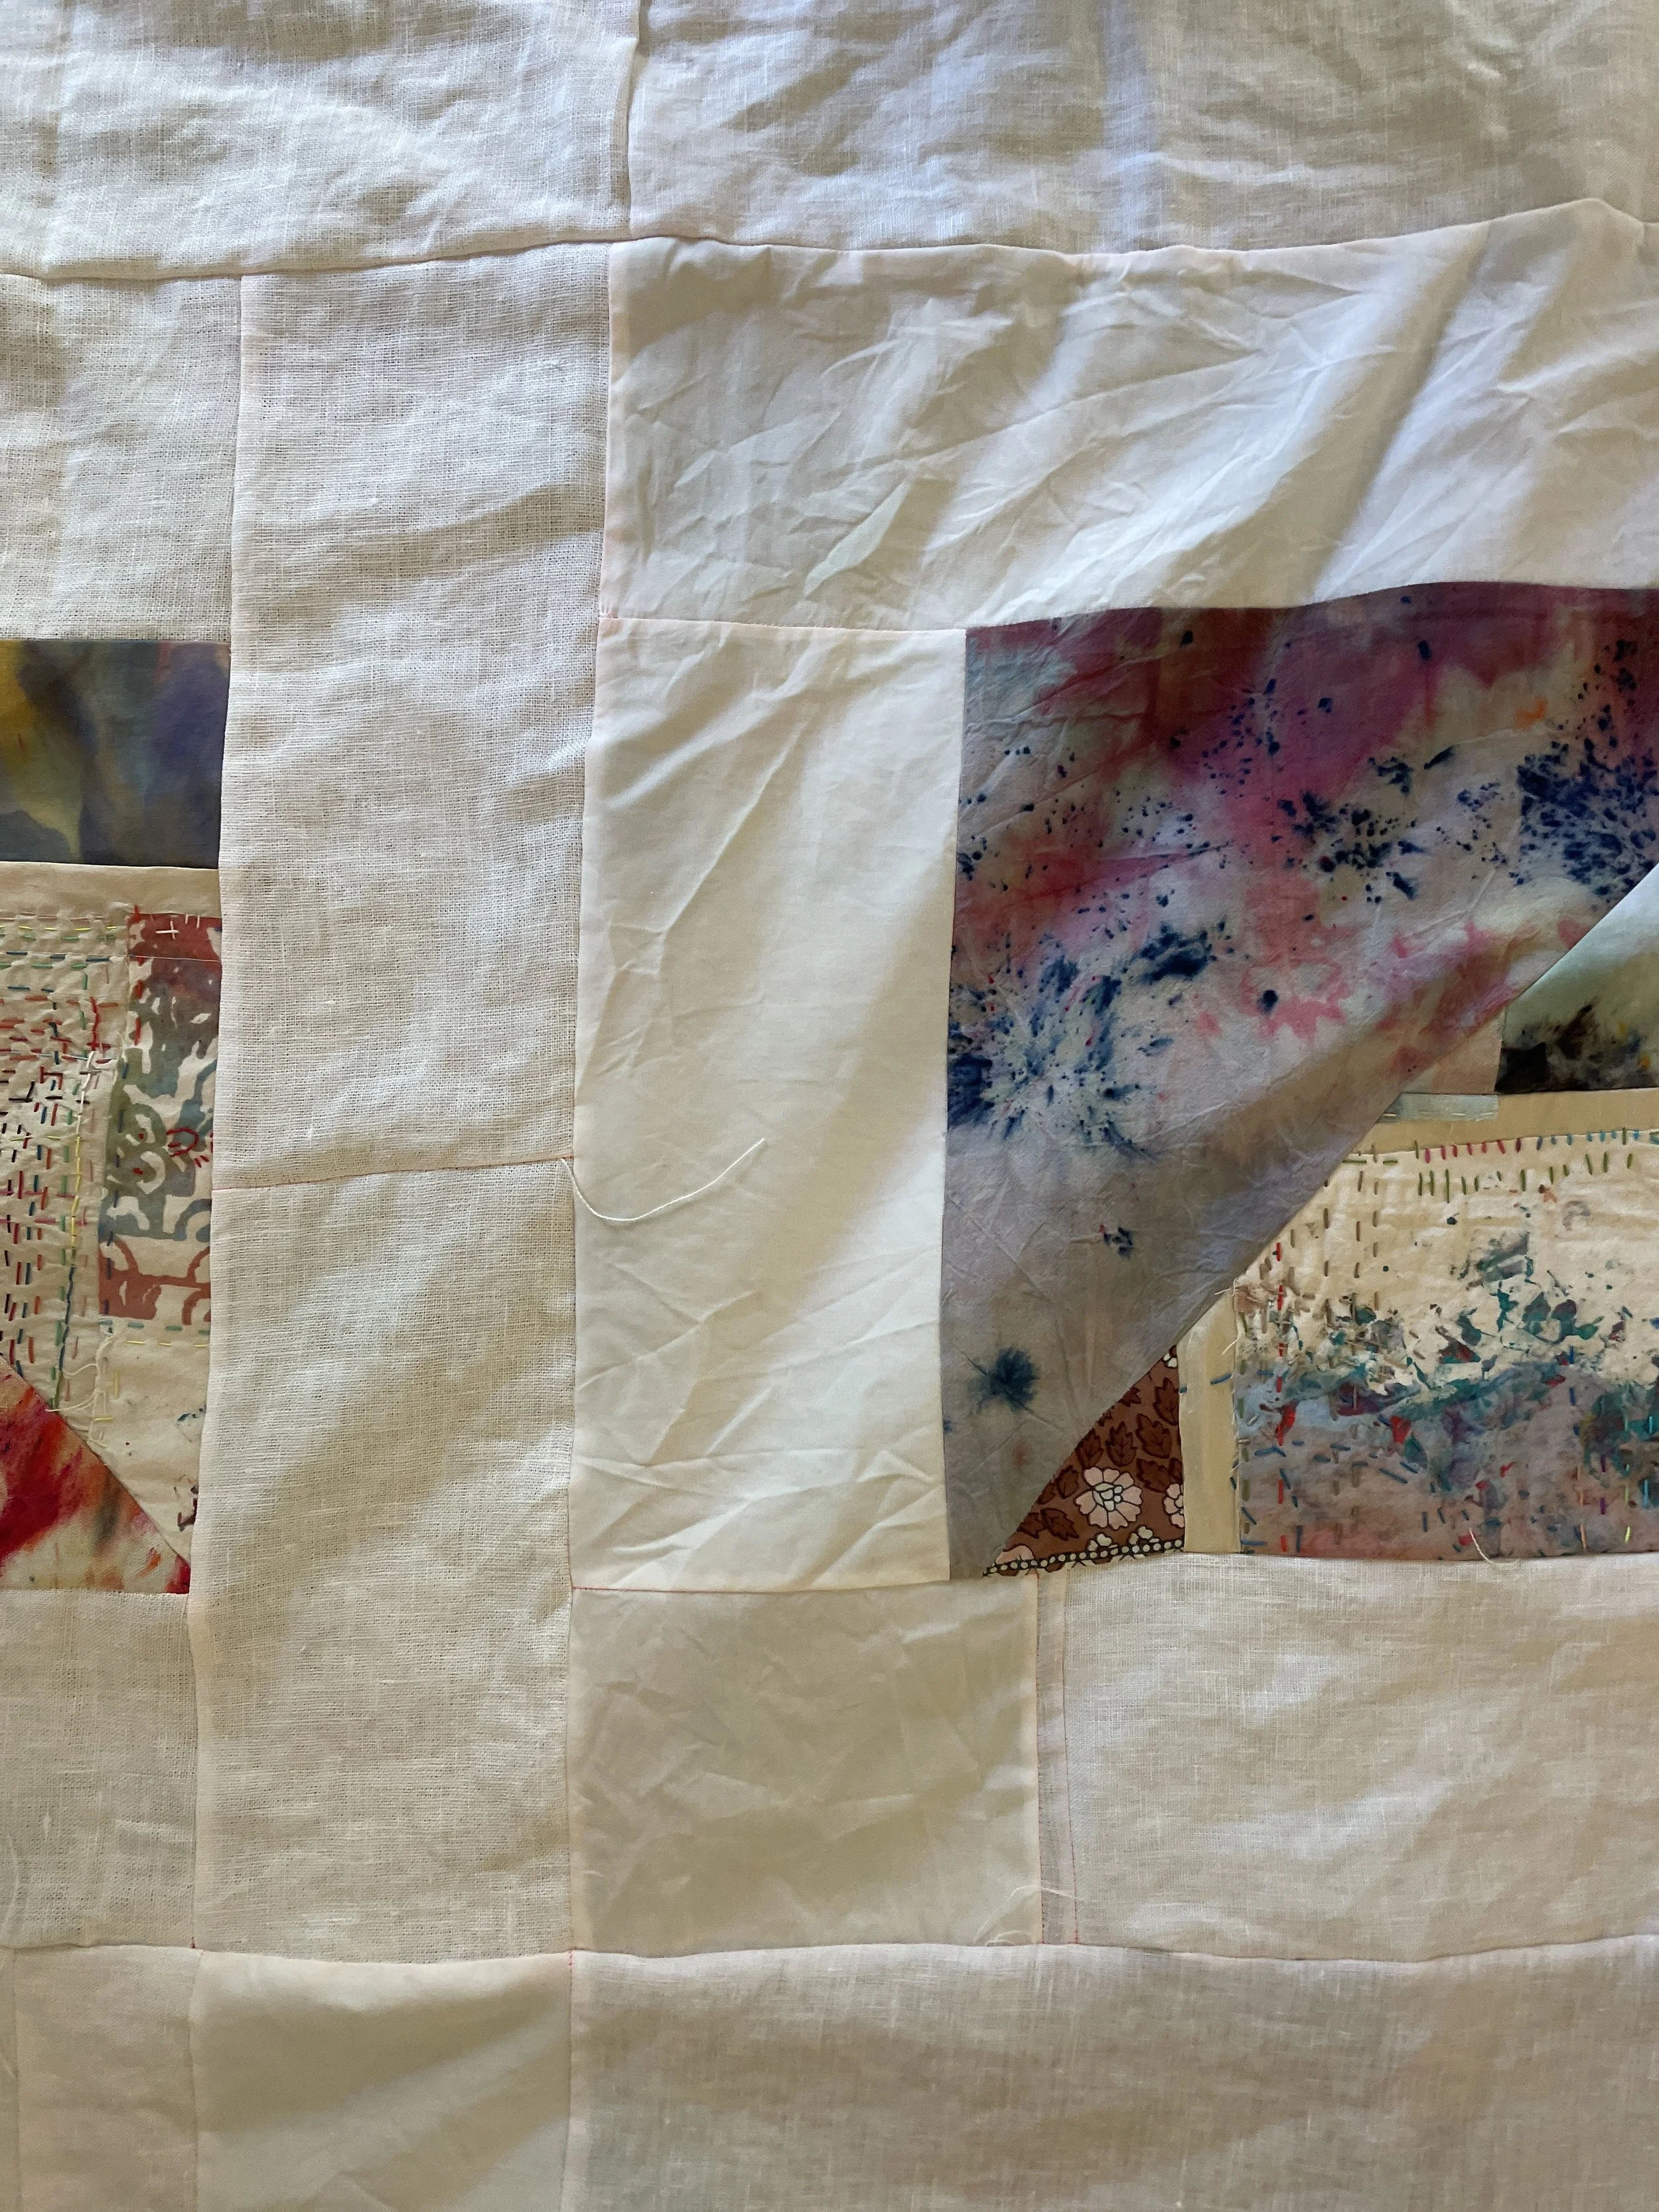
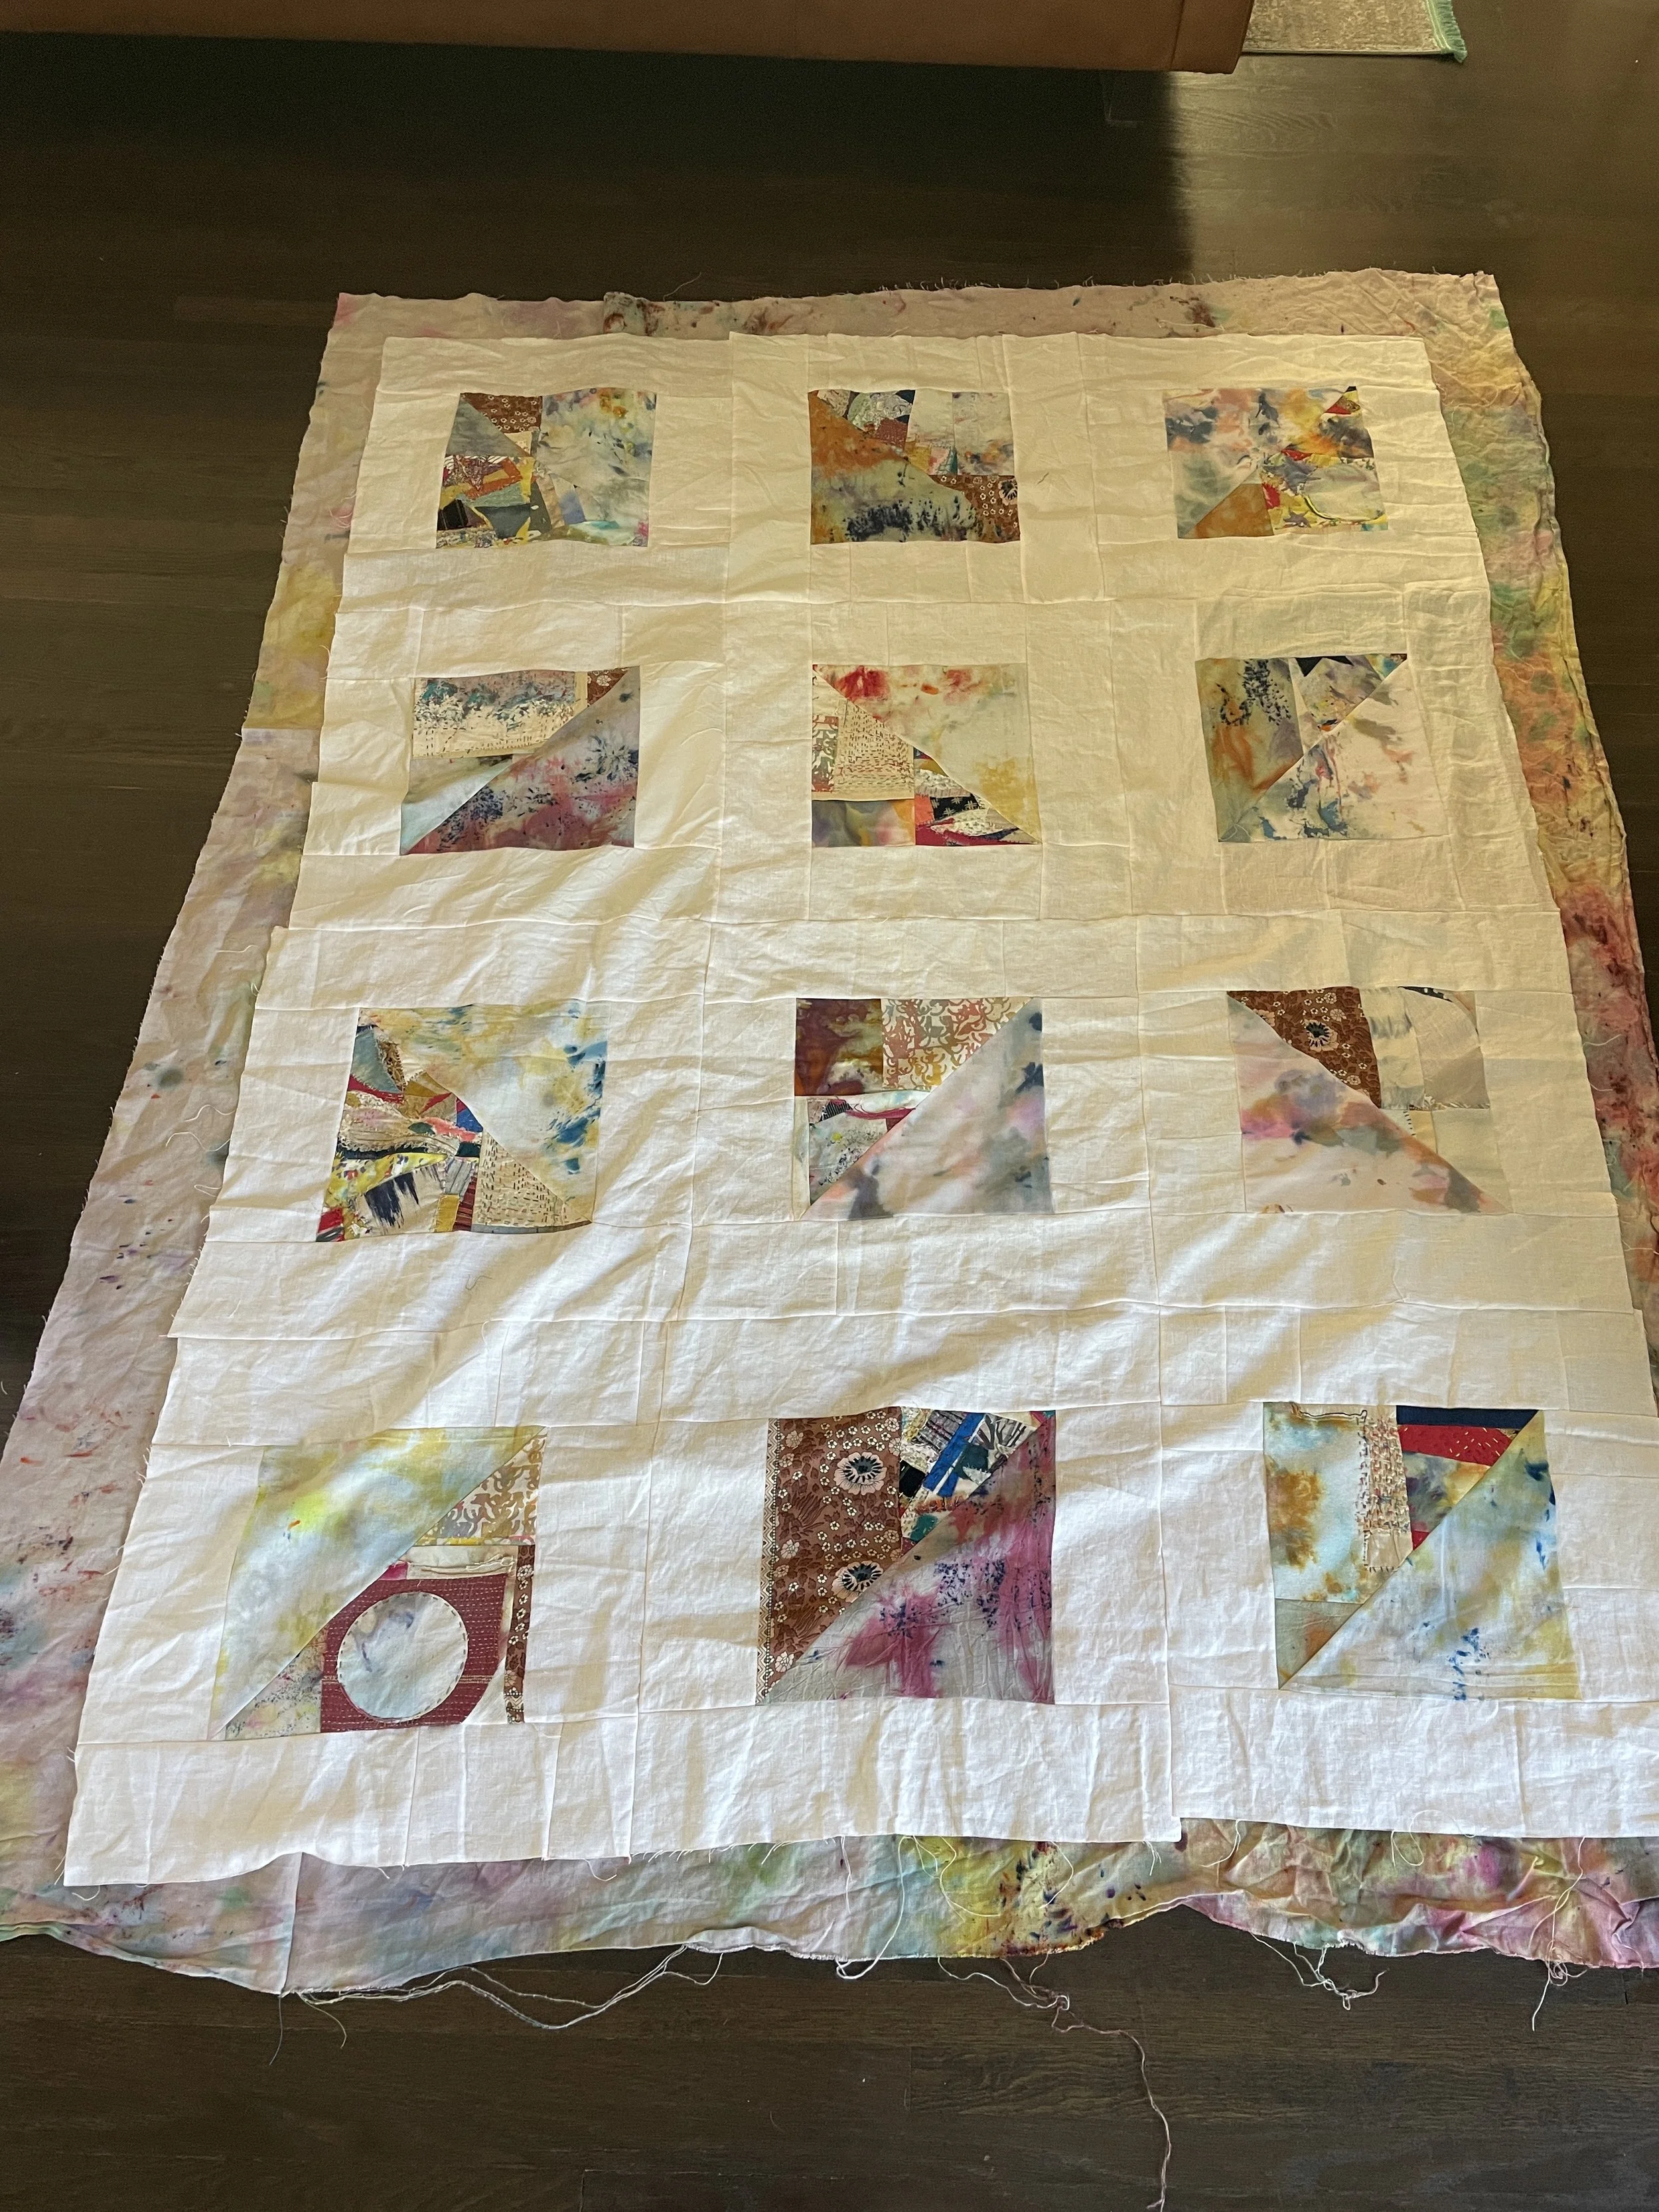
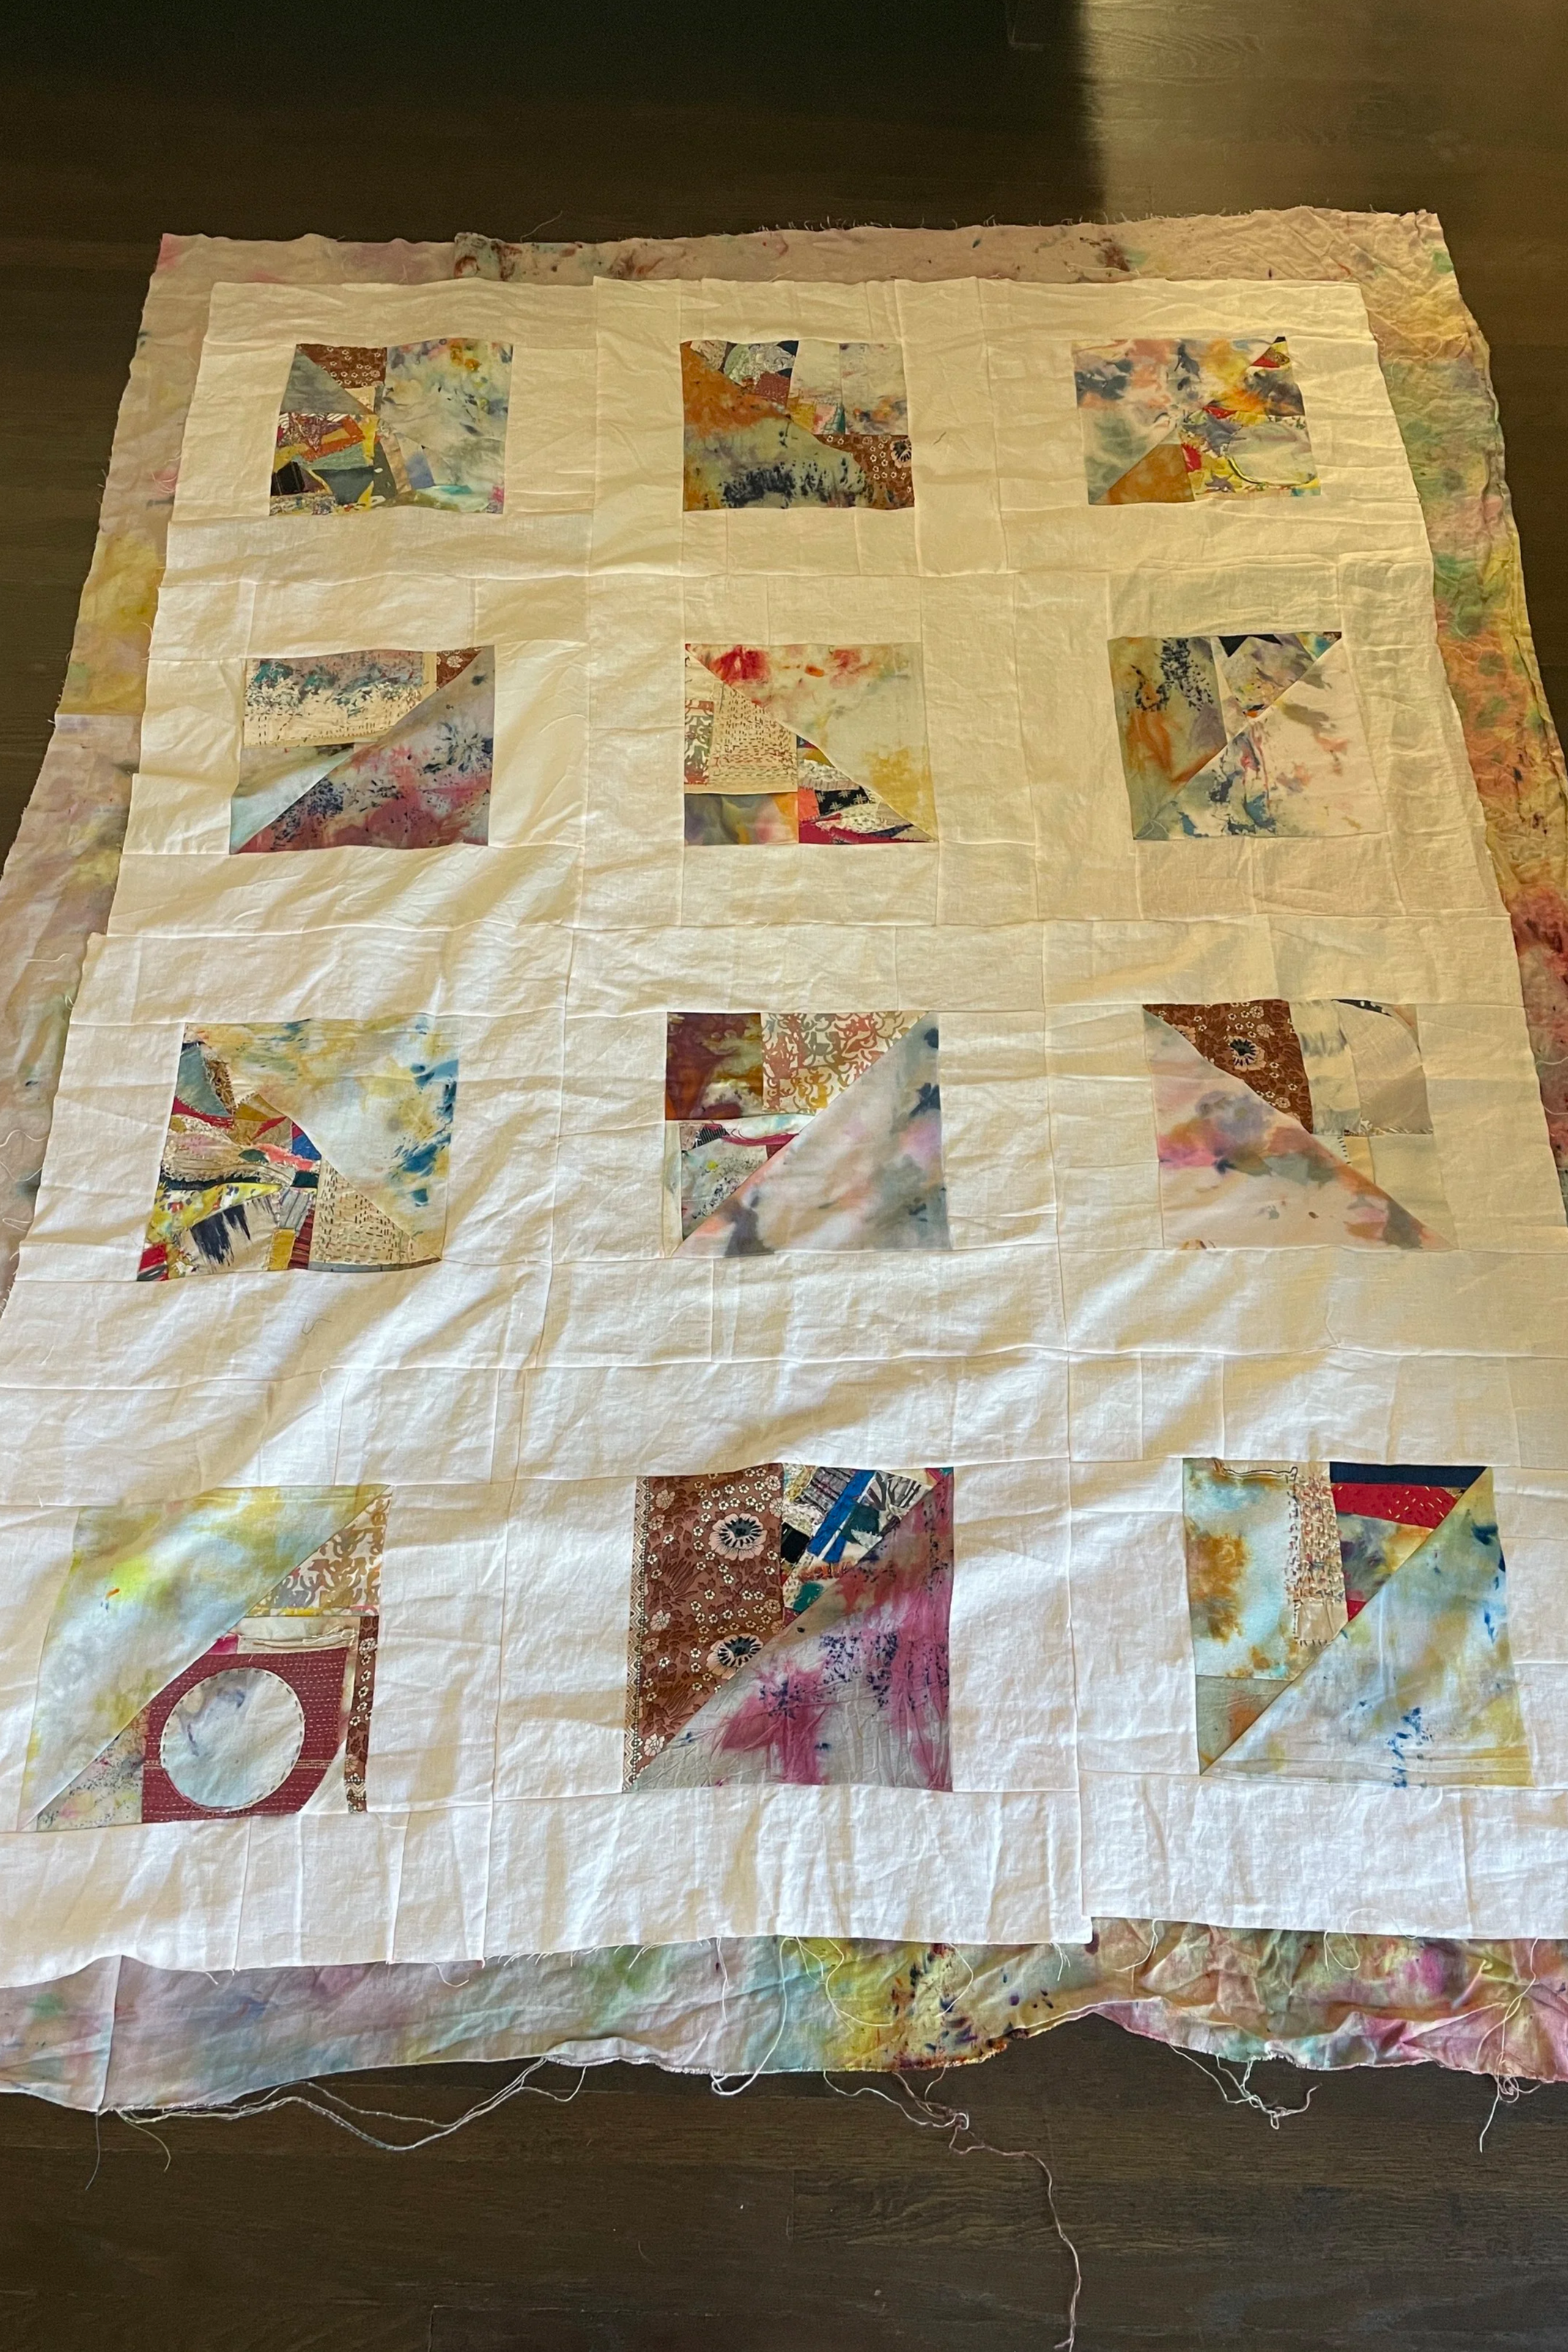
I cut them up… and turned them into twelve quilt blocks, bordered with (mostly) white (mix n’ match) linen, sewn together with electric neon thread.
For some reason, that felt more pleasing than sewing the pieces into bags they’d been prepared for.
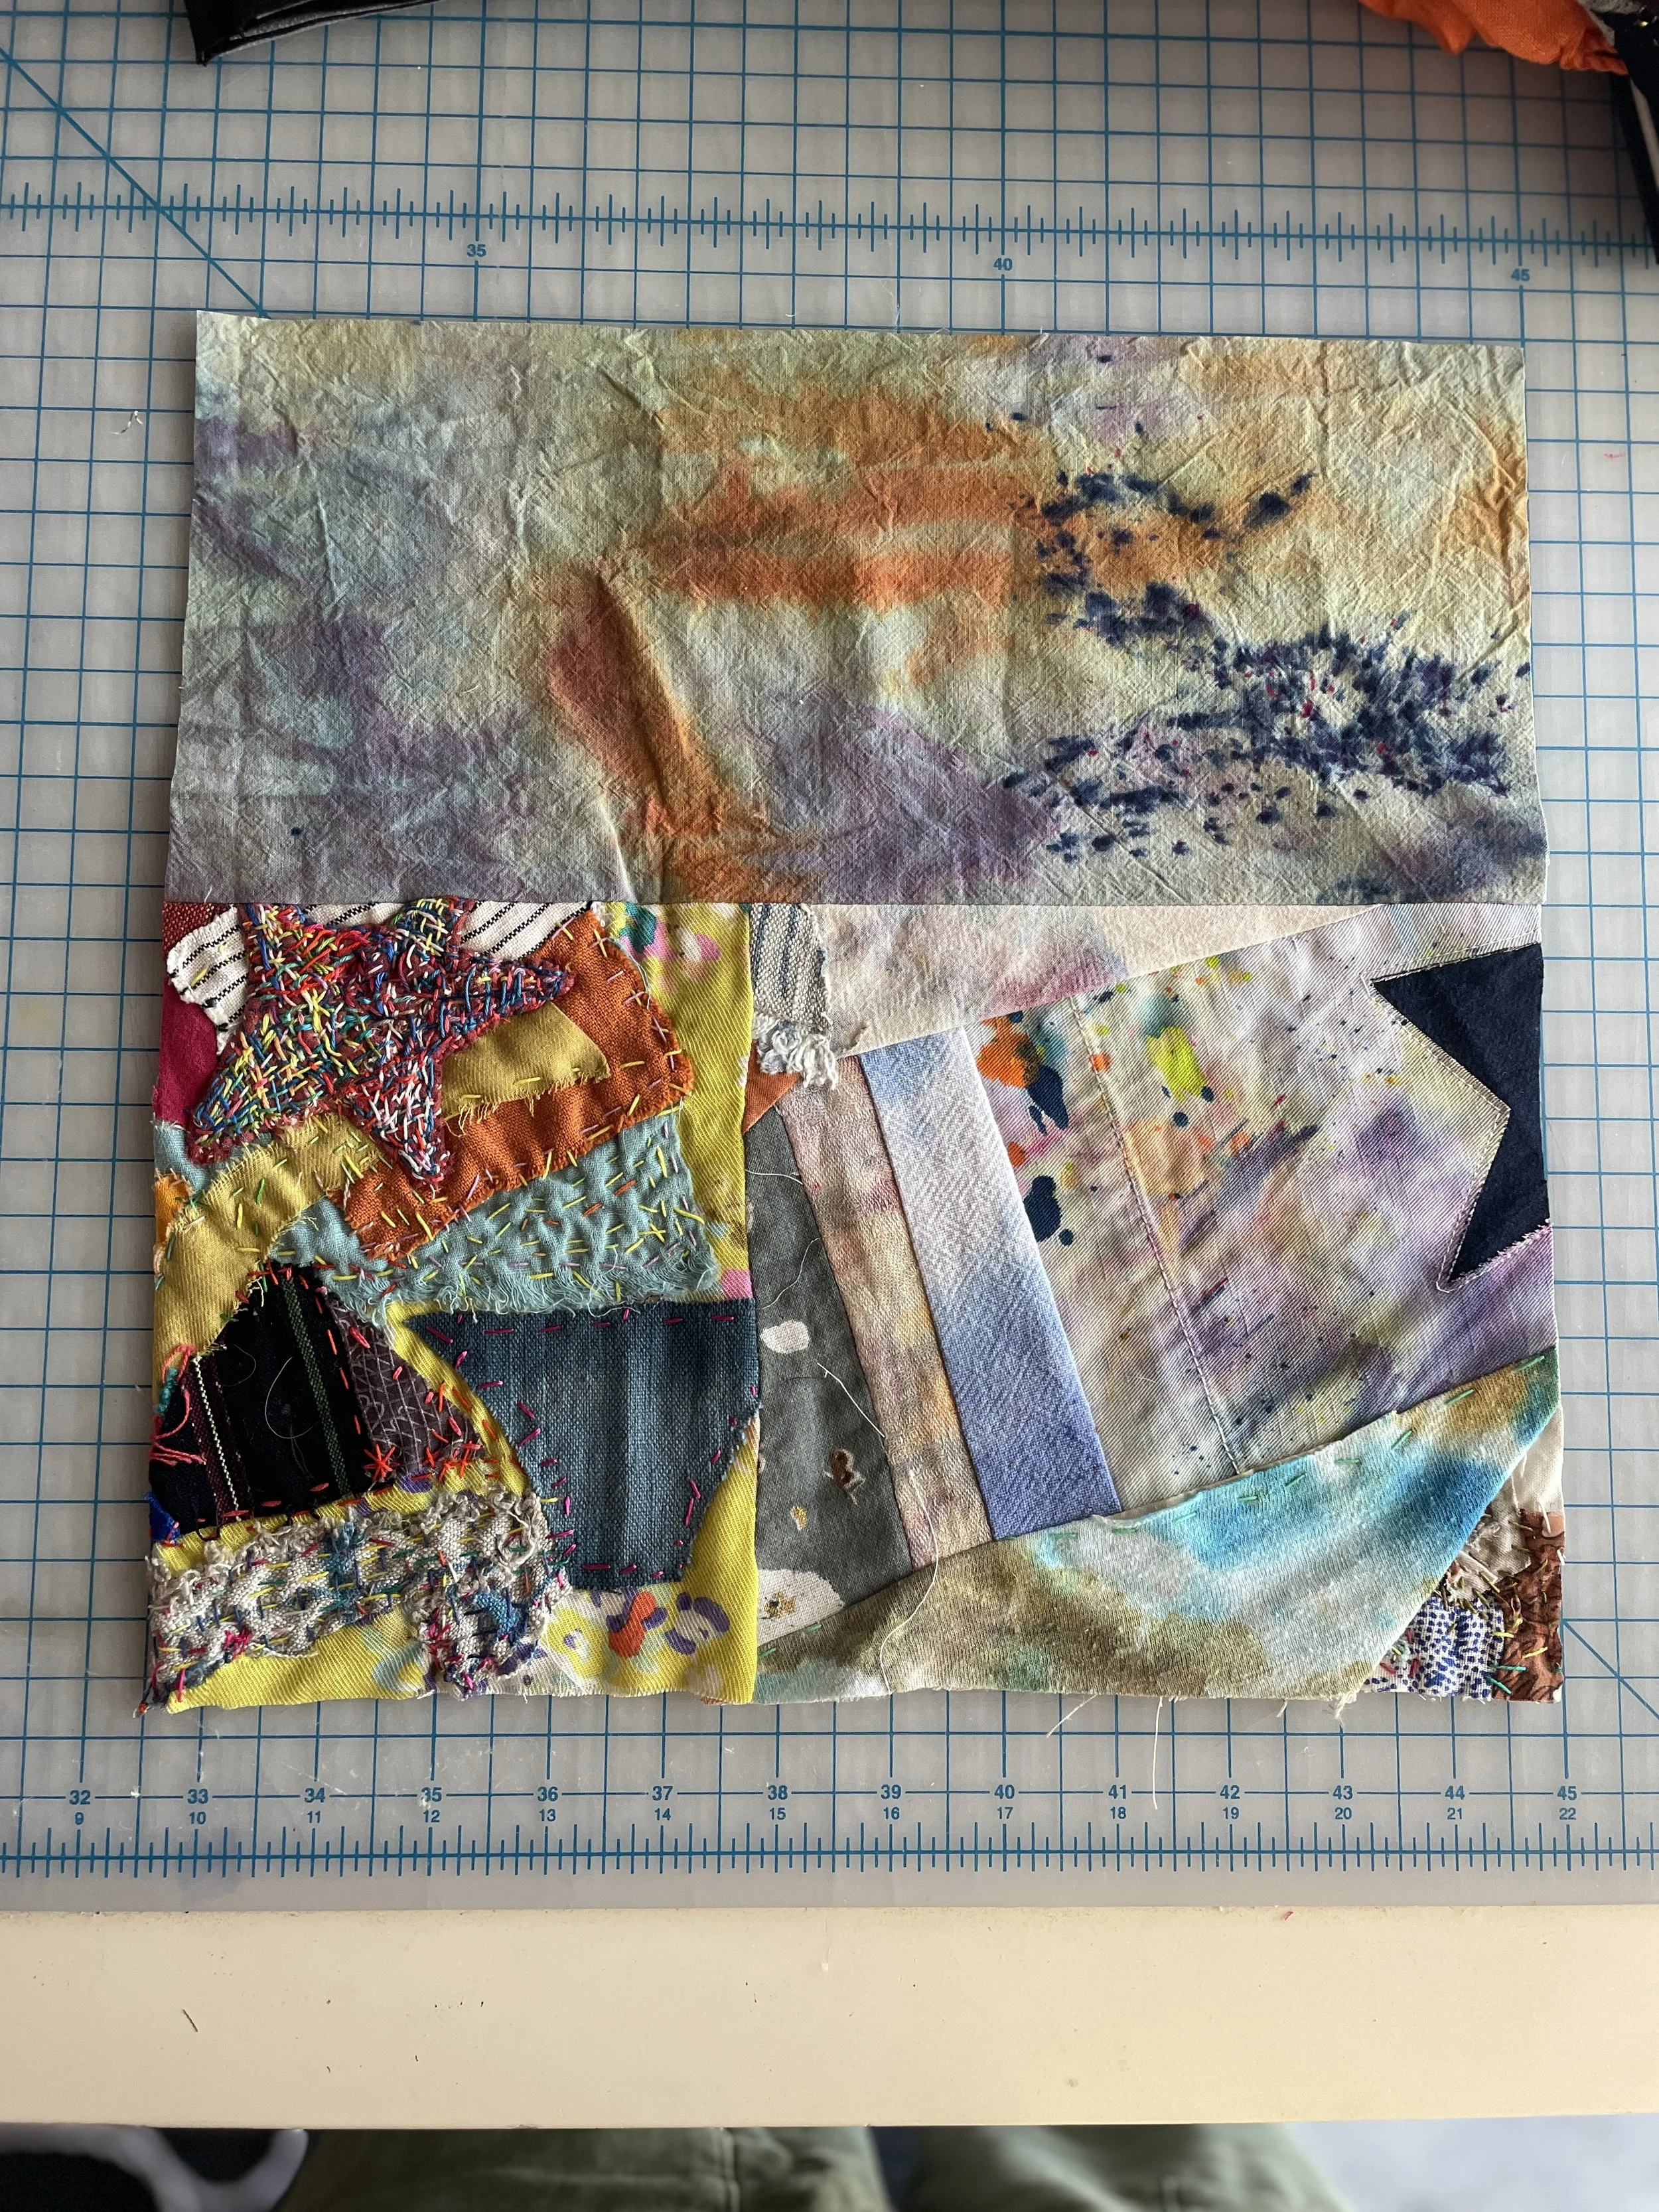
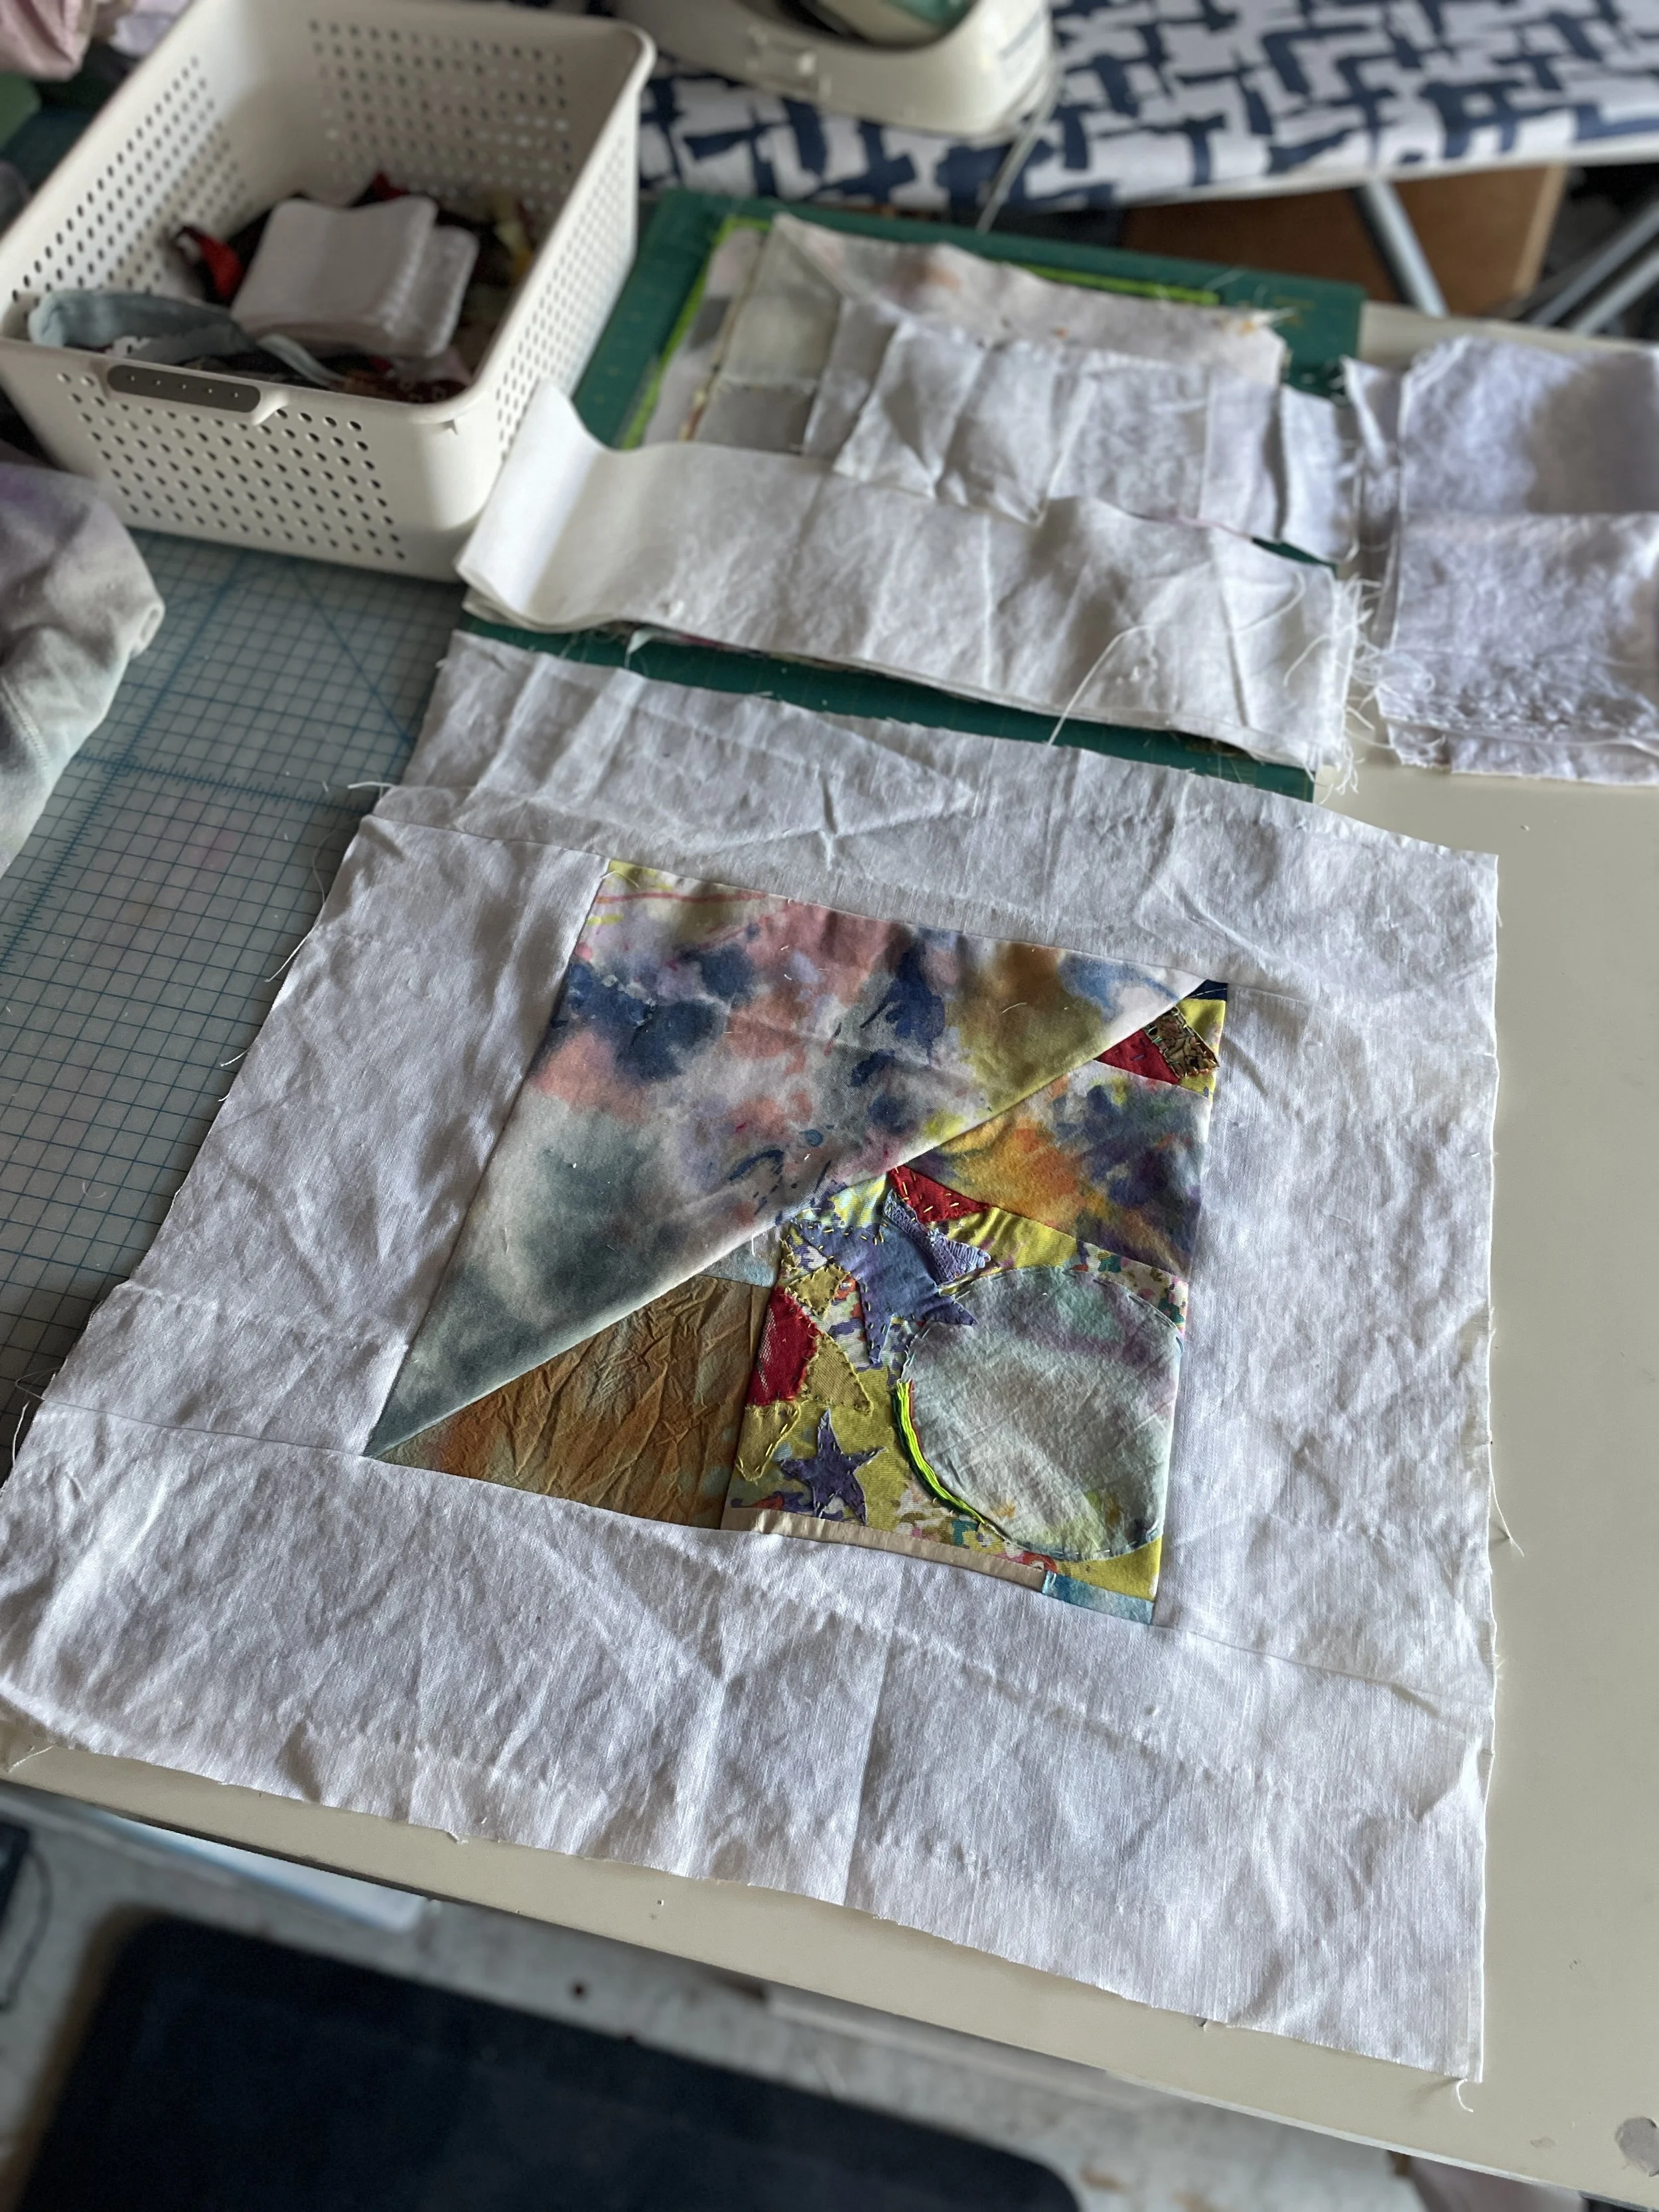
For the flip side, I headed to my stash of drop cloth dyed yardage, and grabbed two pieces I could easily sew into a back.
Tah-dah!
Now to choose between: hand, machine, or long arm quilting.
I better figure it out, before I decide to cut everything up and turn them back into totes 😜
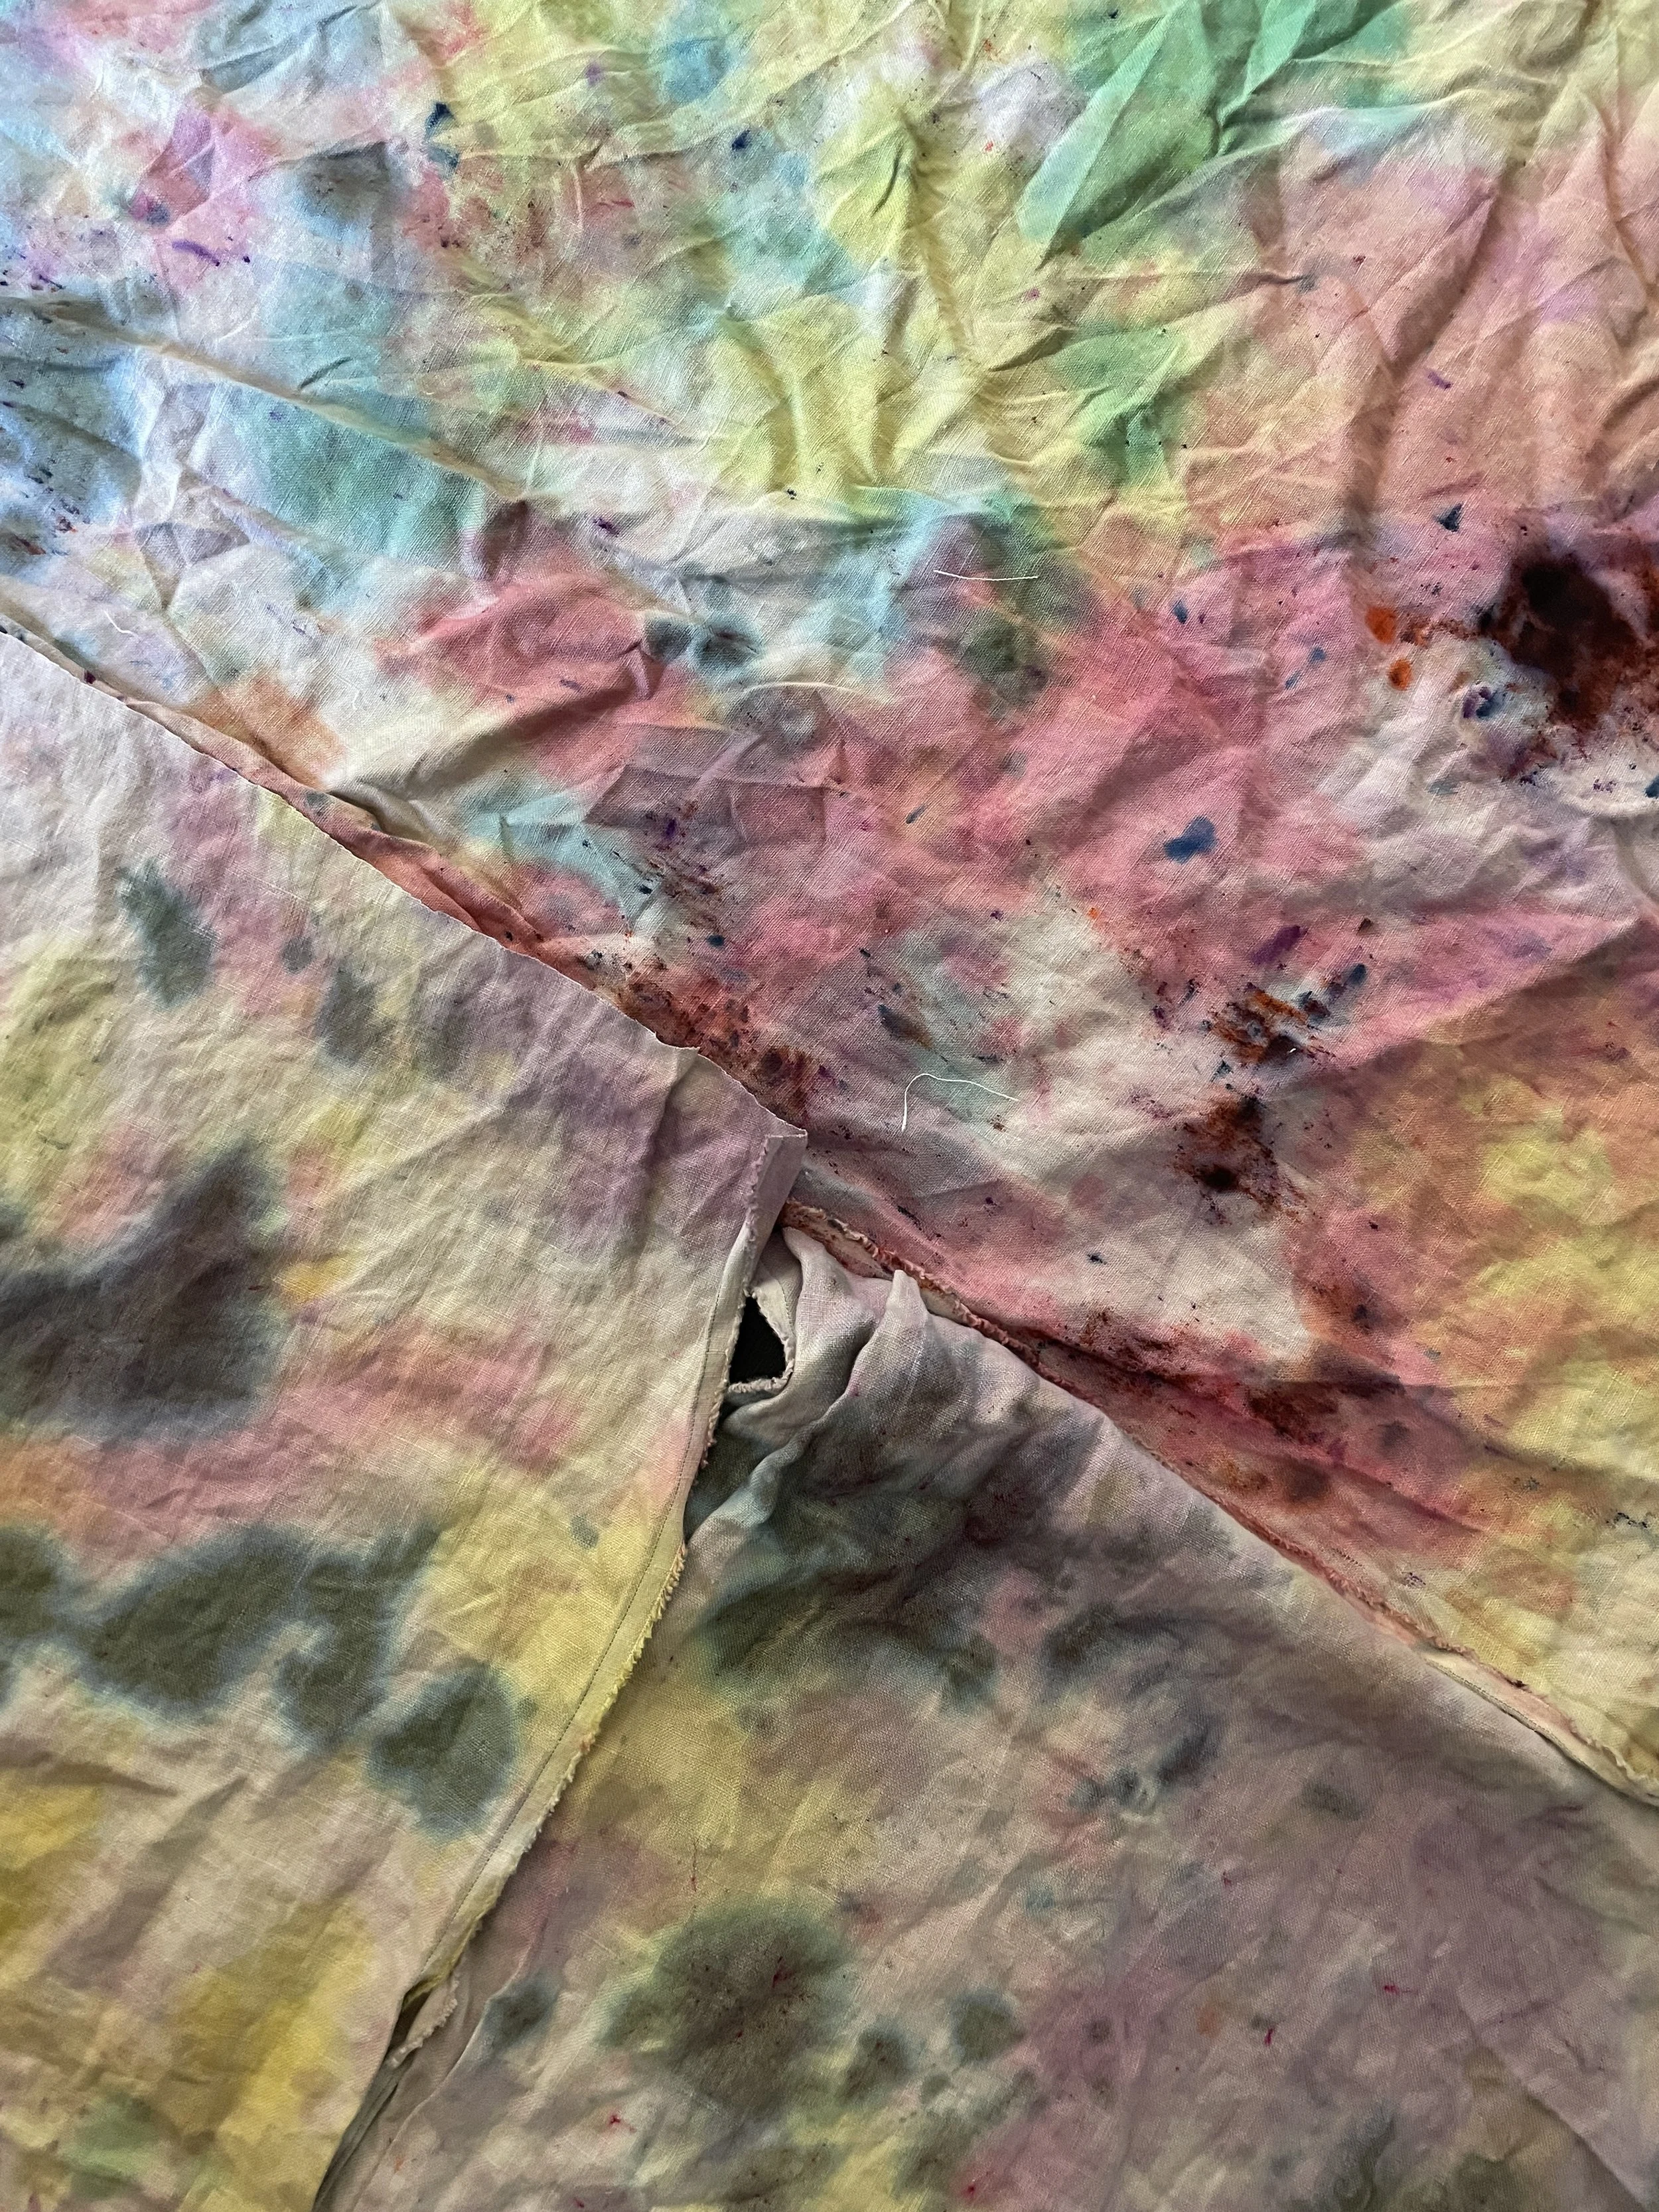
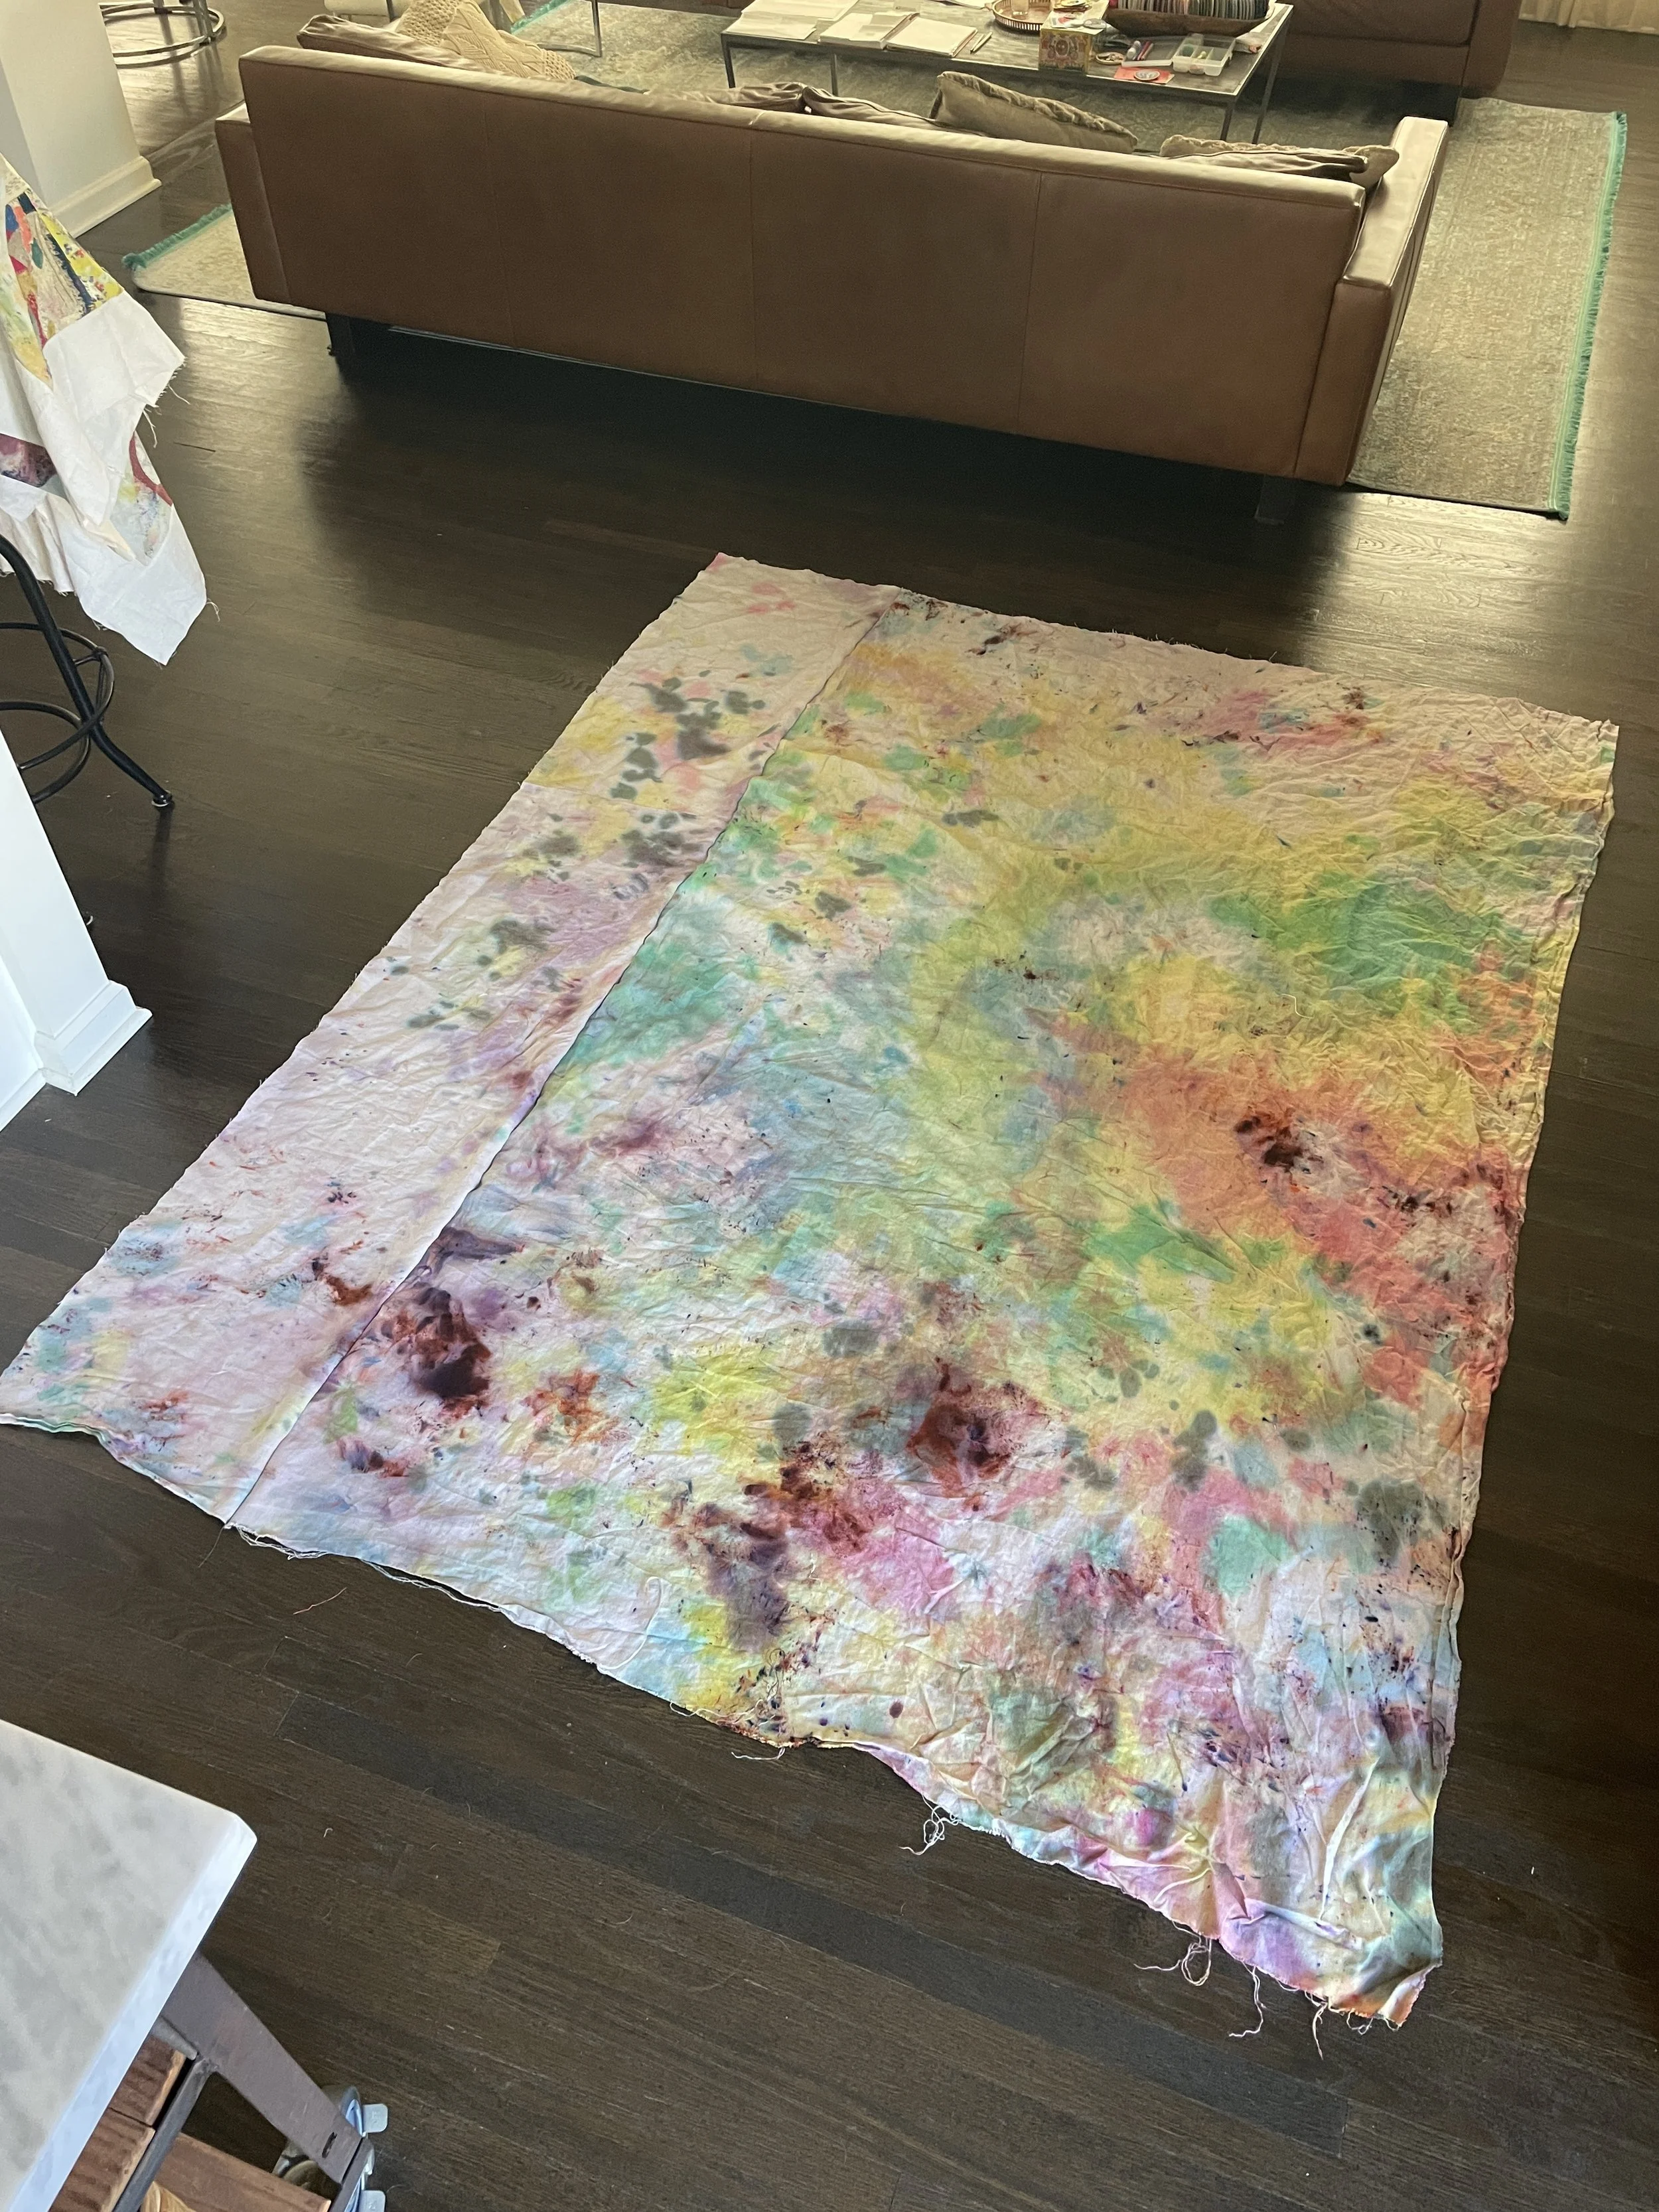
tote 🪄 quilt 🪄 tote🪄 quilt
I hope you’re excellent,
✌🏻❤️🌈
Tifanie
All content is owned by Tifanie White | studio. Unauthorized use including: AI training, reproduction, distribution, reposting, downloading and transferring is prohibited.
